|
Use Event Messages to set up automatic alerts for a range of events that occur within AroFlo.
|
 |
 |
What if I am an AroFlo Go user?
![]() users won't have access to the full Event Messages menu but they will be able to use the Default Event Messages described below at no extra cost. Additionally, AroFlo Go users might see 'No User-Defined Event Message' in some of the categories you use to enable or disable these. This is a system message informing you that there is nothing to configure in that option.
users won't have access to the full Event Messages menu but they will be able to use the Default Event Messages described below at no extra cost. Additionally, AroFlo Go users might see 'No User-Defined Event Message' in some of the categories you use to enable or disable these. This is a system message informing you that there is nothing to configure in that option.
To get started with Event Messages or see which ones are in use, go to Site Administration > Settings > General > Event Messages.
Default Event Messages
|
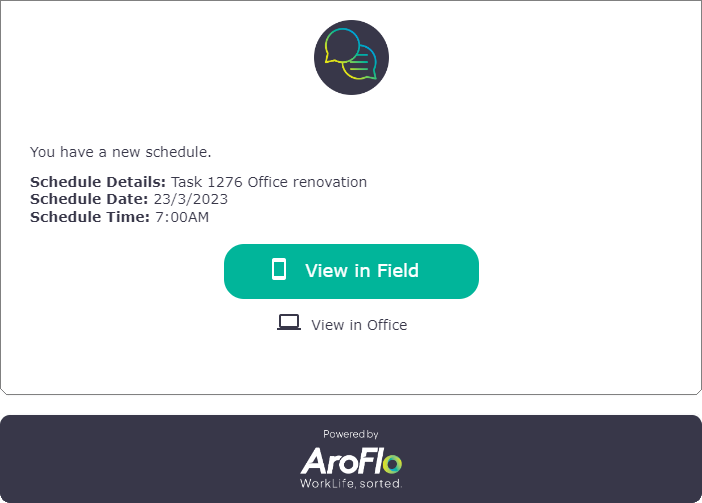
AroFlo comes with a range of default Event Messages you can choose to use to help get you started. These are simple emails or notifications to communicate activity with commonly-used features to the relevant users. Default messages can be disabled or enabled whenever you like. While they can't be edited, you can save a copy of the template to use as a new event message. See below. Preview template For Default Event Messages with a type of ‘email’, you can click the |
 |
 |
| Area of System | Event | Type | Goes to... |
|---|---|---|---|
| Invoice | Payment Created |
Email and Notification
|
Business Unit manager |
| Invoice | Send by AroConnect |
|
Client Primary Contact |
| Invoice | Reminder Template** |
|
Client Primary Contact |
| Purchase Order | Create |
Email and Notification
|
Business Unit manager |
| Quote Acceptance Status | Accepted |
|
Quote Estimator |
| Schedule | Create |
Email and Notification
|
Scheduled user |
| Task | Assign To |
Email and Notification
|
User task is assigned to |
| Work Order | Send by AroConnect |
|
Contractor Primary Contact |
** Using Conditional logic. See below.
Disable Default Event Messages
To disable these default Event Messages:
- Go to Site Admin > Settings > General > Event Messages
- Select an Event that will trigger messages (see above)
- Change the Enabled dropdown to Disabled
- Save Settings.
After disabling the Event Message, you can choose to either continue without using these, set up your own using the instructions below, or duplicate the content of the template and edit it slightly and create your own. See next tab.
Alternatively, if you're not currently using these event messages and you want to, follow the above instructions but select Enabled from the dropdown and Save Settings.

Duplicate Default Event Message Template
For Default Event Messages with a type of ‘email’, click the ![]() (eye icon) to preview the content of the Default Event Message Template.
(eye icon) to preview the content of the Default Event Message Template.
If you like the content of this event message but want to edit it slightly to use in your own event message:
- Click Save As at the bottom of the message content
- Use the editor to make any changes to the template, including editing the Subject. See Email Templates for instructions.
- Click Save As… and give your template a name. Save.
- Close the template editor
- Add a new Event Message with type of Email (see instructions below) and use the
 to select the Template you just saved to add it to the event message. Save Settings once done
 - If necessary, remember to disable the default Event Message, to prevent both from being active. See previous tab.

Conditional logic
|
The Default Event Message Invoice Reminder Template uses conditional logic which means certain conditions need to be met before they do or do not trigger. Click the event message for more information. If you choose to, you can disable this default event message and use your own set of conditional logic for this event message. See Conditional Event Messages, below. Alternatively, you can , and the above instrctions |
 |
 |
Add an Event Message
To add an event message:
- Go to Site Admin > Settings > General > Event Messages.
- To set up event messages for a specific client, switch to the Office Site and go to Manage > Clients > Select Client > Event Messages (under Client Specific Settings).
- Certain event messages are specific to clients. See the expand below for a list.
- Select an Event that will trigger messages (from the list on the left).
- Click Add Event Message and choose the message type from the dropdown, either Email, SMS or Webhook.
Learn more about these message types below.

Client-specific event messages
The following event messages can only be found when creating an event message for a particular client (see above instructions).
- Task Checklist - Pass
- Task Checklist - Fail
- Task Checklist - N/A
Use these to send an event message whenever a checklist item has been marked as passed, failed or n/a on a task belonging to this client.
The template of your event message could include Checklist static data fields, e.g. Task Checklist details, Checklist item name, Checklist notes, etc.
Checklist event messages
You can also set event messages for specific task or quote checklist items when marked as passed, failed, or n/a. This is done within Checklist Templates. See Checklist event messages and head back to this page to continue the setup.
Set up an Event Message
|
An event message can be sent as an email, SMS or webhook.  Email alerts can be sent to multiple people who can be set as To, CC (Carbon Copy) and BCC (Blind Carbon Copy). Show me Multiple Business Units If an email event message fails to send, the default behaviour is for the top-level BU Manager and top-level BU email address to receive notifications. SMS Use this method to quickly send an SMS to clients or technicians in the field. SMS Requirements
Webhook Use webhooks to notify other systems or apps that an AroFlo event has occurred. This method sends a message (JSON payload) to a unique URL provided by that system or app. |
 |
 |
Event Message Fields
Once you have added an event message, complete the fields in the window. Options available may differ depending on the message type (email, SMS or webhook).
Main options
| Field | Description |
|---|---|
| Send / Alert | Select when you want to send the alert, e.g. 'At time of event', at various time intervals, or at a specific time one or more days after the event. These timeframes to send the alerts are set regardless of a follow-up event which may invalidate them. For example: John has an event message set up to remind his clients to accept quotes set every 1, 2 and 3 weeks. John's client gets back to him the day after he accepts his quote online. The client will still receive an email regardless of the quote status being changed. |
| Template |
This is the text or content that will be included in the event message. If you have an existing email template, click the Alternatively, click
SMS Note: Charges All SMS providers charge per message. If the SMS contains more than 160 characters, it will be split into multiple messages. Webhook Note: Content Type If the event message is a webhook, the default BODY is a JSON payload. The content-type header will be application/json. See an example{ |
| From | For Email and SMS messages. Select who the event message will be from. See 'From and To Definitions' to learn about the available options. SMS Note: Replies If you would like your own mobile number to be displayed as the 'From' number and to receive replies to that number, you will need to select Custom and enter your mobile number into the To Value field. Virtual Private Numbers can be entered the same way. For more information, see SMS Messaging. |
| To | For Email and SMS messages. Select who you want the event message to be sent to. See 'From and To Definitions' to learn about the available options. Click Add Recipient if you need to add multiple people and click if they should be included as a To, Cc, or Bcc. SMS Note: Delivery SMS can only be sent to mobile numbers saved against the contact(s) selected. If an SMS cannot be delivered, a system-generated email will be sent to the Business Unit Manager's email address. |
| URL | For Webhook event messages only. This is where you enter the webhook URL from the application you want to send data to. |
| Performers | Displayed here for Webhook event messages only. See 'Additional Options' for explanation. |
Additional Options
Click Show More Options (Email and SMS options) to access additional options:
| Options | Description |
|---|---|
| Show Sent History in Task Notes | Enables automatic importing of sent event messages to the Task Notes section on a job. |
| Track Delivery Status, Opens and Clicks | Used to track email delivery status, i.e. if the email has been opened, clicked or read. |
| Allow Reply Imports | Enables automatic importing of email replies. |
| Performers | This field is optional and Any performer will be applied by default. Performers allow you to select specific user types and sources that can trigger an event message. Examples:
When using pre-built permission groups:
If using a custom permission group, you can define which performer to represent via Settings > General > Permission Groups > Event Messages > Filters. Click the |
From and To Definitions
The following settings are used to control who the alert is sent from or to.
| Setting | Description |
|---|---|
| Custom | Enter an email address or mobile number in the field provided. |
| User | Select a specific user. |
| BU Manager | Uses the Primary Contact set against the current Business Unit for your business. |
| Client Primary Contact | Uses the Primary Contact set on the Client card. |
| Client Contact | For client-specific event messages only. Select a client contact you want the event message to be sent to. |
| Current User | Uses the current user who is logged into the system. |
| Task Assigned To | Uses the Assigned person set on the task. |
| Task Client Contact | Uses the Reported By/Contact set on the task. |
| Scheduled To | Uses the resource scheduled to perform the task. |
| Client Account Managers | Uses the Account Manager(s) set on the Client card. |
| Task Location Contact | Uses the Contact set on the Location card linked to the task. |
| Task Sales Person | Uses the Sales Person set on the task. |
| Quote Estimator | Uses the Estimator set on the quote. |
| Supplier Primary Contact | Uses the Primary Contact set on the Supplier card. |
| Project Manager | Uses the Project Manager set on the project. |
View Logs (Webhooks only)
For Webhook event messages, you can click  to view a history of successful/failed event messages.
Event Message Template Starters
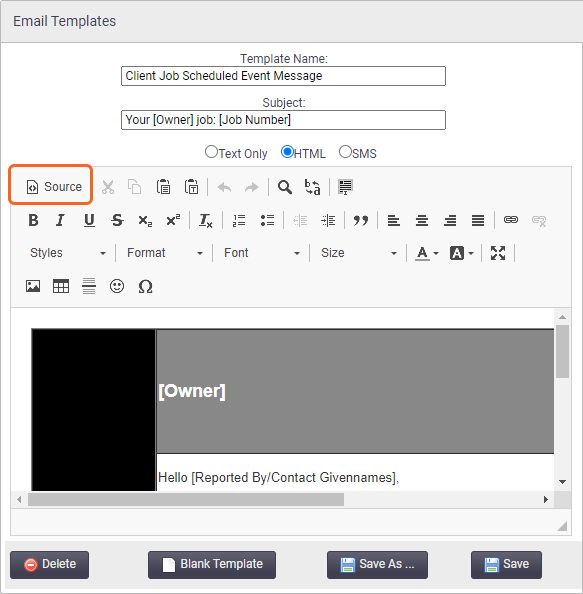
To make it easier to get started with Event Messages, we have created some templates that you can drop right into your own AroFlo site. You can use these by:
You will still need to provide a Template Name and Subject when you save your templates. Use the instructions in the Event Message Fields information, above, for more information. |
 |
 |
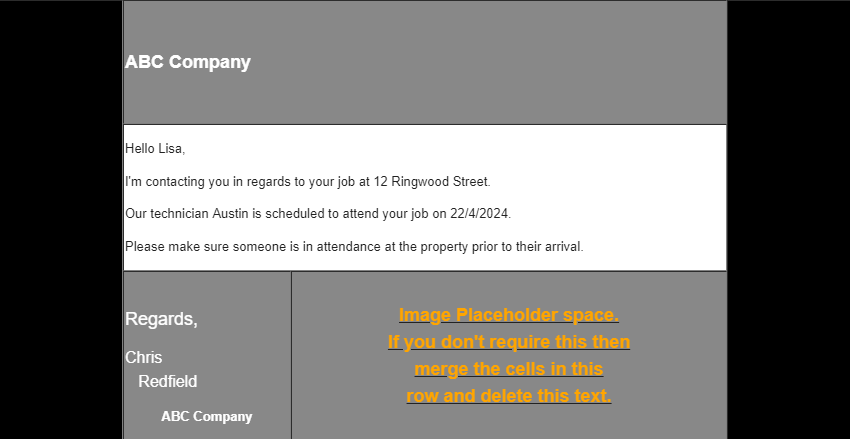
Client Schedule Create
|
|||
|
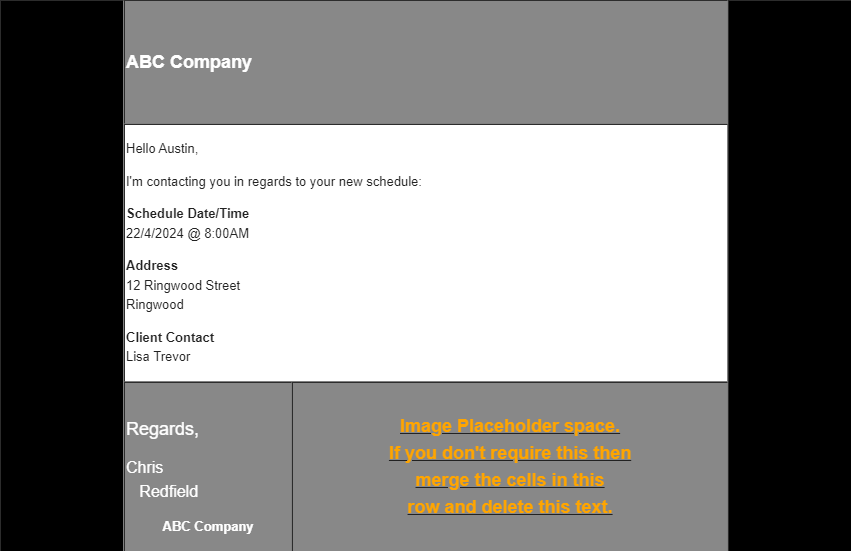
Technician Schedule Create
|
|||
|
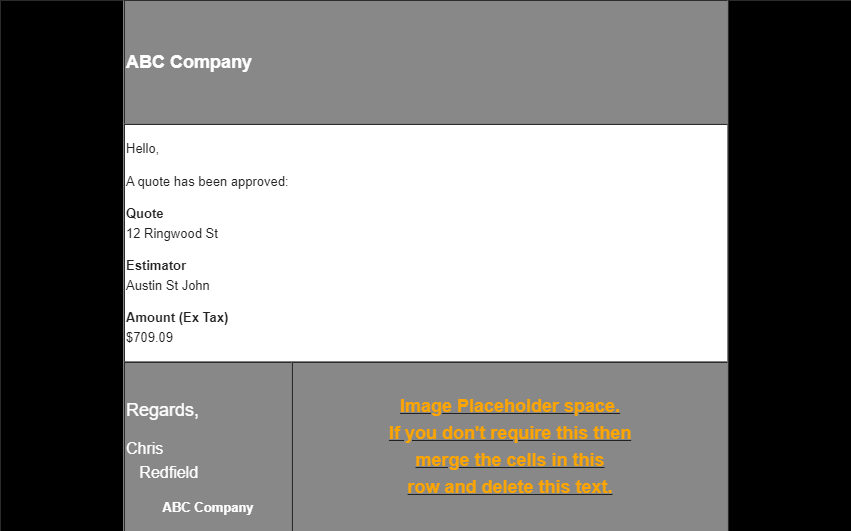
Quote Approved
|
|||
|
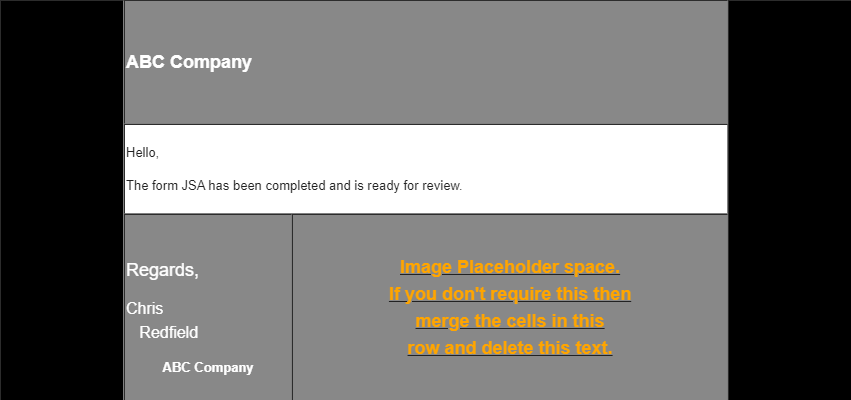
Compliance Form Closed
|
|||
|
Conditional Event Messages
For Invoice - Reminder Template and Quote - Reminder Template, you can create an email event message using conditional logic, which means certain conditions need to be met before your message triggers.
Use cases
You could use this feature to serve as:
- a reminder to your clients, i.e. to pay an invoice or to follow-up on a quote,
- internal reminders, i.e. a reminder to follow up with clients on quoted works, or invoice payments,
- or a combination of these.
- Follow the instructions as above to set up your event message. You may have some options set by default for the main fields, e.g. the To and From details and the message Template. Edit these if necessary.
- Under Event Conditions, review the defaults that have been set and edit these if necessary (e.g. Send a message if the balance owing is greater than $0.00, and/or if the Invoice status is Approved). If you need to add further conditions, click Add Condition and select your conditions from the dropdowns. You can add as many conditions as necessary.
- Save Settings.
Examples
Invoice - Reminder Template

Quote - Reminder Template

Events with unique conditions
Event: Task - Create
This event triggers a message when a task is created manually, i.e. from the Create or Workflow menus. It will not trigger events for periodic tasks generated from a template, from quotes being marked as approved, or from tasks created from Work Order Imports.
Event: Schedule - Reminder Template
Use this event to set up automatic alerts for schedules added to the AroFlo Calendar. Schedule reminders are triggered at the time/day specified, rather than by a 'Performer'. The system checks every 5 minutes and actions all of the reminders that are due.

Alert / Time Setting
Schedule reminders will not trigger if the alert time has passed. For example, if you create a schedule today and the alert is for '1 day before', the alert will not trigger.
Desktop alerts
Schedule reminders can also be set as desktop alerts. Desktop alerts are designed for desktop users only and users must have:
- the AroFlo calendar open on their desktop browser (Chrome or Firefox only)
- enabled Desktop Alerts in their Calendar Settings.
See General Settings and Schedule an Event for more detailed information on setting up and using event messages with your AroFlo calendar.
Event: Compliance Form - Edit
Use the Compliance Form - Edit event to trigger alerts when compliance forms are being changed.
To activate this event for specific types of compliance forms, you will need to enable the 'Send Edit Compliance Form Event Messages' setting on individual compliance forms, risk templates and OHS checklists. See Custom Forms for more information.
Online Quotes, Invoices, and Work Orders
For specific event messages relating to Online Quotes, Invoices, and/or Work Orders, see the following links:
Delete Event Message
If you no longer require an event message, delete it by clicking the  (red rubbish bin) on the header of the event message and confirm deletion.

 (pencil) if you need to edit the Performers.
