AroFlo Field allows you to create and send invoices for jobs directly from your mobile phone or tablet:
- Final Invoices - Final Invoices can only be raised on completed tasks
- Part Invoices - Part Invoices can only be raised on tasks that are still in progress
- Deposit Invoices - Deposit Invoices are Part Invoices that can be automatically created once a quote has been accepted by your client.
Enable Field Invoicing
Only users in the Management permission group can invoice in AroFlo Field. To enable invoicing for other permission groups, please see Invoice Settings.
Interested in learning through an interactive course in the AroFlo Academy?
Is the job at hand finalised or are you taking a deposit?
Create a Final Invoice
Create a Final Invoice from a task and use the quick add options to add items to your invoice:
Are you about to complete the task and raise an invoice?
On the task you're working on, finalise what you need to and mark the task as completed and Save. See more.
Continue with the below instructions.
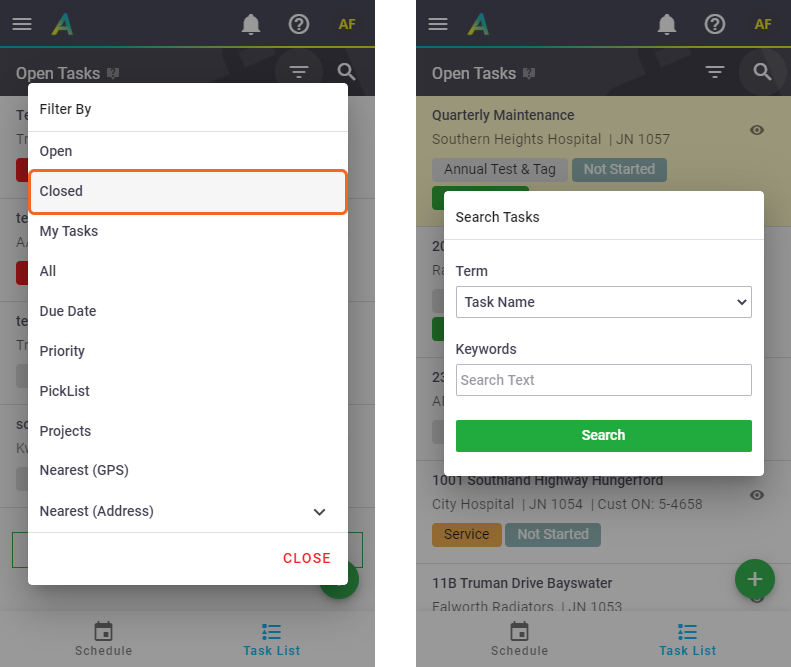
Find the completed task from your Task List:
- Tap Menu (top left corner) and select Tasks.
- Tap the
 (Filter By) button and select Closed.
Filter By versus Search

- Select the relevant Completed task from the list.
Completed versus Invoiced
Tasks that have already been invoiced will display Invoiced within a label.

Opening an Invoiced task will automatically bring up the task invoice.
- Confirm all costs have been recorded on the job.
Add job costs
To add or edit labour, materials or expenses, scroll down and tap Re-activate Task.
Continue with the below instructions.
Invoice status Once you've sent the invoice to your customer, you can either change the status to Pending Approval or Approved, depending on your workflow. Doing so will mean the task will no longer be visible in your Completed Task list. |
  |
 |
Final Invoice already created?
| If you land on a task using another method (e.g. by tapping a link back to a task) and a final invoice already exists for the task, the Create Invoice button will be replaced by a View Invoice button, so you can open the final invoice. |  |
 |
Create a Part Invoice
|
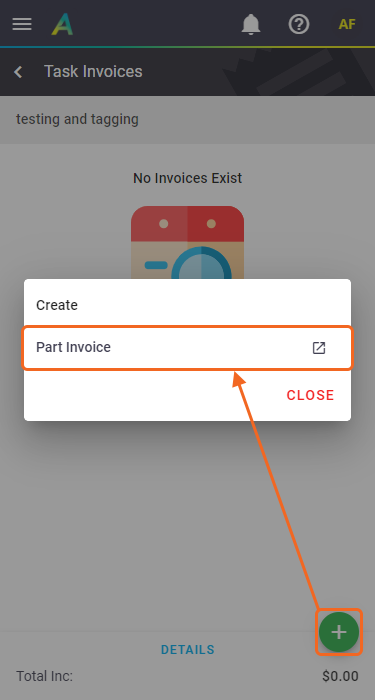
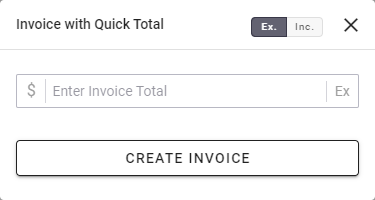
Part invoices are used during the course of a job to invoice the client for part of the work undertaken, but can be used at the start of a job for deposits. To create a part invoice for an open task:
Alternatively, to raise a part invoice without first viewing the invoice list, use the task shortcuts button |
 |
 |
Create a Deposit On Quote Acceptance
|
If working on a quote, you can set an invoice to be automatically created once your quote has been accepted by your client. Automate deposits per Task Type If you intend using this feature as a permanent feature in your workflow, it's a good idea to set a default quote deposit per task type. See Automated Deposit Invoicing for help in setting this up and for the full workflow. You can also automate task status and substatus both once the quote has been marked as accepted and once a payment has been recorded on the deposit invoice.
After saving, an orange banner displays at the top of the quote to show that an invoice will be automatically generated. Tap this to show the Invoice on Acceptance again, in case you need to edit anything or delete the settings entirely. From here, continue with adding items and working on your quote as necessary. Once your quote is approved and accepted, the deposit invoice will be automatically generated and sent to your client, if using Online Quotes and Invoices. See Automated Deposit Invoicing for the full workflow. Edit Deposit amountIf a default quote deposit for this task type has been set, or if a deposit has been manually created, you can edit the settings if you need to:
Delete Deposit amount
|
   |
   |
 (
(
 Read more on the Invoice worksheet