Signature labels allow you to configure a series of text labels that may accompany captured signatures on quotes, tasks, purchase orders, supplier quotes, invoices, timesheets and compliance forms.
Once set up, Field users will be able to select an appropriate label when they capture signatures in the field.
- Set up multiple signature labels which users can easily select when capturing signatures.
- Signature labels can be included with captured signatures on a range of print layouts.
- If you have multiple business units, you can set up signature labels specific to each business unit.

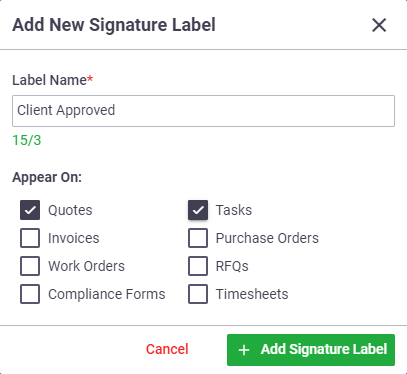
Add a signature label
|
 |
 |
The signature label will now be available for selection when capturing a signature via a mobile device.
Change label order
Signature labels appear in the same order as displayed in Site Admin > Signature Labels. You can change the order of appearance by clicking  (double line icon located on the left) and dragging the label up or down to its new position.
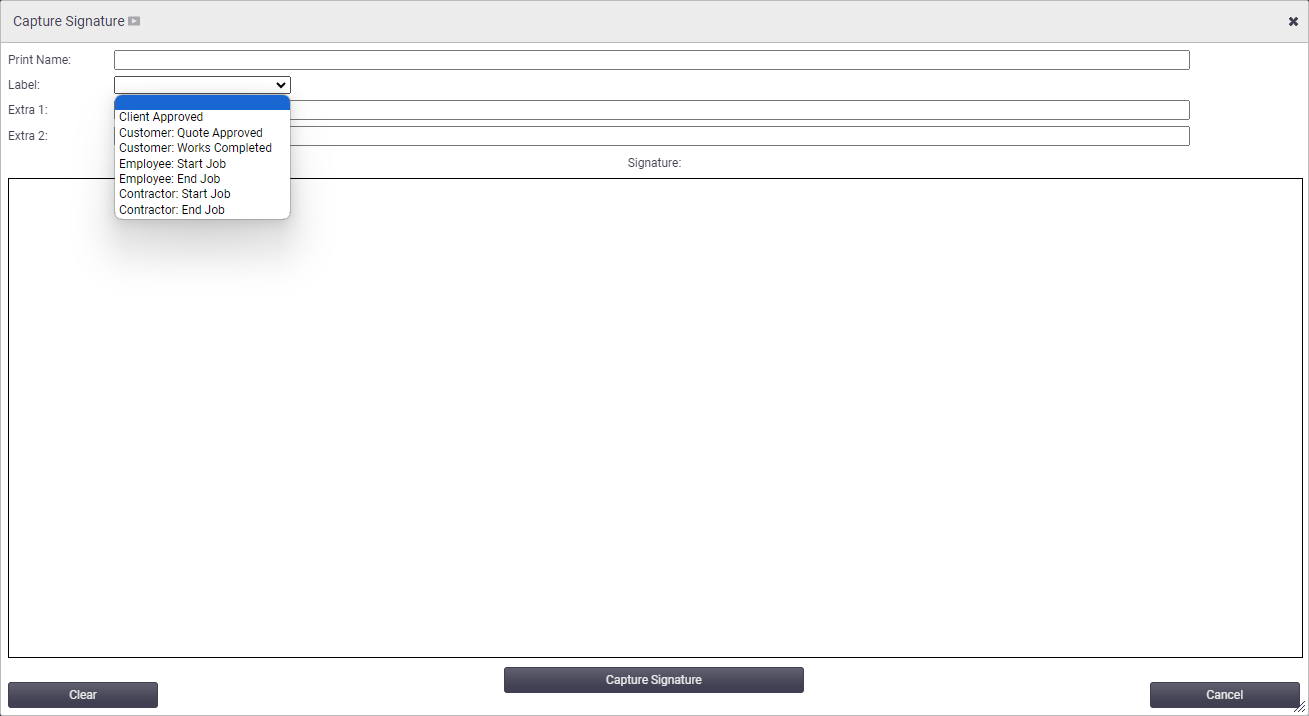
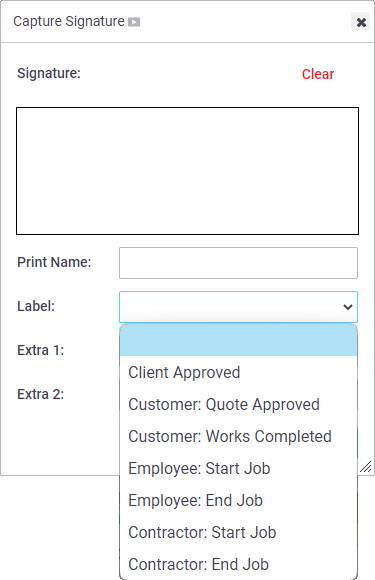
See what this looks like in Office and Field
Office

Field

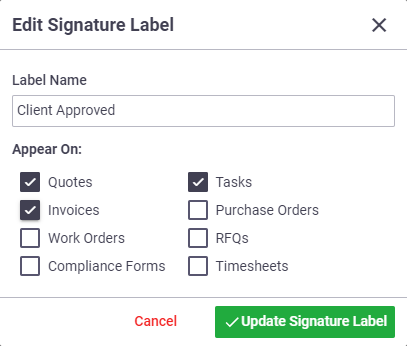
Edit a signature label
|
 |
 |
Archive a signature label
To remove a signature label from the list, click  (yellow arrow box icon).
To restore an archived label, change the list filter to 'Archived' and click  (green arrow box icon).
 (blue pencil icon) beside the label you want to edit