Good to know
- Locked timesheets: If a user's timesheet has been approved for the day or week, you will not be able to edit any events for that day/week. See Timesheets for more information.
- Event Invites: If you've sent an event invite for the schedule you want to edit, AroFlo will prompt you to send an updated event invite once you've changed the schedule. Click OK to do so.
-
Crew schedules: The instructions below apply to schedules assigned to a Crew but not to individual schedules as part of a crew, as these are read-only. See Working with Crews for more info.
Show me the difference
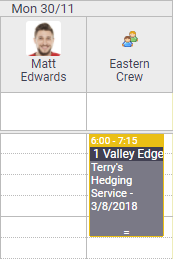
Crew 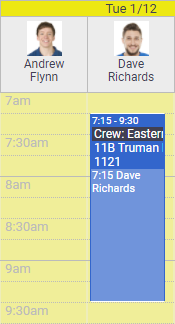
Individual (Read-Only) 
Individual (Read-Only) - Private schedules: Certain schedules may appear as private schedules. See Private Schedules, below.
Change the schedule time
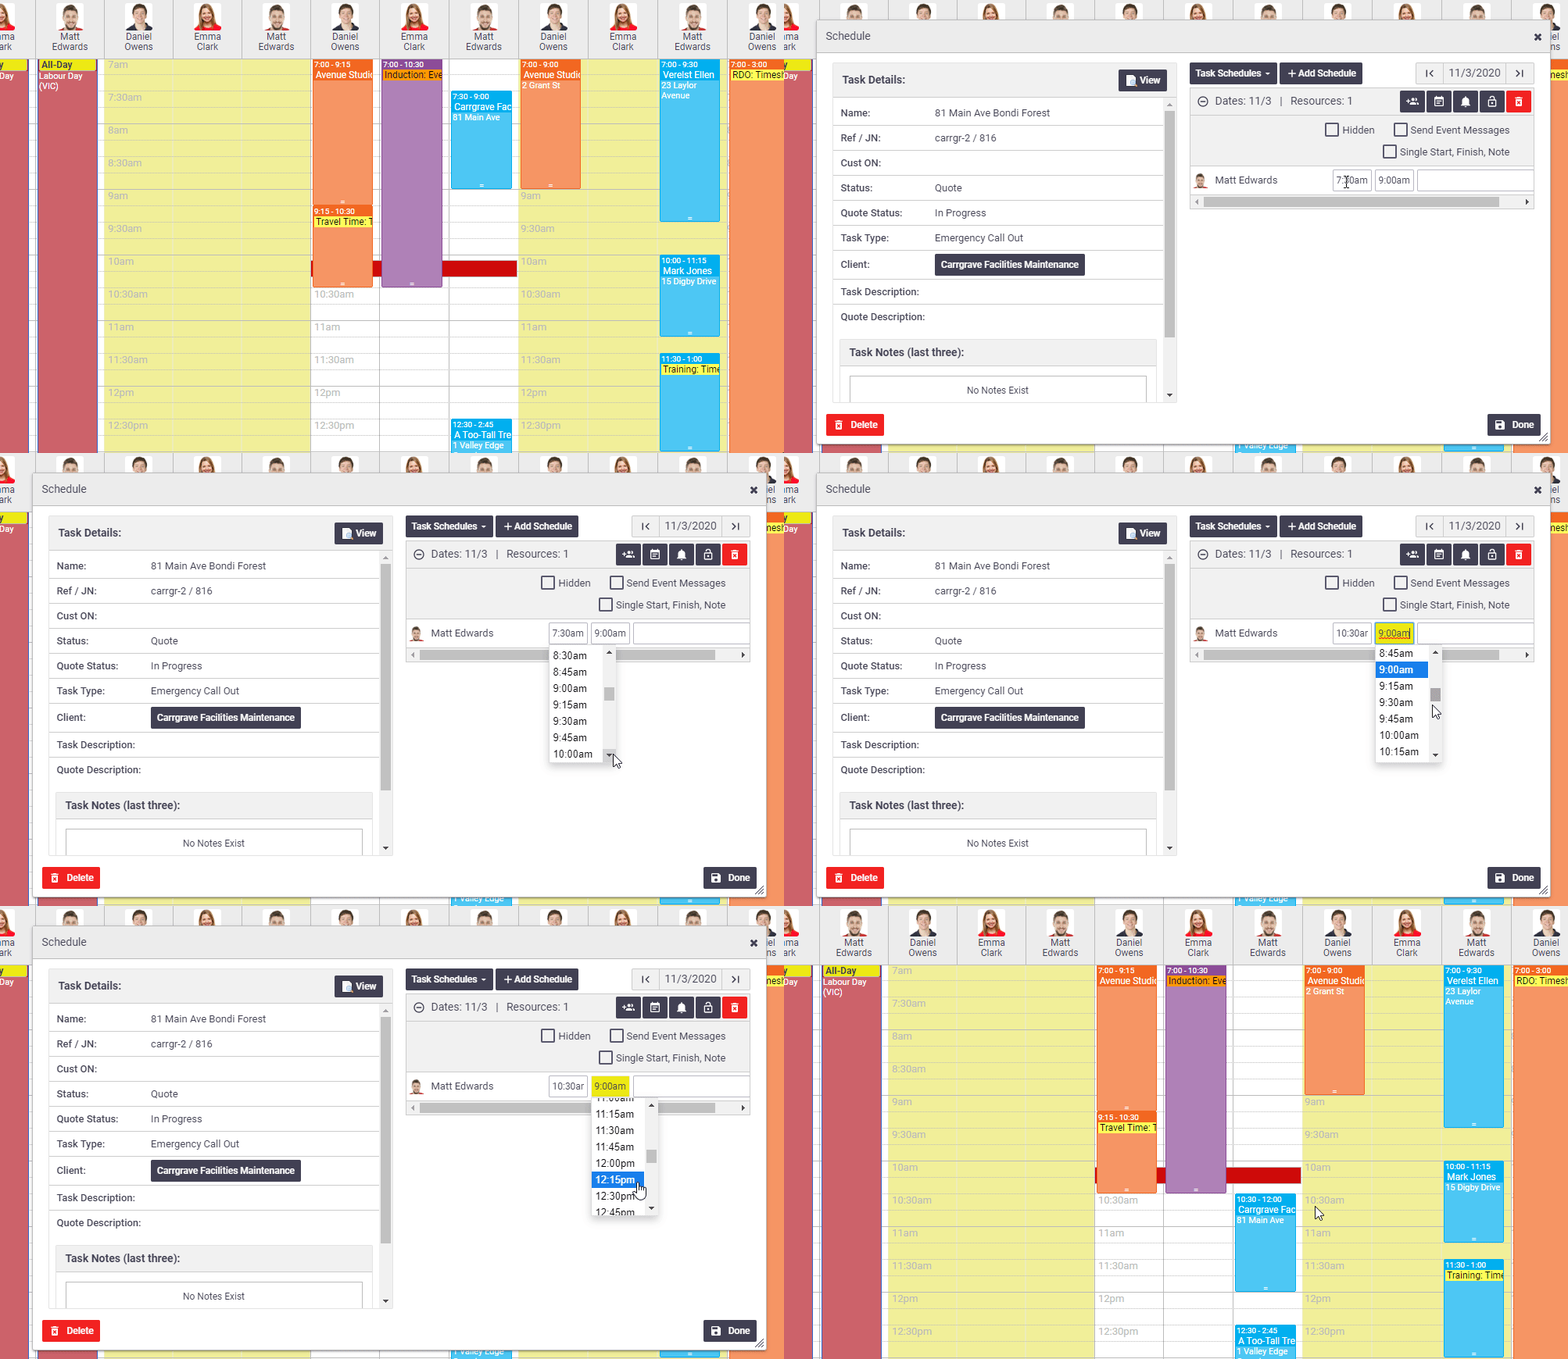
You can easily change the time of a schedule you have already created. This can be achieved in two ways:
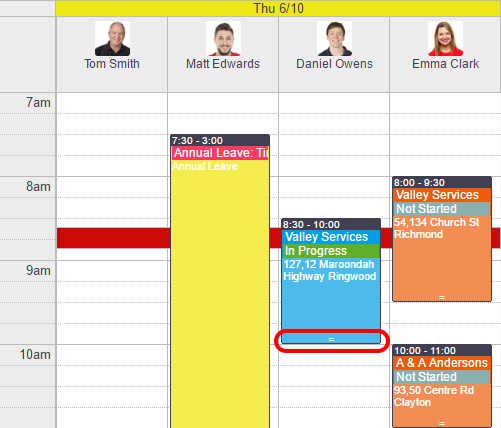
From the calendar view
Group Schedules If changing the time of a group schedule, you will notice that the groups move together to the new time. This means you don't have to move each schedule individually. |
 |
 |
From the schedule window
|
 |
 |
Change the schedule date
You can easily change the date of a schedule you have already created. This can be achieved in two ways:
From the calendar view
In your calendar, simply click and drag the schedule to a new date.
Group Schedules
If changing the time of a group schedule, you will notice that the groups move together to the new time. This means you don't have to move each schedule individually.
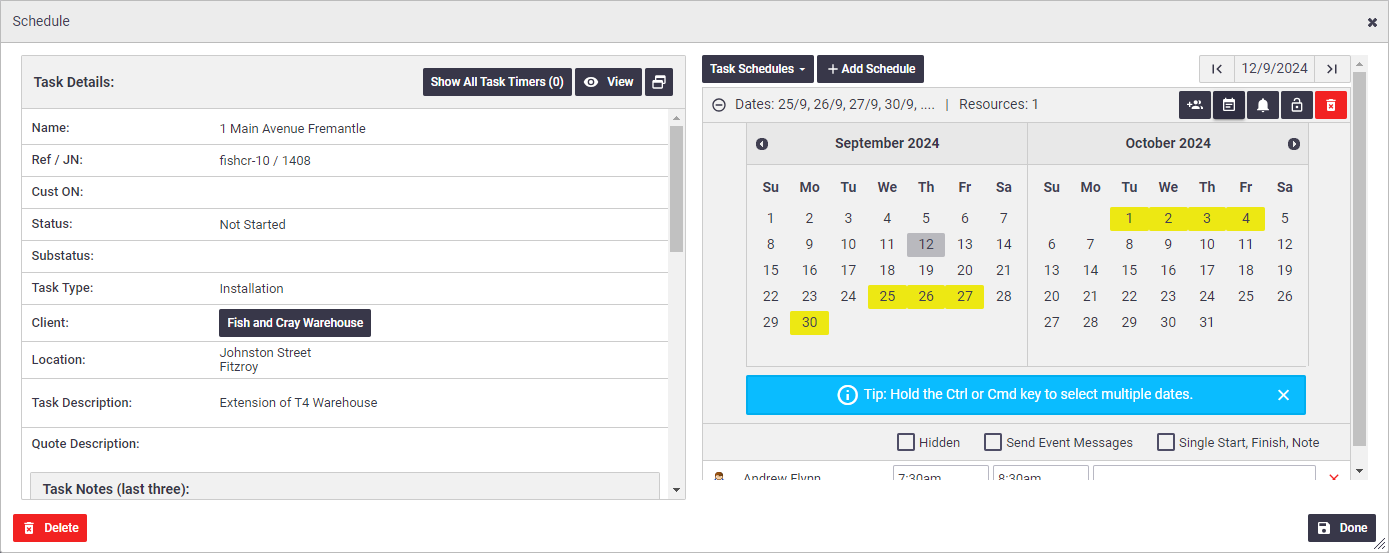
From the schedule window
|
 |
 |
Change the scheduled resource
You can easily change the resources of a schedule you have already created. This can be achieved in two ways:
From the calendar view
In the calendar resource view, simply click and drag the schedule from the current resource to the new resource.
When changing the resource in this way, be sure to move the schedule to a new resource within the same day, or you will change the date as well as the resource.
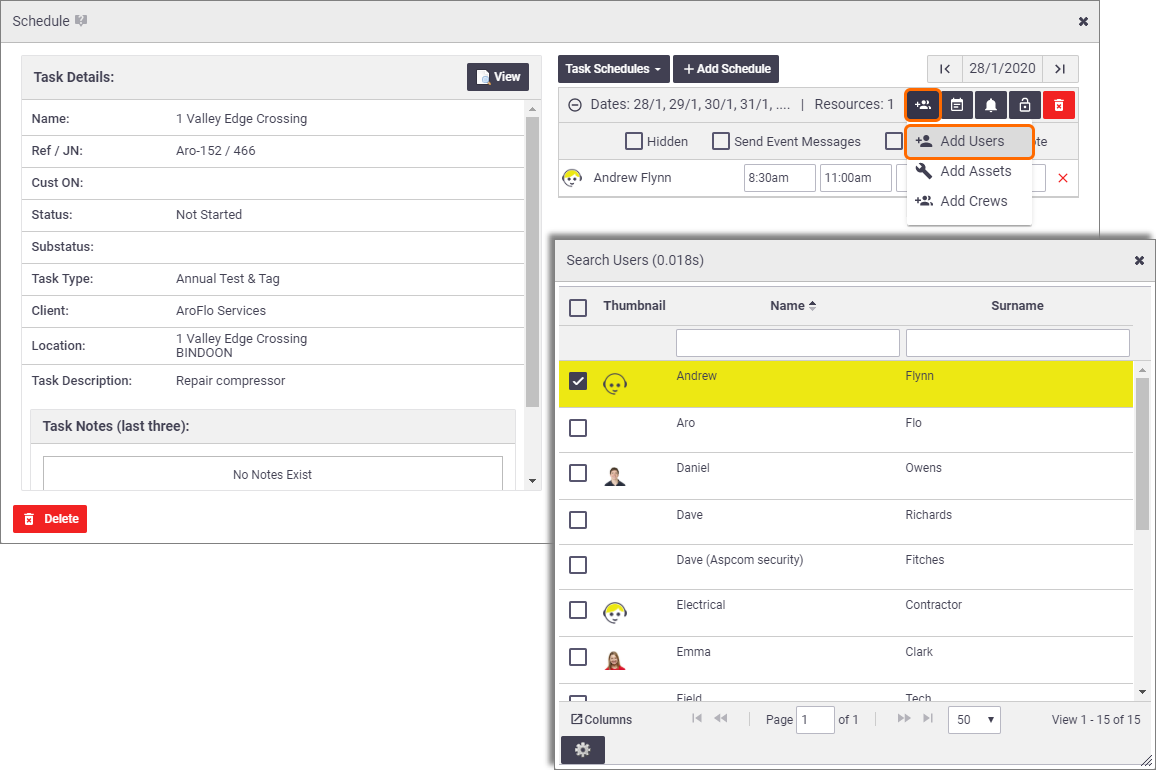
From the schedule window
|
 |
 |
Changing a multiple-day schedule
|
When you drag a calendar entry in a schedule group containing multiple dates, to a different date, time, or resource on the calendar, you will be prompted with how you would like to update your schedule, depending on the scenario:
Once you have decided how you would like your schedules to adjust, select the relevant option and Apply. |
 |
 |
Add schedule notes
|
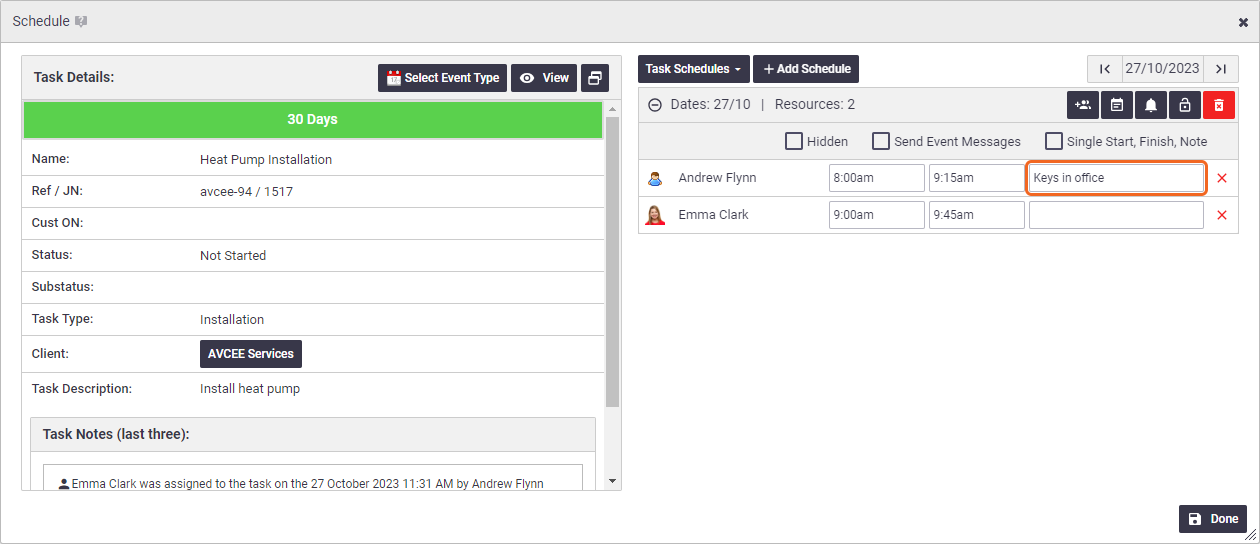
Schedule notes are used to communicate information to the scheduled resource before they attend a job or an ad-hoc event. These notes appear on the resource's scheduled task list within AroFlo Field, and are the first thing they see before opening the task or event.
|
 |
 |
Private Schedules
|
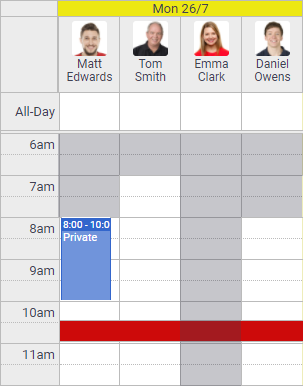
If you don't have access to view a task, the task schedule will appear as a private schedule and you won't be able to click it to view further information. Examples of access restrictions
|
 |
 |
Edit project task schedules
|
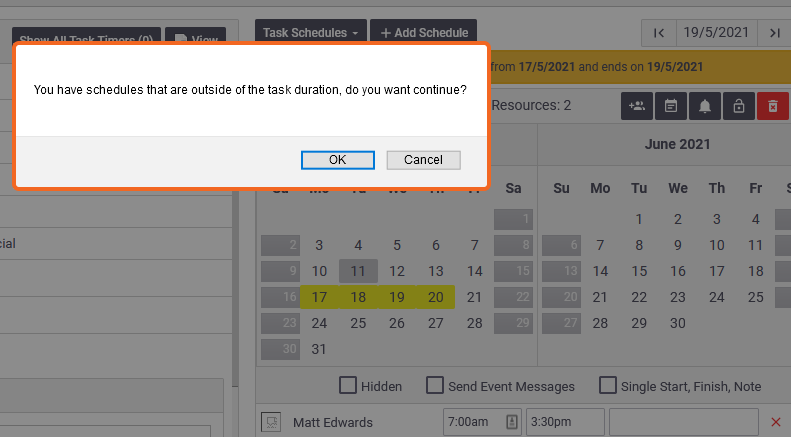
If the schedule you need to change relates to a task in a project that has a Gantt chart, changes you make on the Calendar will be reflected in the related Gantt chart. If you are increasing the task duration, you will have the option to cancel the change and make it via the Gantt chart instead. See Schedule Project Tasks for more information. |
 |
 |
 (calendar icon) to open the date picker.
 (calendar icon) to close.
 (two people icon) > Add Users to open the Search Users window.