|
Setting up Online Invoices consists of three steps, which are only done once.
|
 |
 |
Add 'View Invoice' button to Email Templates
|
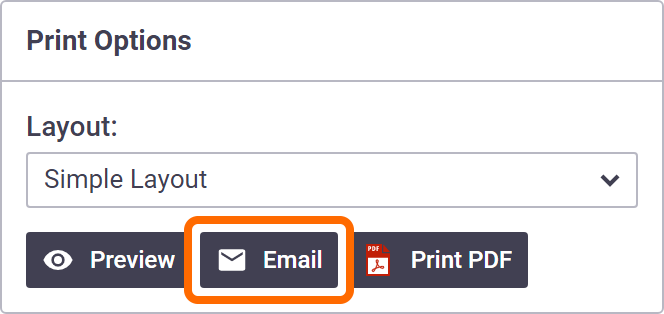
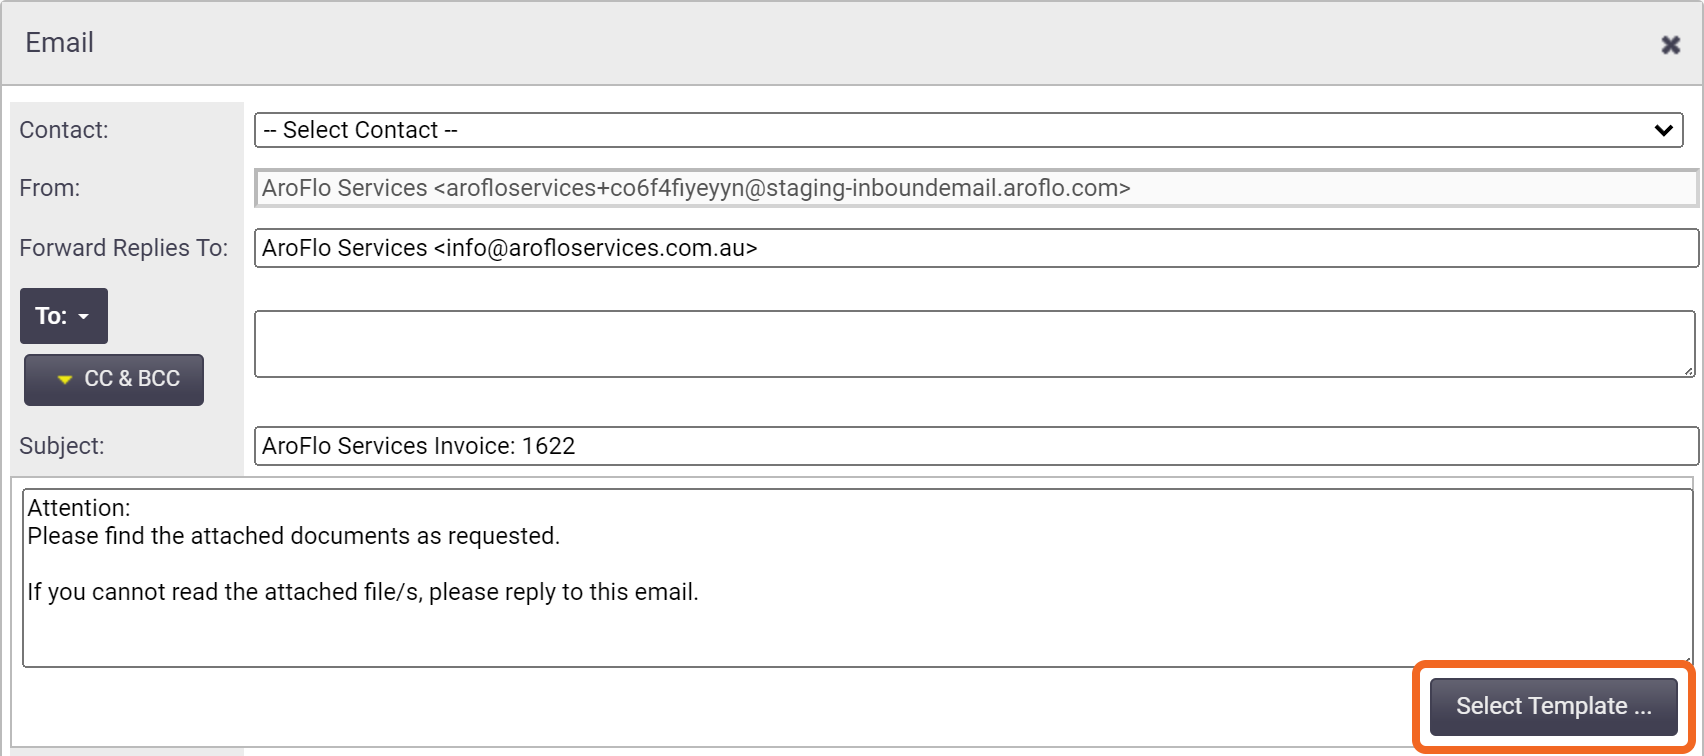
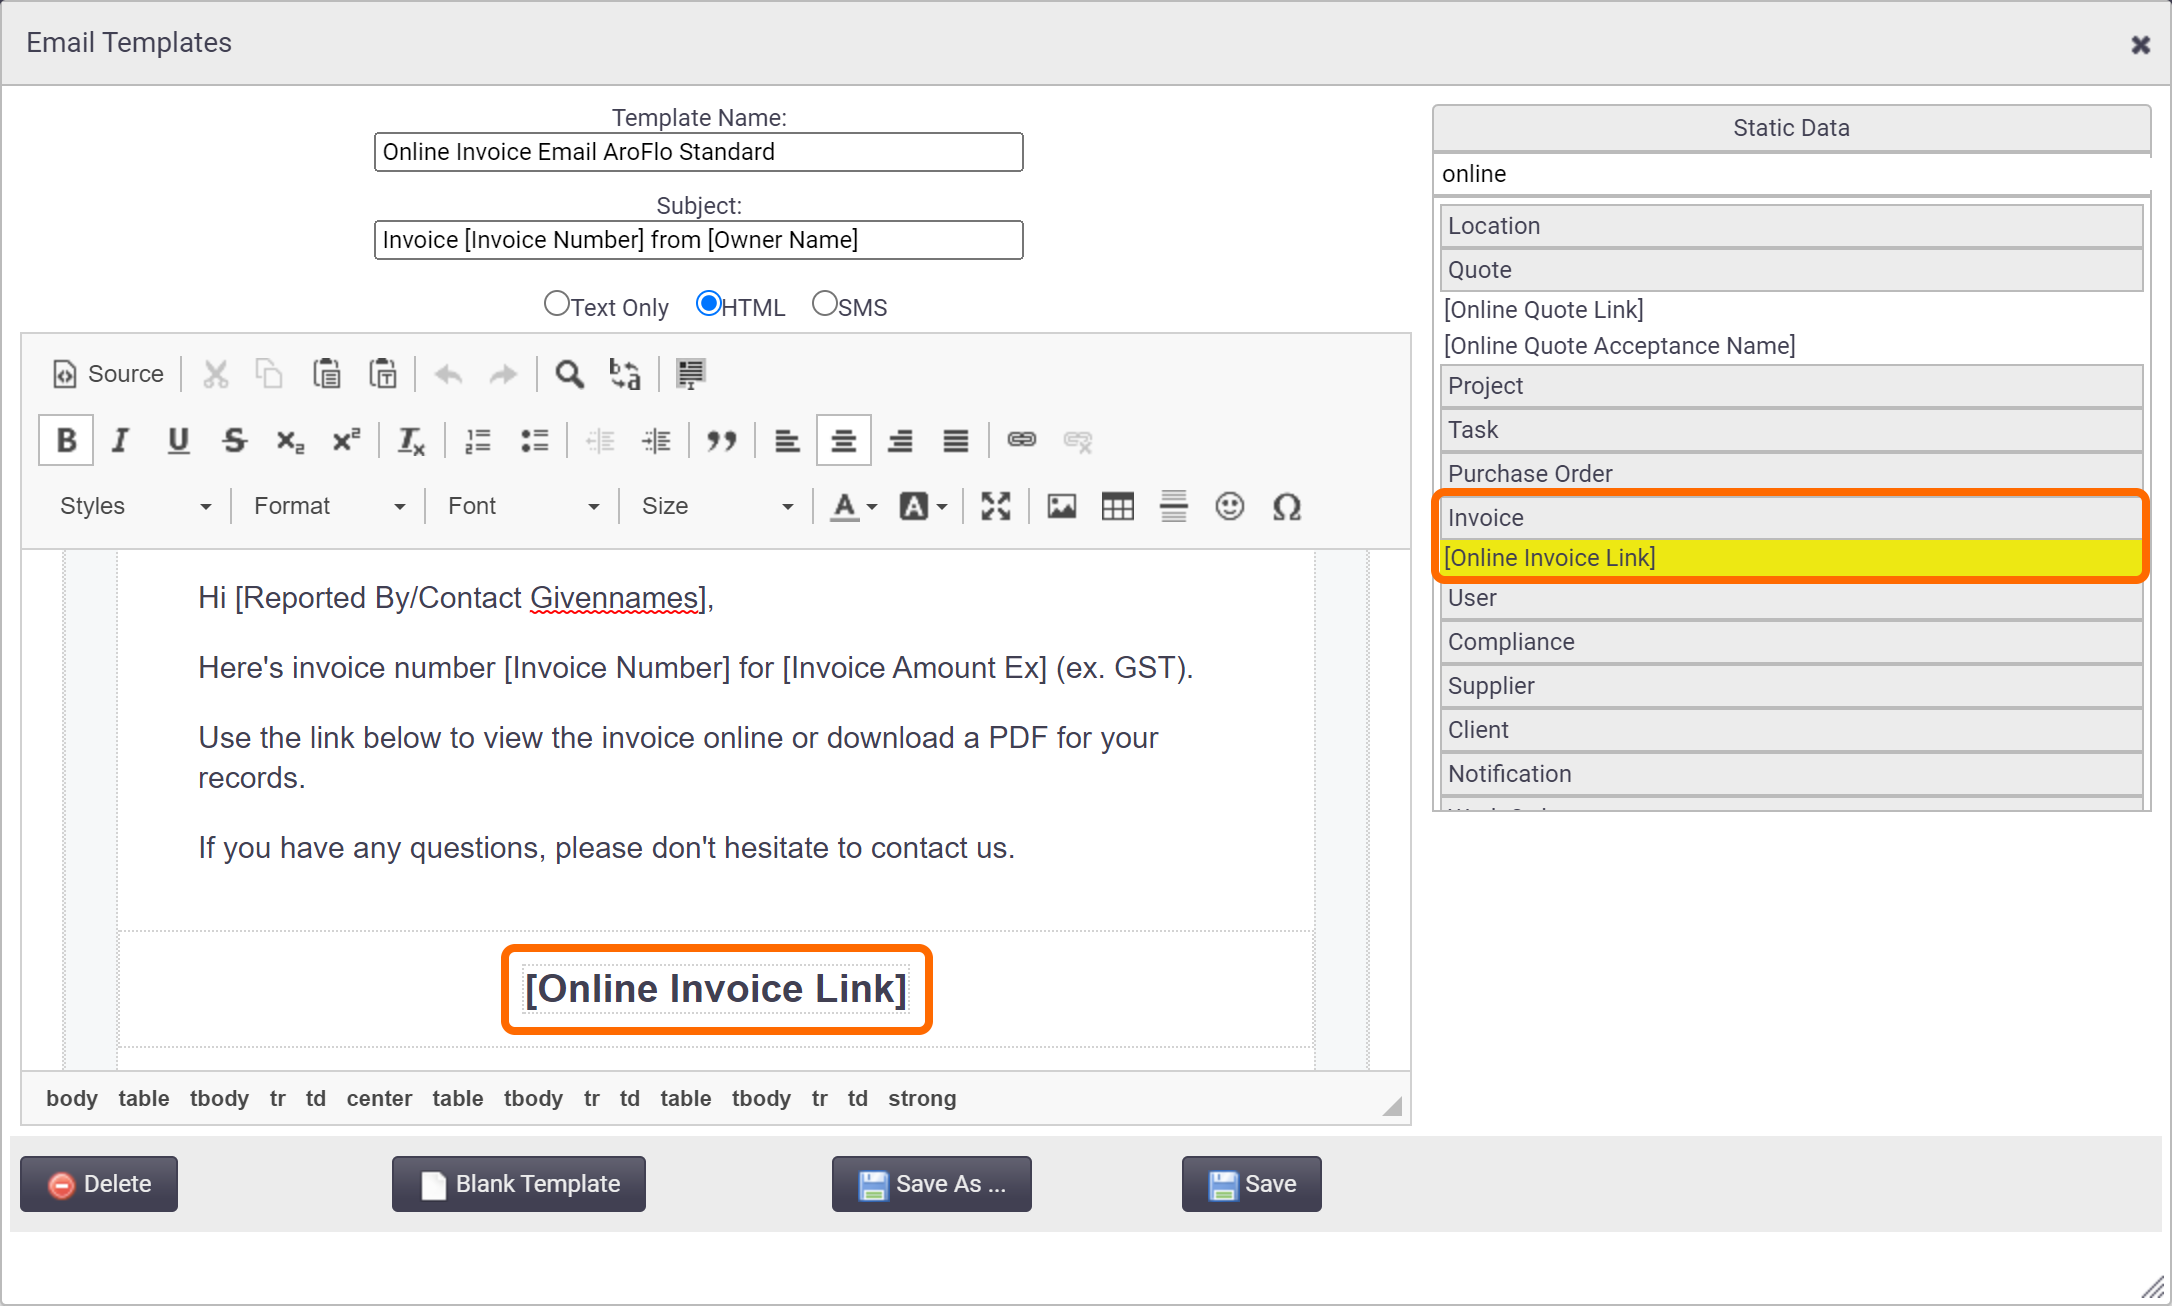
You can skip this step and use our free template. Select the Online Invoice Email AroFlo Standard in your email templates when sending your email. To add the 'View Invoice' button to your email templates:
The 'View Invoice' button will now appear when you select the email template. You can also set this template to be the default email body on invoices. |
 |
 |
Connect a Payment Gateway Provider (optional)
|
A payment gateway manages the online processing of debit and credit card payments and is required if you want to let your clients pay invoices online. Connect with AroFlo Payments via Site Administration to set up Online Payments. See Payment Gateways for full instructions. If you don't want to let your clients pay invoices online, you can skip this step. |
 |
 |
Change Online Invoice design (optional)
|
The content of the Online Invoice uses the selected layout set in the Print Options area of the Invoice. 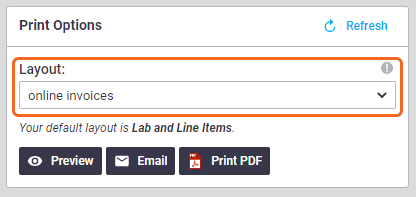 If you want to, you can create a customised layout for Online Invoices and even set this as a default either for all invoices, and/or for individual clients. |
 |
 |
Using multiple Business Units?
| If using multiple business units, we recommend using the (Owner) fields in your layouts as opposed to (BU) ones, to ensure the correct information comes through on the preview. | 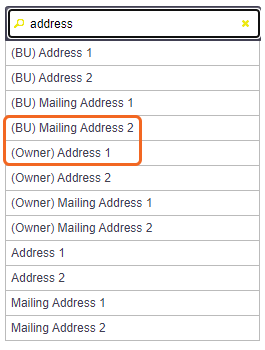 |
 |
Set Up Notifications for Online Invoices (optional)
Use Event messages to set up automatic alerts when:
- an invoice status changes
- a payment is made against an online invoice
- a client asks a question about an invoice.
Set Up Notifications for Invoice Status Changes
Set up an event message to allow you to set up automatic alerts when the invoice status changes.
This is ideal when:
- An invoice is pending approval and requires a review from someone else.
- You want to know that an invoice has been approved and is ready for client payment.
- You want to be informed if a user changes an invoice after it has been approved.
|
To set up a notification:
See the image for some suggested settings or expand the section below. |
 |
 |
Event Message Suggestions...
Event: Invoice Status - Approved
| Field | Suggestion |
|---|---|
| Send / Alert | At time of event |
| Template | Create a new email template called 'Invoice Approved'. The body could include the following: Invoice [Invoice Number] is approved and ready for client payment. (Task [Job Number][Task]). The balance remaining is [Invoice Balance Due]. Information about the job can be found here: [Task URL Link (office)] [Invoice URL Link] |
| From | Current User |
| To | Task Sales Person, Client Account Managers, Task Assigned To |
Set Up Notifications for Created Payments
|
By default, your AroFlo will automatically be set up to generate an email and notification for payments made against invoices to the Business Unit Manager. See Event Messages - Default Event Messages and Notifications for more information. If you want to set up a notification for others in your company, you can set up an event message. To set up a notification:
See the image or expand the section below for some suggested settings. |
 |
 |
Event Message Suggestions...
| Field | Suggestion |
|---|---|
| Send / Alert | At time of event |
| Template | Create a new email template called 'Invoice Payment Received'. The body could include the following: A payment of [Payment Amount] has been received for Invoice [Invoice Number] (Task [Job Number][Task]). The balance remaining is [Invoice Balance Due]. Information about the job can be found here: [Task URL Link (office)] [Invoice URL Link] |
| From | BU Manager Alternatively, for email event messages, select Custom to input your own 'from' email address, e.g. your accounts team email address. |
| To | Task Assigned To, Client Account Managers |
| Performers |
|
Set Up Notifications for Ask a Question
|
If a client asks a question on an online invoice, an email will automatically be sent to the Business Unit Manager. Click to see what the email looks like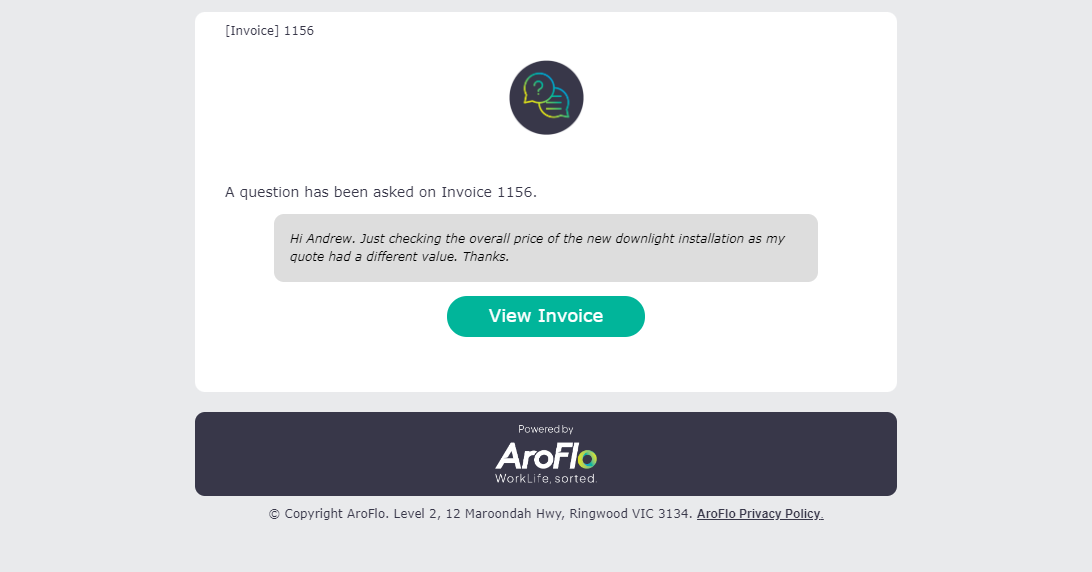 If you want to set up a notification for others in your company, you can set up an event message. To set up a notification for questions asked on an invoice:
See the image for some suggested settings or expand the section below. |
 |
 |
Event Message Suggestions...
| Field | Suggestion |
|---|---|
| Send / Alert | At time of event |
| Template | Create a new email template called 'Ask a Question on invoice'. The body could include the following: Client Name] has asked a question on Invoice [Invoice Number] for [Invoice Balance Due]. Information about the invoice can be found here: [Invoice URL Link] |
| From | BU Manager Alternatively, for email event messages, select Custom to input your own 'from' email address, e.g. your accounts team email address. |
| To | Task Assigned To, Task Sales Person, Client Account Managers |
| Performers | External |
Once you have completed setup, you can start using Online Invoices!
