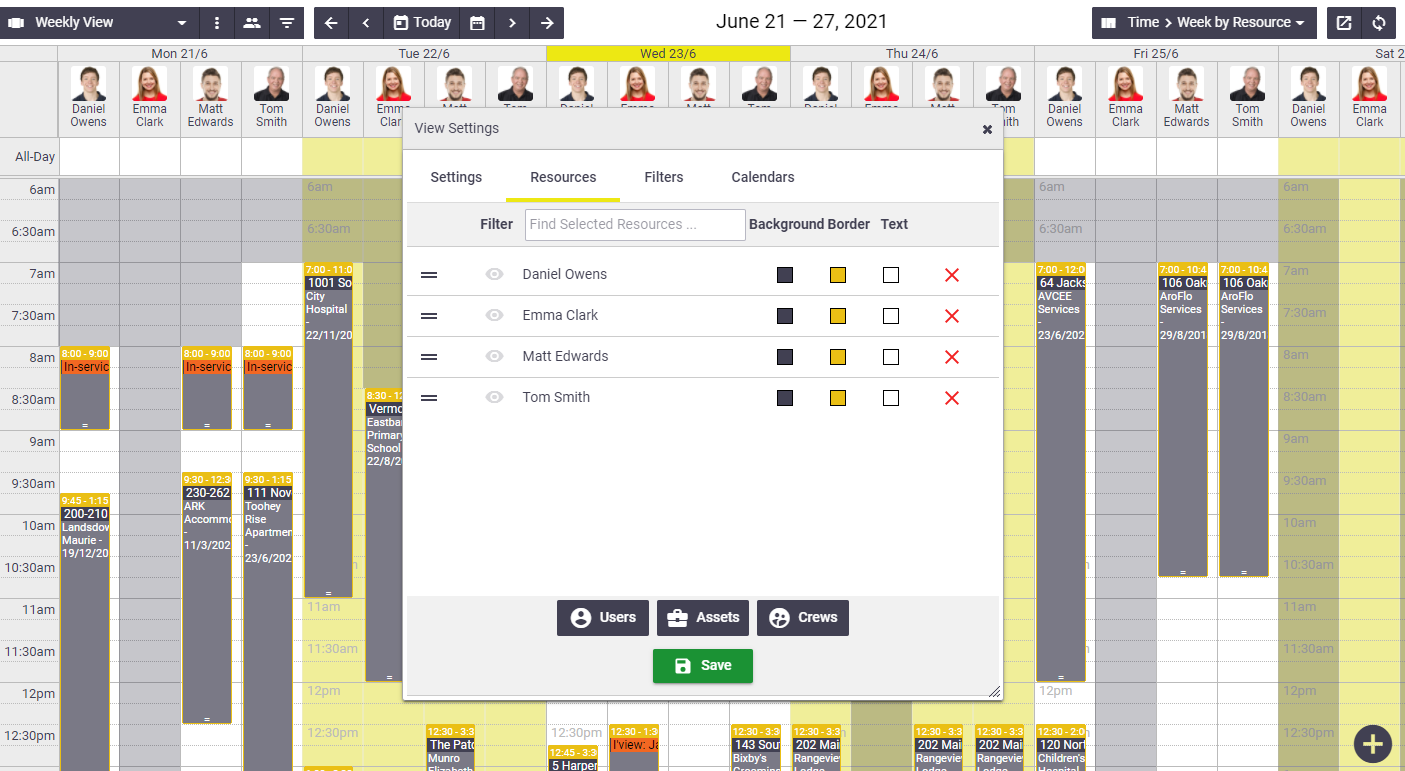
Resource settings allow you to add or remove resources (users, assets or crews) from your calendar, select colours for each resource, and set the order in which resources are displayed in your calendar.
|
Resources are visible within the following calendar views:
See Calendar Views for images of these views. |
 |
 |
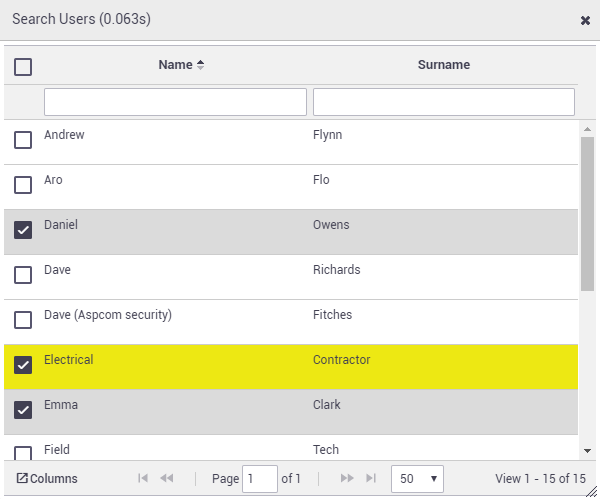
Add or remove resourcesThe AroFlo calendar lets you add resources such as users, assets or crews to your calendar view. To do this:
|
 |
 |
Change resource colour
You can change the background, border or text colour of schedules for each resource in your calendar.
What is a schedule?
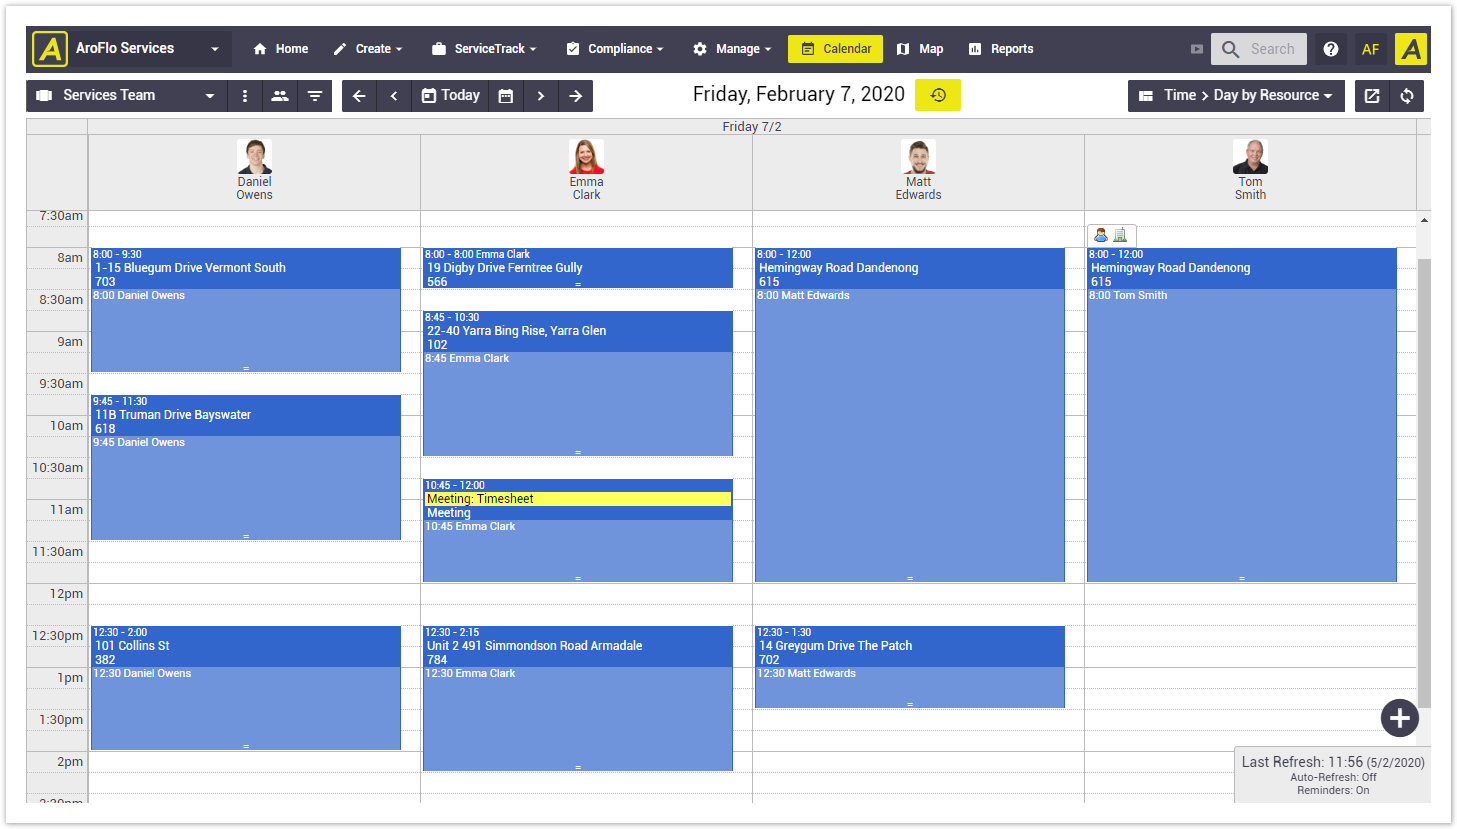
Scheduling is the process of adding tasks, timesheet overheads and ad-hoc events to various dates, times and resources on the calendar. A schedule is represented by a coloured tile on the calendar. The image below shows a number of schedules (the blue tiles). See Scheduling for more information.
- Click the
 (three dots) icon to access the calendar settings.
 - Click the Colours sub-section.
- In the Colour Schedule By dropdown, select Resources.
- Click Save.
- Click the
 (two people) icon. You'll notice that each resource now has three boxes to the right:
- To change the background colour, click the Background box.
- To change the border colour, click the Border box.
- To change the text colour, click the Text box.
See an example
In this image, the dark purple that forms the top and edges of the tile is the Border, the palest mauve is the Background, and the Text colour has been left as white. The yellow background to the 'Meeting: Timesheet' entry is AroFlo's default colour for timesheet entries. To change this default colour, see Colour Settings. 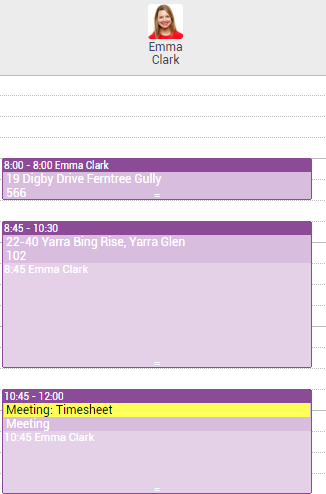
- Using the colour picker, select a colour by:
- Clicking and dragging the arrow up or down the vertical colour bar to your preferred colour (see below)
- Clicking and dragging the small circle in the colour square to your preferred shade (see below).
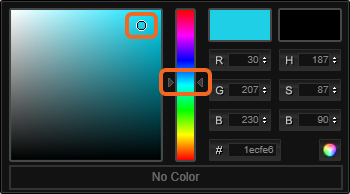
- Click to the next square on the resource's row and repeat the steps above.
- Click off the colour picker to close it.
- Click Save.
For more information, see Colour Settings.
Change resource order
You can change the order in which the resources appear in your calendar:
- Click the
 (two people) icon
 - Click and drag the
 (two bars) icon to move a resource up or down the list
 - Click Save.
 (bottom left) and select 'Archived'.