Table elements are used to display information pulled from AroFlo in a table format on a layout. There are a range of pre-defined tables available for each type of layout. Once a table has been added to the layout, you can easily modify its properties to show the level of detail that you require.
Add a new table to a layout
|
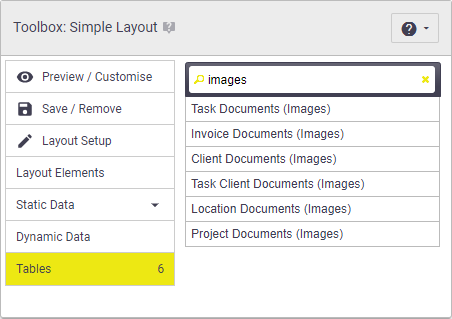
Once you've customised a standard layout, you can add in any number of tables that you require.
|
 |
 |
Edit table properties
|
The table properties allow you to modify the table format and behaviour.
|
 |
 |
Add or remove columns
|
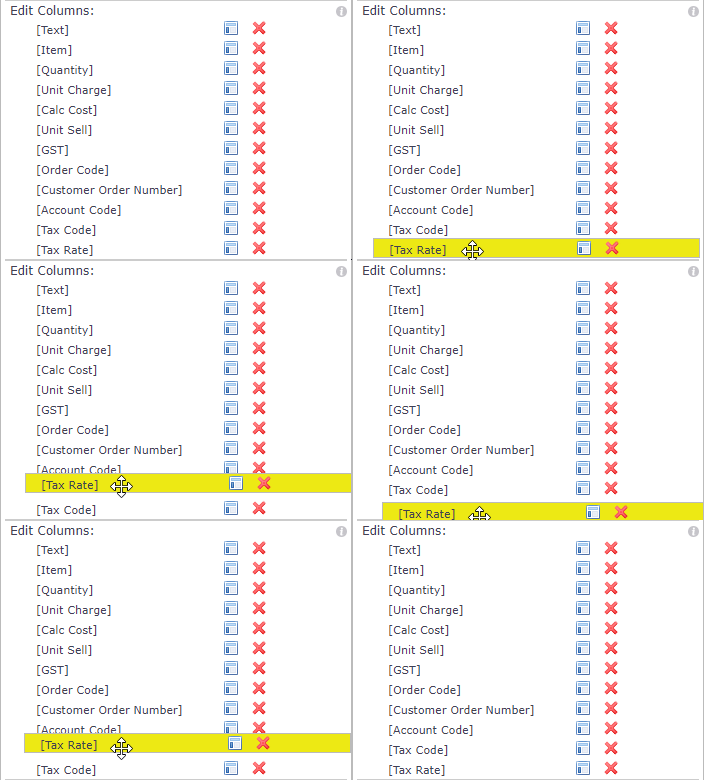
You can easily modify the level of detail shown within a table by adding or removing columns from the table. To add a column to the table:
To remove a column from the table:
|
 |
 |
Edit column properties
|
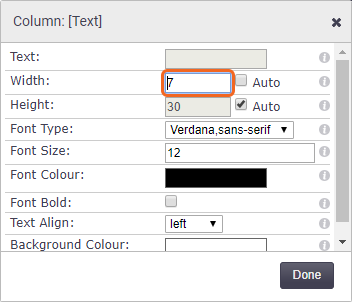
If you add or remove columns, you will need to edit the column properties to ensure each column fits nicely within the table width. You can also change the font type, colour and alignment to suit existing data elements on the layout.
|
 |
 |
100% Browser Zoom
If you have lowered your browser zoom setting on your device, it may affect your layout when viewing and printing.
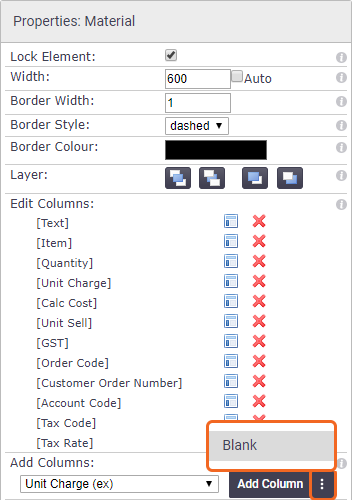
Add Blank Column
|
Adding a blank column is useful if you want to add some spacing either at the start or ends of columns, or in between. Sub Tables If you're using a sub table, either for linked task items or project progress claims, this feature is helpful in adding an indent for your sub tables.
|
 |
 |
Tips for adjusting columns
Start at the last column, working right to left, adjust the width and height for each column:
- Set the largest column width to Auto (e.g: Item, description)
- Set the column height to Auto
- Right align cost value columns (e.g: Charge Rate, Line Totals)
- Centre align the Quantity column
- Left align item/description and work type/ref code columns
Suggested column widths and alignment for commonly used tables
| Table Name | Column: Item or Note | Column: Work Type or Order Code | Column: Quantity | Column: Charge Rate | Column: Line Total |
|---|---|---|---|---|---|
| Labour | Auto (left align) | 100 (left align) | 80 (centre) | 100 (Right align) | 100 (Right align) |
| Material | Auto (left align) | 100 (left align) | 80 (centre) | 100 (Right align) | 100 (Right align) |
| Other/Sundries | Auto (left align) | 100 (left align) | 80 (centre) | 100 (Right align) | 100 (Right align) |
Sub Tables
If you're working on an invoice showing linked items either through linking task items, or through project progress claims, and you want these to be visible on your layout, there are four tables to choose from which allow for this:
| Type of table | What it displays |
|---|---|
| Material | Material line items from the Invoice worksheet. |
| Labour | Labour line items from the Invoice worksheet. |
| Other | Expense line items from the Invoice worksheet. |
| Invoice Lines | All three types of line items from the Invoice worksheet. |
Indenting a sub table If you want to indent the sub table, add a blank column to add some space. See Add Blank Column, above. Example of Invoice Lines table |
 |
 |
Quote Tables
When using any table with Quote Screen Layout in the name, and your quote contains either items which can be expanded (e.g. Assemblies, including ad-hoc assemblies, SOR lists, Task-specific lists), or takeoff sheets, how this displays on your layout will depend on whether the item is expanded or not. If necessary, click the folder to expand (  >
>  ) and Save your quote. See the below example.
The standard layout Detailed (Labour Cost) uses one of the Quote Screen Layout tables.
Show example

Asset Tables
|
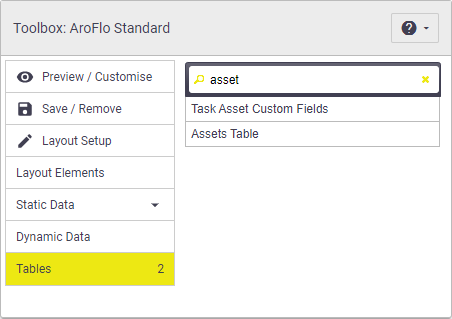
When working with Asset Tasks, there are two different asset tables to choose from to add to your layouts:
Alternatively, you can skip this step and use our prebuilt asset report layouts. See below. |
 |
 |
Prebuilt asset report layouts
|
To make asset reporting even easier, we've created a couple of standard task layouts available for you:
Both of these layouts contain a table called Task Asset Custom Fields. You can use these layouts as is, or for further customisation, you can:
Currently not supported for RTF layouts The Task Asset Custom Fields table is currently only available for standard layouts and is not supported for RTF layouts. |
Asset Report Simple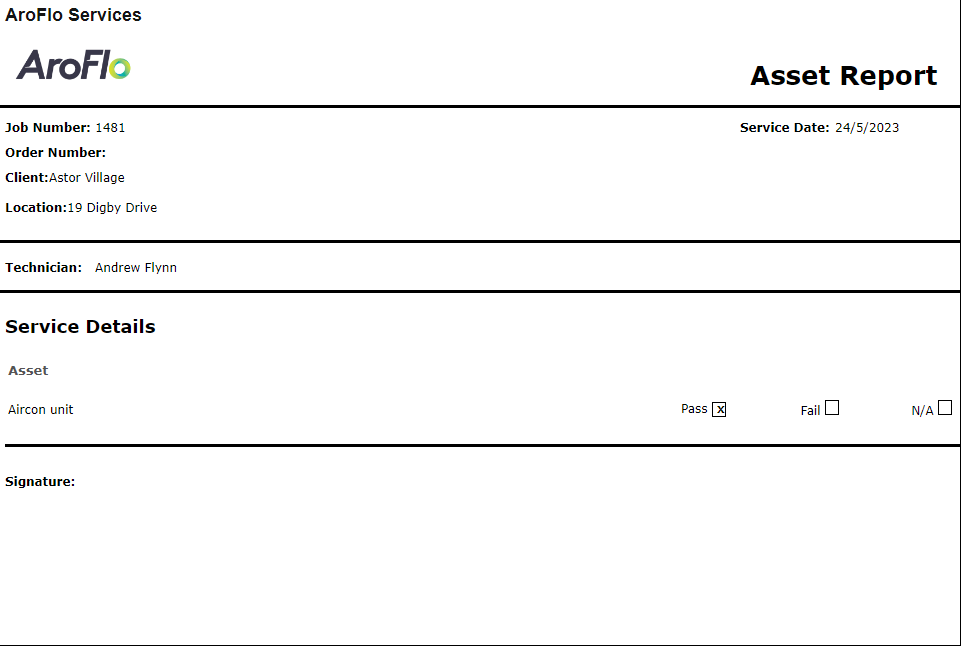 Asset Report Detailed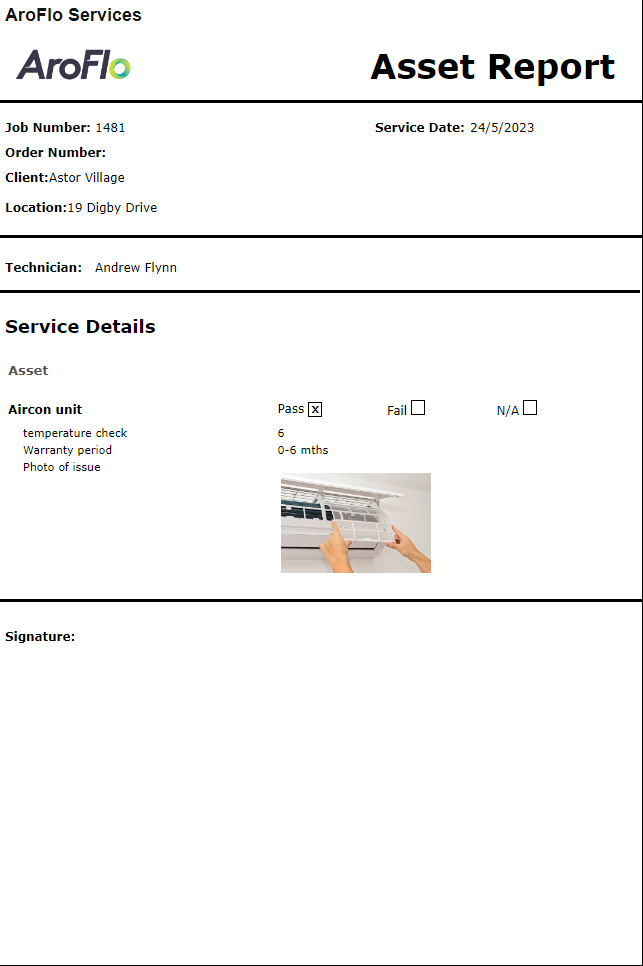 |
Asset Report Simple Asset Report Detailed |
Assets Table
| The assets table is similar to a checklist table and gives information about the status of assets on a task and whether they have passed or failed an inspection, and also includes the description, who it was checked by, and a date and time. You can customise the table by adding additional fields to the table such as asset task notes, images of the asset, and fields taken from the asset card including custom fields. | 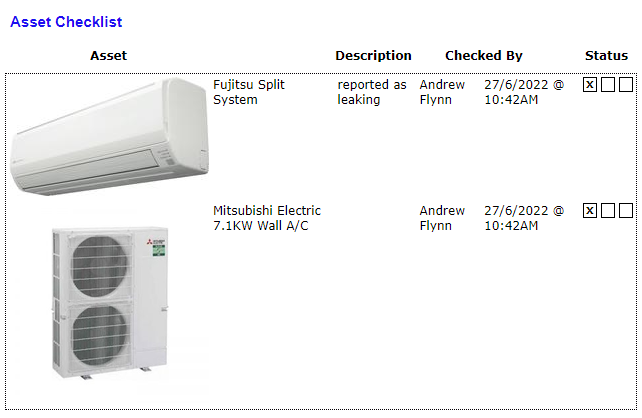 |
 |
Task Asset Custom Fields
|
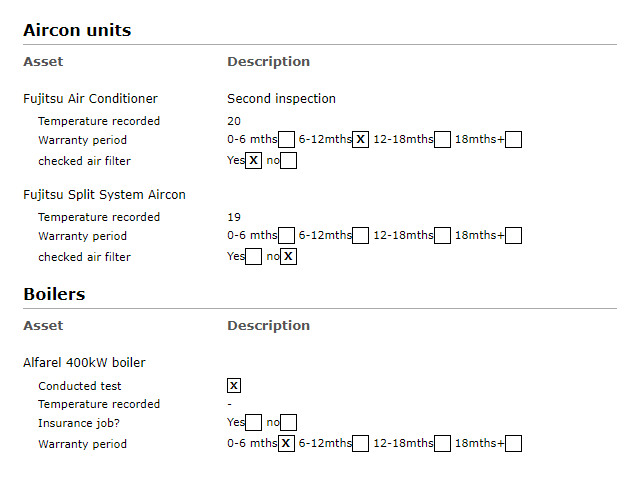
The task asset custom fields table also contains the main fields from the assets table, however, it is more suited to display information from task asset fields. Currently not supported for RTF layouts This table is currently only available for standard layouts and is not supported for RTF layouts. Using this table, the applicable task asset fields automatically display indented underneath each asset. Table columns The only column you need to include for this table is the 'Asset' one, but you can use additional columns as well like 'Description' (as pictured). Not wanting to show all fields? If you don't want to display all custom fields, tick the Hide Field List box and add the fields you want using the Add Columns dropdown. Task asset fields will be appended with (CF-TAS). This will display the fields vertically instead of indented underneath each asset. Include images To include the default image of your assets, add one of the Asset Document Default (Image) columns. |
 |
 |
Group By
|
Using this table, you also have the option of grouping the assets in the table by asset type, asset category, or asset checklist status. In the above image, we have grouped the assets by asset type. If you need to remove the groupings, select 'Ungrouped'. Group By filter Using the Group By filter will only display the selected grouping on your layout. Leave this blank if you want to show all groupings. |
 |
 |
 (three dots icon) next to Add Column and select Blank
