|
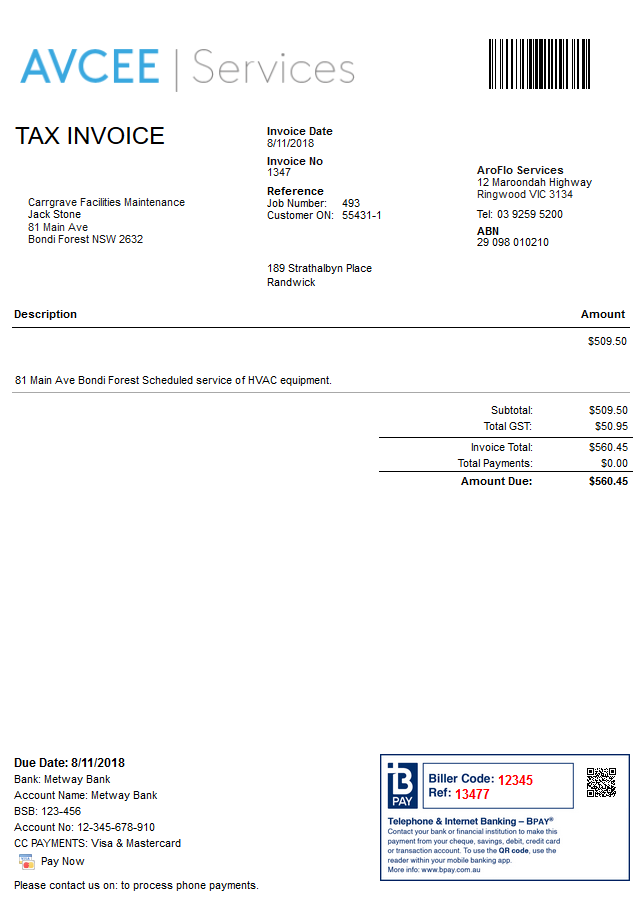
You can enable faster payments or automate data collection by adding barcodes to a layout. AroFlo includes a range of barcode options. From QR codes for payment (such as BPAY and GET PAID FASTER) to custom barcodes for machine-readable information (such as Task, Invoice, Inventory, Asset, Client, Location or Project data). Some use cases of layout barcodes:
To add a barcode to an RTF layout, see Add Elements to a Document Template. |
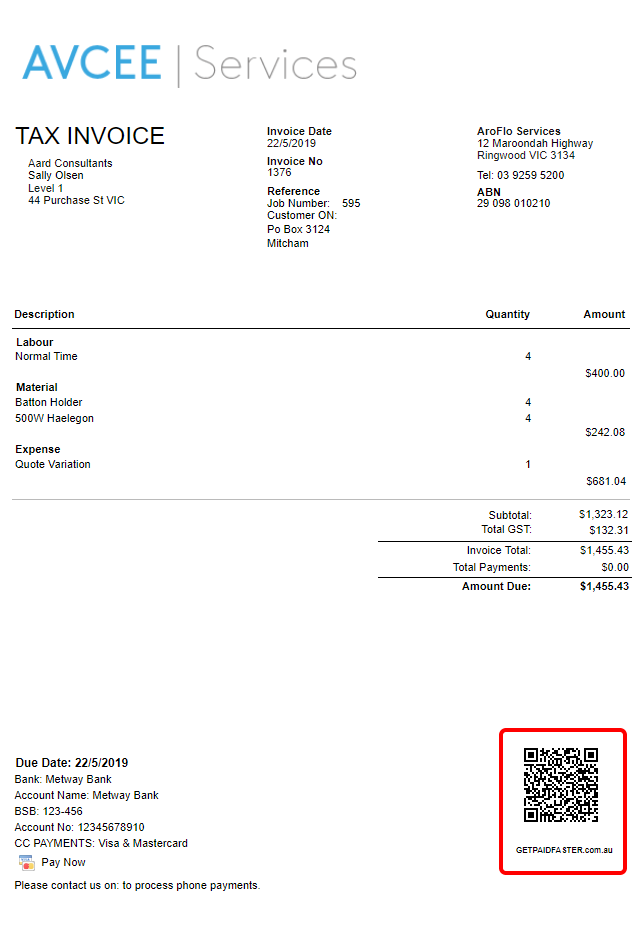 |
 |
Add a barcode element
To add barcode elements to your layout:
- Edit the custom layout you want to add a barcode to
- From the Design tab, click Barcode
- A barcode element will appear in the top left corner of your layout. Click and drag it to where you want it to appear on the layout
- Click the barcode element to edit it
- Click Setup
- Use the Barcode Setup window to apply a barcode design:
- To create a new barcode design, click the Manage Barcodes tab and refer to the section below
- To apply an existing barcode design, select a barcode using the dropdown on the Current Barcode Setup tab and Save.

Manage Barcodes
|
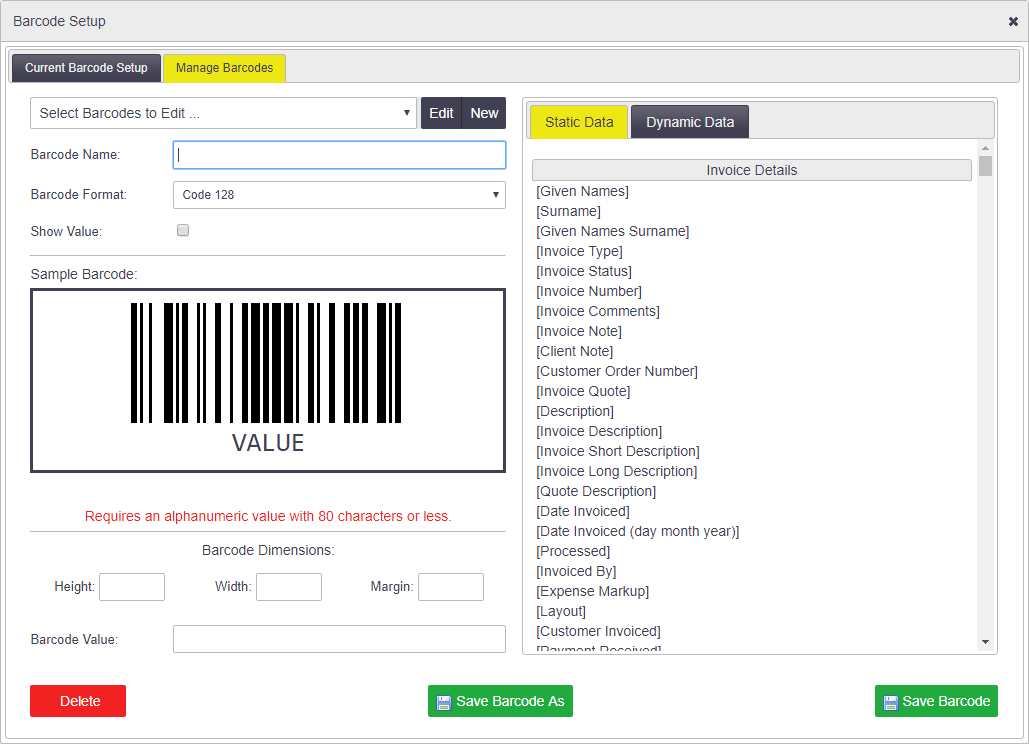
Use the Manage Barcodes tab to create a new barcode design or edit a existing ones. This could be a BPAY QR code or a custom Code 128 barcode. Once created, you can apply these barcode designs to the barcode element on your layout.
|
 |
 |
BPAY QR/Standard Barcode
|
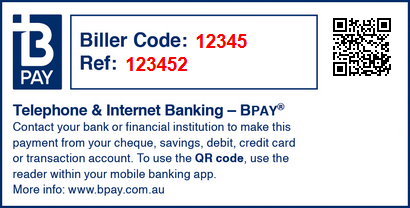
Both BPAY barcode types are custom barcode formats which require setup in Site Administration before they can be used on a layout.
|
 |
 |
GET PAID FASTER QR Barcode
|
This is a custom barcode format which requires setup in Site Administration before it can be used on a layout.
|
 |
 |
Link to Task
|
You can also add a QR code linking to a task so that so that users can easily scan the code using their phone or tablet to navigate straight to the task in either AroFlo Office or Field.
|
 |
 |
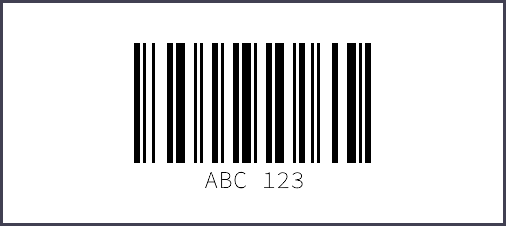
Other barcodes
|
 |
 |
|
Once your barcode has been set up, you can save and preview the layout to see what it will look like. If your barcode does not display, please check the static or dynamic data being used to generate the barcode. The data may be blank or invalid (e.g. too many characters, invalid characters etc). |
 |
 |