|
Access your purchase orders within AroFlo Field from:
Access Purchase Orders on a TaskYou can access Purchase Orders on a Task via:
|
 |
|
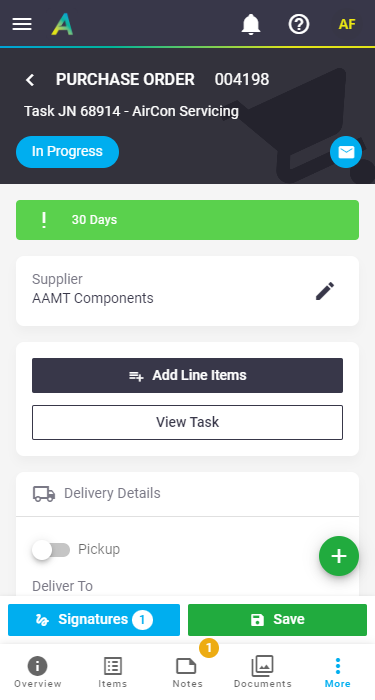
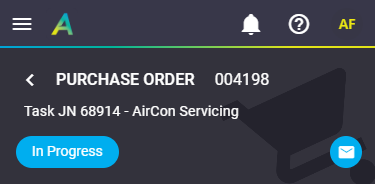
Order Header
|
The purchase order header displays the order number, and tells you whether it's a stock order or a task order. Also included is the purchase order status and the option to email your order. Fill out the necessary details as per below and then Save your order. Purchase Order status explanationsThe statuses are colour-coded. 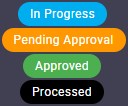 Purchase Order statuses are read-only and can only be changed in AroFlo Office.
|
 |
||||||||||
|
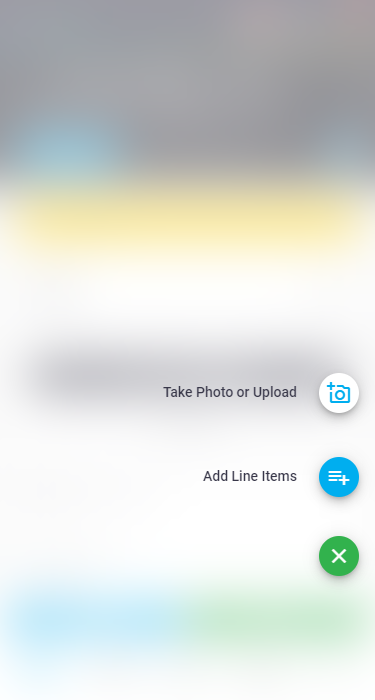
Purchase Order shortcuts
|
Tap the plus button
|
 |
||||||
|
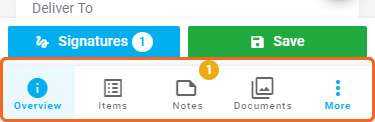
Purchase Order tabs
|
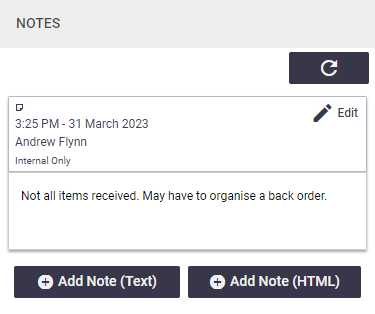
The Purchase Order worksheet is broken up into four tabs: The Notes tab contains a counter of how many notes are on the order. |
 |
|
Overview tab
The Purchase Order Overview gives you the main details of the order, and is broken up into sections. How much information is available is dependent on what's been included on the order.
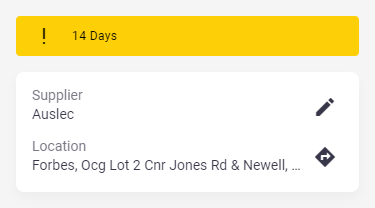
Supplier Information
|
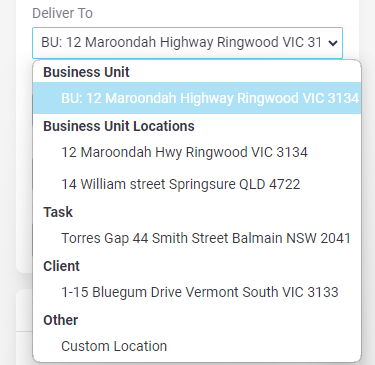
The supplier selected for the order is shown at the top of the order and includes the supplier's transactions terms banner (if set). See Transaction terms. If you selected a location, this will appear here as well. Shortcuts
|
 |
|
 if you need to
  to navigate to the location using your device's default maps app.
Items/Task info
|
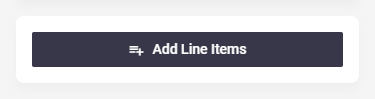
This is a quick place to see how many items have been added to your order. Tap View Line Items (x) or Add Line Items to go to the Items tab and add further items if needed. see Adding Purchase Order Items. If on a Task order, you'll also have a link to the task the order was raised from. |
  |
|
|
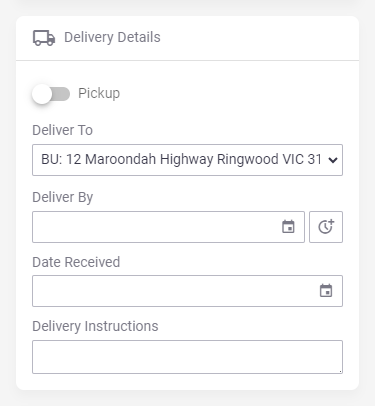
Delivery Details
|
Pickup from supplier If you are organising collection from the supplier, you can tap the Pickup slider to hide all fields except Date Received.
|
 |
||||||||||
|
 if you need to add a Deliver By time.
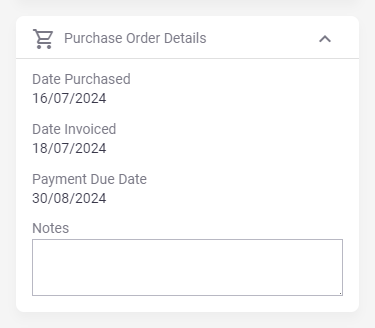
Purchase Order Details
|
 |
||||||||||
|
Assign Stock To
|
When adding items to an order, you can assign items to a user, storage location, or stock. The Assign Stock To field defaults to the user who is currently logged in. To assign new items to another user, storage location or stock, make your selection before adding items to the order. Remember User Tick Remember User to set your selection as the new default. |
 |
|
Custom Fields
|
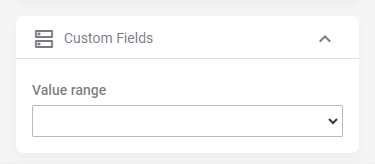
If you've set up custom fields for purchase orders, these will display at the bottom of the worksheet. See Custom Fields for more information, including types of fields and how you can use these in your workflow. Tap |
 |
|
Other tabs
Notes
|
Record more specific information about this purchase order (e.g. information regarding purchase order items) and/or view existing notes. Read more on notes. |
 |
|
Documents
| View and/or upload photos and documents to the purchase order. For example, copies of tax invoices for your items. | 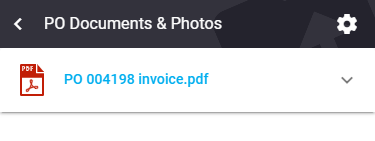 |
|
More
|
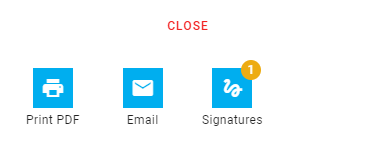
All other applicable aspects related to the purchase order appear in the More tab, in the form of a pop-up.
|
 |
||||||||||
|
Other options
These options appear on most of the five tabs available to you:
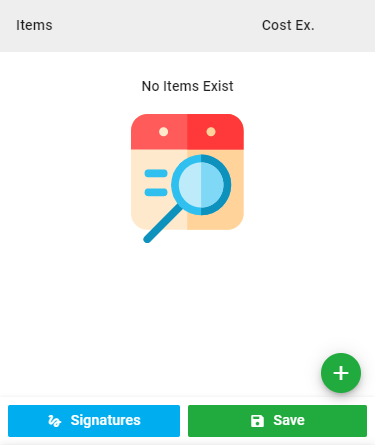
Signatures
|
Tap Signatures to capture a signature or view existing ones. This is available on all tabs except More. You can also view captured signatures from More > Signatures. You can only capture a signature when your purchase order is in the In Progress and Pending Approval status. |
 |
|
Save
| Tap Save to save the purchase order. Once you save, the information will be available to all users (in accordance with their access permissions) using AroFlo Field or Office. This is available on all tabs except More. |  |
|