Uploading documents and photos can be useful when you need to provide photos of completed work or upload documents relevant to the job.
You can add documents and photos in several areas in AroFlo Field, including a task, checklist item, client card, and location.
See below for a few of these areas.
Interested in learning through an interactive course in the AroFlo Academy?
View documents and photos
Go to the area you want to view already existing documents and/or photos:
Click here to see a list of areas you can view documents and/or photos
Document Directory
|
AroFlo's Document Directory is a repository for documents and photos that you need to use regularly, e.g. terms and conditions, pricing schedules, info sheets, product photos. To access the Document Directory in Field, tap Main Menu > Manage > Documents. |
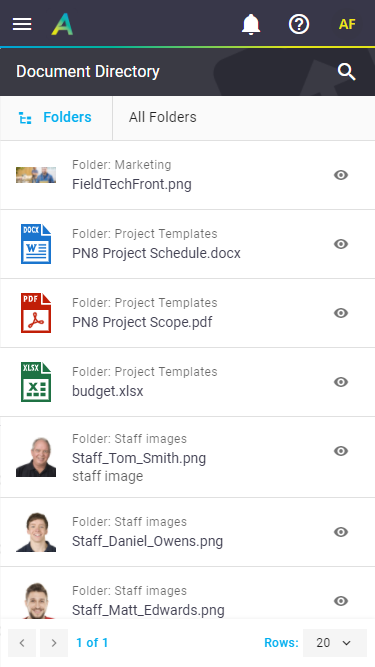 |
 |
Task
Looking for Project documents?If you're on a project task, you'll also have the option to view Project documents via the More tab > Project Documents. |
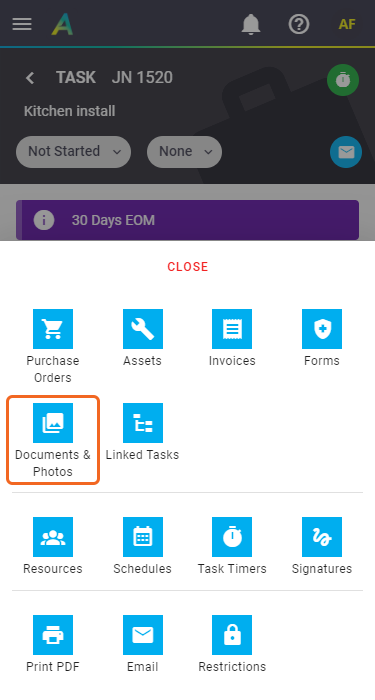 |
 |
Task (Custom Field)
|
Your business may have custom fields to upload and view documents. These appear in the Task Overview tab.
|
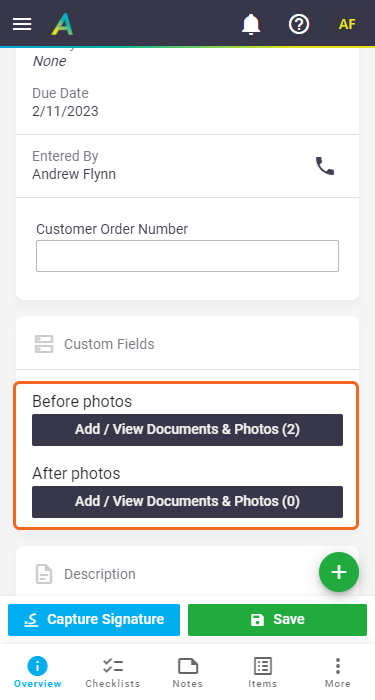 |
 |
Quote
|
 |
 |
Checklist item
|
 |
 |
Project
Project Documents can also be viewed from tasks within a Project. |
 |
 |
Purchase Order
|
 |
 |
Client
|
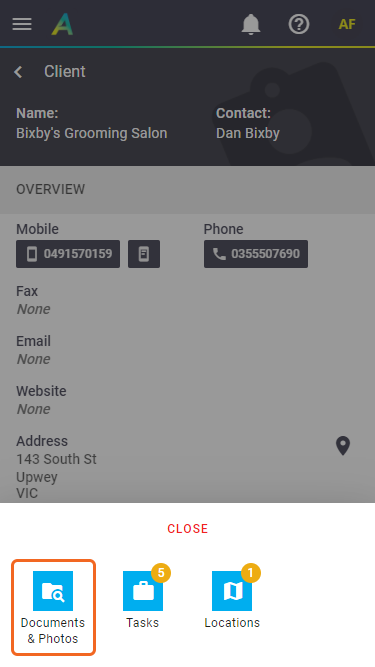 |
 |
User
|
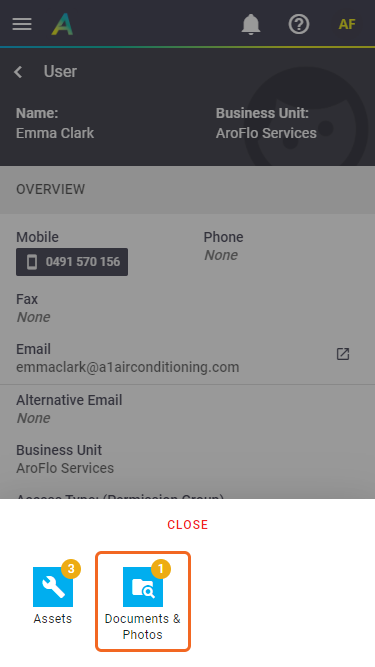 |
 |
Asset
|
 |
 |
Inventory item
Location
|
 |
 |
Compliance Form
|
Via a task:
Via Compliance form itself:
Custom Forms can also contain Documents & Photos fields. Tap Add Documents or Photos to get to the upload options. Show this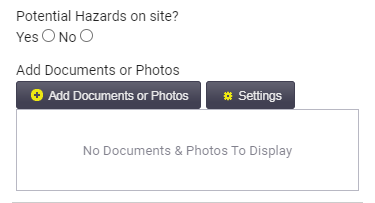 |
 |
 |
Adding documents or photos
- Go to the area you want to add a photo or document to (see View documents and photos, above)
Adding files to Projects and the Document Directory
Documents and Photos for Projects and the Document Directory can only be uploaded using AroFlo Office.
- Tap the
 (green plus) to be presented with the following options:
- Document Directory (Tasks or Quotes only) - to use a document or photo from your Document Directory
- Upload Files - if the file or photo already exists on your phone.
- Take Photo - if the file or photo does not yet exist on your phone.
Document Folders
If dealing with a Task or Quote with document folders, you may want to select a folder before you upload or take a photo. See Document Folders, below.
Choose how you would like to upload your document/photo:
Apple devices only - camera settings
|
To ensure photos taken from your device can be uploaded into AroFlo, we recommend Camera Capture is set to Most Compatible. For iPhones 15 and above, we also recommend your Photo Mode is set to 12 MP. |
 |
 |
- Tap
 > Upload Files
- Select the option that best represents where you'd like to upload your file from
The available upload options are dependent on your phone manufacturer.
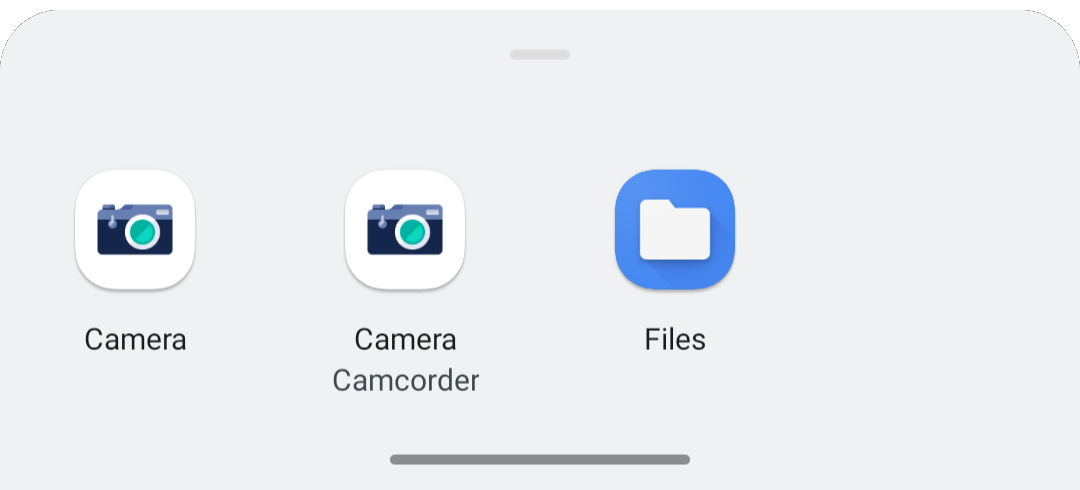
- Locate and select the file(s) you want to upload
You can select multiple if necessary.
- Save Documents.
Your document(s) or photo(s) will be saved.
- Tap
 or
or  > Take Photo
The available camera actions are dependent on your phone manufacturer and you may need to select your camera application.
- Take the photo. After capturing, two options appear: Retry or OK.
- Tap OK to upload your photo.
- Repeat as necessary to take more photos
- Save Documents.
The name given to the file is dependent on your phone manufacturer.
To change the name of a photo, either save it to your camera roll and rename it before uploading it to AroFlo, or use the rename function (see below).
- Tap
 > Document Directory
- (optional) use the folder structure to display the relevant files
- Tap the check box beside each photo you want to upload
- Select Documents
- Save Documents.
Your document or photo will be saved.
Document Folders
Document folders can only be created using AroFlo Office.
|
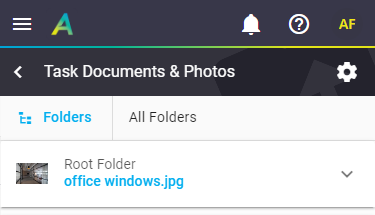
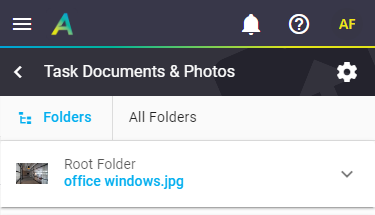
The Document Directory, Tasks, Quotes, and Projects have the additional option of displaying Document folders. When you enter the Documents and Photos section, documents and photos in 'All Folders' will automatically be shown and the name of the folder will be listed above each item. To view a particular folder, tap Folders to open the directory structure and select from the list. From there you can upload to that particular folder. Show this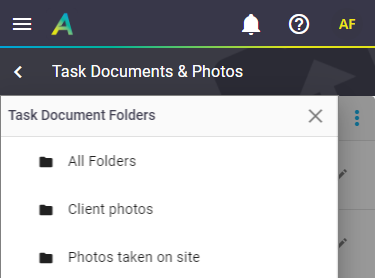 If you don't select a folder when uploading, your photo or document will be added to 'All Folders' and show as 'Root Folder' in the list. Project Documents and PhotosTo display the folder structure for Project Documents when accessing from a Project, use the Filter By 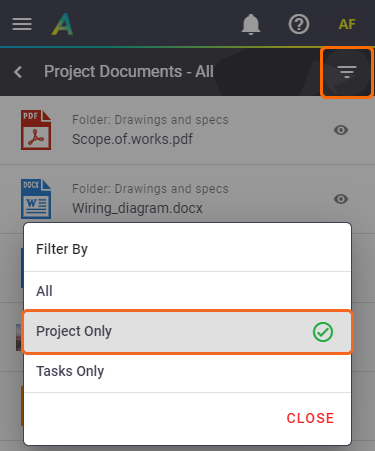 You can also access Project Documents from a project task (More > Project Documents), however, you can only view the project's folder structure from the project itself, as above. |
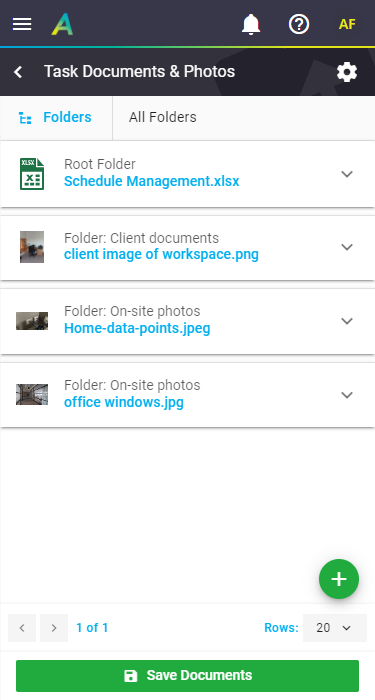 |
 |
Manage your document or photo
|
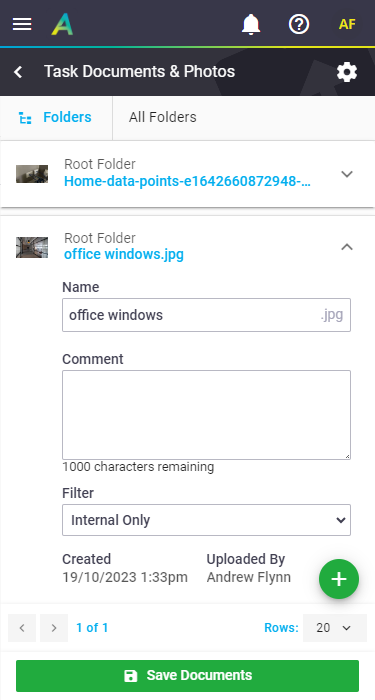
Once you've added the document or photo, tap the:
Remember to Save Documents to update your changes. Projects and the Document Directory Project Documents and the Document Directory are Read-Only so you won't have the full options available to you. You can, however, tap the Description of fields
|
 |
||||||||||||||||
 |
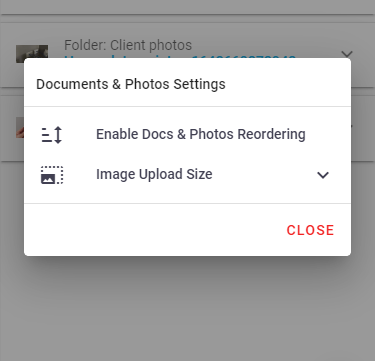
Document and Photo settings
|
Tap the Unavailable for Project Documents or the Document Directory.
|
 |
||||||
 |
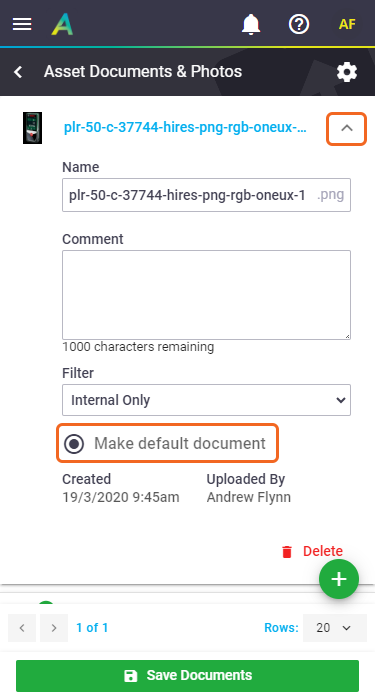
Changing the default document or photo
For inventory items, assets, and users with multiple images attached to them, you can change the thumbnail that displays next to the item/user when viewing from a list.
From the Documents & Photos area:
1. Update default document
|
 |
 |
2. Result
| The file will have a green tick next to the default document. |  |
 |
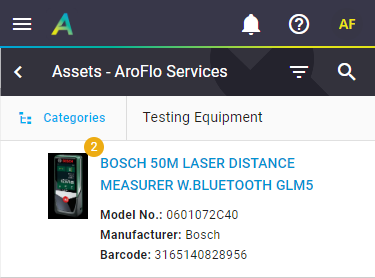
3. Refresh the list
|
When viewing the list again, the thumbnail will have changed. If there are multiple documents and photos attached, a counter will display to let you know how many are attached. Tap the thumbnail to preview the photo or document and cycle through them if there are multiple. |
 |
 |
GPS Data on photos
When uploading a photo taken from your device into AroFlo, the following data is recorded, provided your device is supported:
- the date the photo was taken
- the GPS location.
This information can be found in AroFlo Office in the Documents & Photos tab of a task and quote, and it can also be used for layout fields and reports.

Supported Features for Mobile Devices
Android devices:
- GPS Location and Date/Time Uploaded from Gallery
- GPS Location and Date/Time Uploaded from Photo Capture* (Some Android devices like the Google Pixel 6 are unable to return Date/Time Uploaded details)
iOS devices:
- GPS Location and Date/Time Uploaded from Gallery (only iOS +17)
Uploading options
In order for the date and location data to be recorded in AroFlo, you need to upload images from your camera roll as opposed to using the Take Photo option (iOS devices only).

 beside the client/supplier/contractor you need > Locations
 option and select Project Only.
 (blue box with arrow) to view the photo in full size.
 to update the file details, including renaming, deleting, adding a comment, or setting a filter to determine who can view the document.
 (eye icon) to view the file details.
 at the top of the page to access the page settings.