Documents can be uploaded from your file system or you can take photos and video directly from AroFlo on your mobile device, laptop or desktop computer using a webcam. You can even simply copy and paste images from your computer's clipboard. If you need to send images to your client, you can download them individually or as a zip file.
Document Storage required
If you don't have Document Storage enabled for your AroFlo subscription, and you'd like access to this feature, please call AroFlo Customer Support or log a support request.
Adding columns
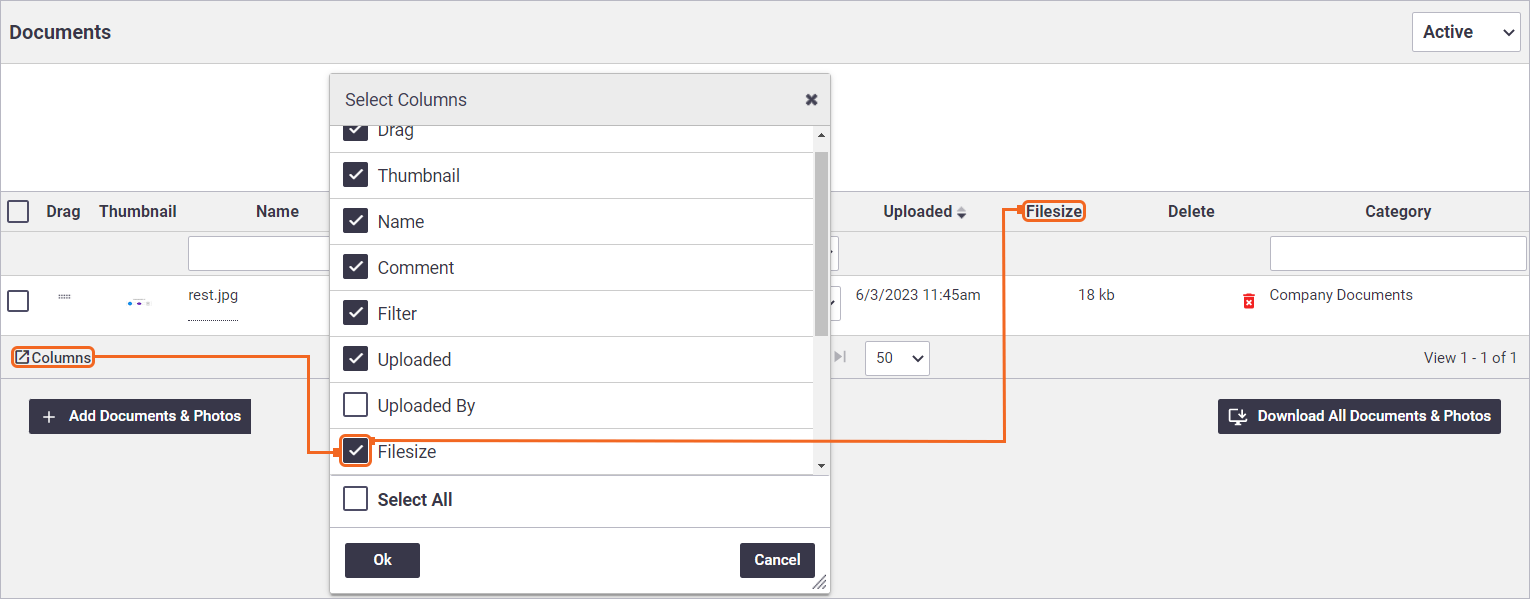
Use the  button to add or remove columns to give you additional info. For example, for Documents and Photos you can toggle file size on or off.
Show this
Upload a file
Firstly navigate to the area where you plan to upload a document or photo:
- Using document folders? Click the folder you want to upload to first before using the below instructions.
- There is no limit to the number of files you upload, but AroFlo does limit file size to 250mb.
See the tabs below for the available methods when uploading Documents and Photos.
Click Add Documents & Photos
| Click Add Documents & Photos to add a new document or photo. |  |
 |
| The Add Documents & Photos button may appear slightly different in some areas, e.g. for Documents and Photos custom fields, Expenses, or custom compliance forms. |
  |
  |
Upload option
| Upload: Choose one or more files from your computer. | 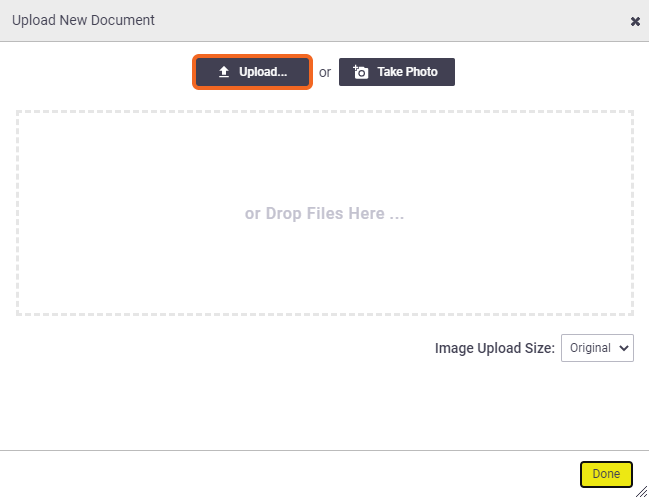 |
 |
Drop Files Here option
|
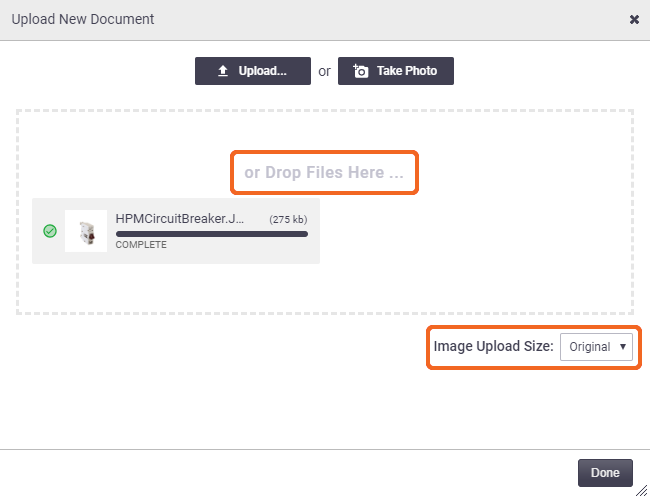
Drop Files Here: Drag one or more files from your computer. Click Done once your file shows as 'Complete'. Copy and Paste You can even copy and paste images here, e.g. images from a website. If doing this, the filename will say 'image', so you may want to rename the file. See Renaming a document or photo, below. Each upload will show a preview and a progress bar so you can easily see how long the upload will take. You can also resize images by changing the Image Upload Size located in the bottom right of the Upload New Document window. |
 |
 |
Take Photo option
|
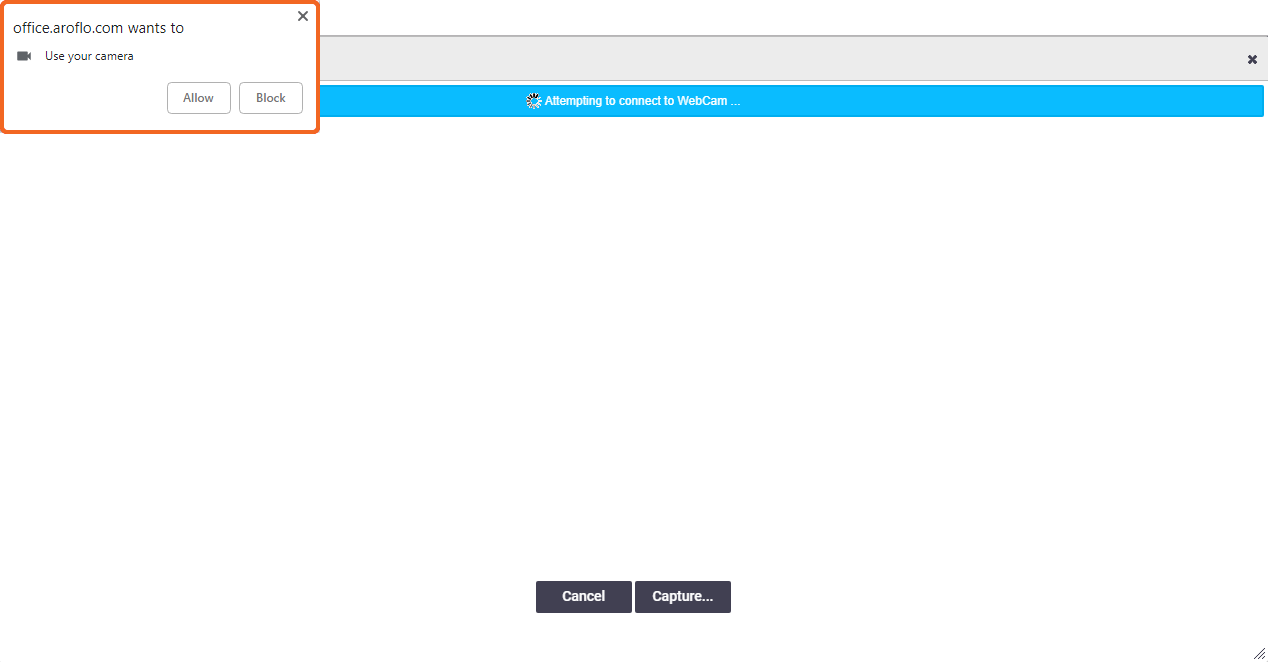
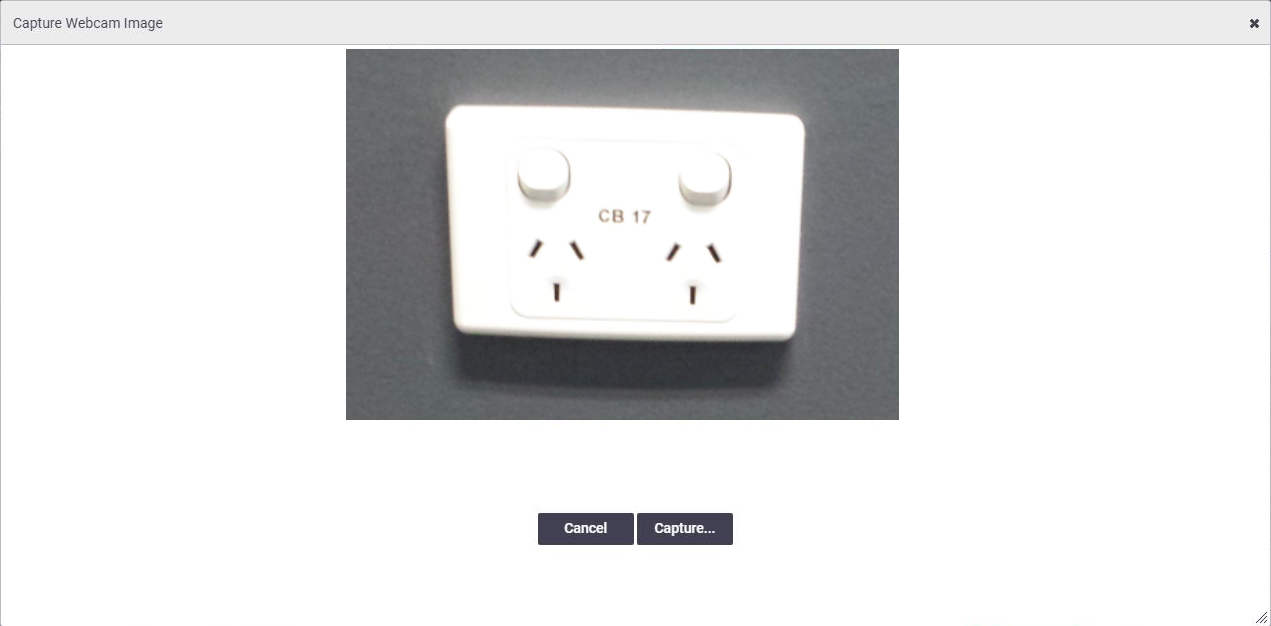
Take Photo: Take a photo or video directly from a webcam attached to your desktop computer or built into your laptop*. * The Take Photo functionality is browser dependent. If the browser you are using does not support this feature or there is no webcam found, then the button will not work.
|
 |
 |
|
2. Click Capture.
|
 |
 |
Drag and drop
| You can even drag and drop files from your file system without clicking Add Documents & Photos. |  |
 |
Document Directory
|
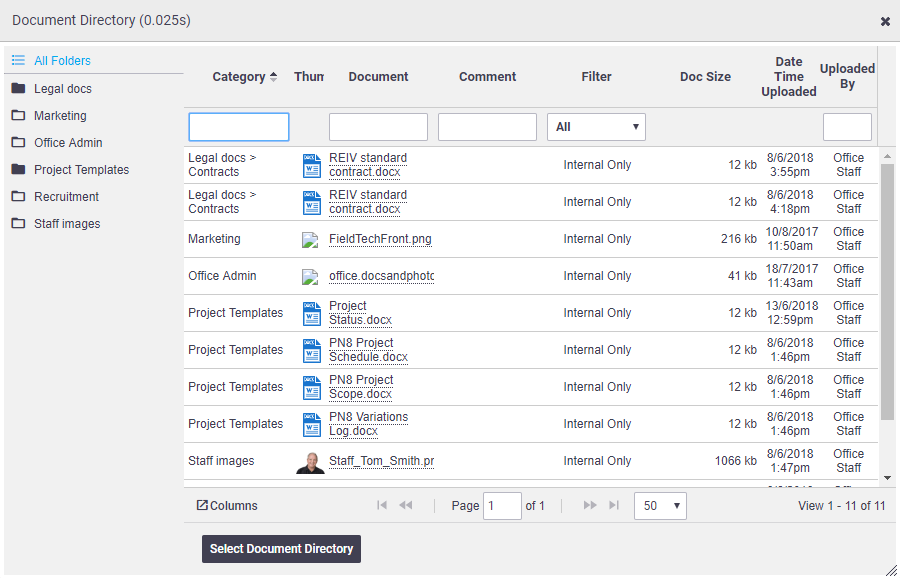
Use the Document Directory (available on Tasks, Assets, Inventory, and Expenses) to add existing files located in your document directory. Accessed via the dropdown menu on the Add Documents & Photos button, it may be useful for adding existing files or internal company documentation such as marketing material. See Document Directory for more info.  |
 |
 |
Task Documents
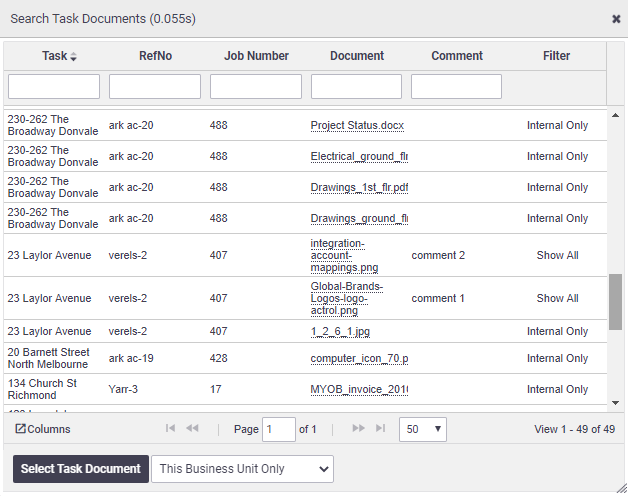
 (available from Tasks, Task Types, Task Invoices, and Work Orders), is accessed via the dropdown menu on the Add Documents & Photos button and allows you to:
 |
 |
 |
Business Units filter
For Tasks and Task Types, if you have access to multiple Business Units, you will have an additional filter at the bottom of the search window to search for documents found on tasks in other business units (see image).
| Filter option | Description |
|---|---|
| This Business Unit Only | Only displays tasks that are part of the selected business unit. |
| Include Child Business Units | Displays tasks that are part of the selected business unit, as well as child business units. |
| Include All Business Units | Displays tasks for all business units. |
Viewing documents
|
To view a document such as Word, Excel or PDF, click the thumbnail or name of the document. When images are uploaded to the Documents & Photos tab, the top section will also display a thumbnail preview of all images. Viewing Thumbnails The thumbnail preview bar is hidden if there are no images. If you've uploaded an image to an asset, inventory item, or client card and you don't see the thumbnail column, click Thumbnail previews are not available for documents such as Word, Excel, and PDFs. Supported file types that will show a thumbnail are .pdf, .jpg, .jpeg, .gif, .png, .bmp. |
 |
 |
Renaming a document or photo
|
To rename a document or photo (for example, if you copied and pasted an image and the filename just says ‘image’), click the File extension The file extension (e.g. jpg) will be shown but is read-only and cannot be edited. |
 |
 |
Add comments
|
Comments can be added for each file using the Comment field. These comments can also be referenced if photos are added to layouts including quotes and invoices.
Set document visibilityOnce the file has been uploaded you can set the access visibility from the Filter options. Access visibility restricts who can view the document.
Permission Groups If using Permission Groups, the user types shown above also need to be represented by a Permission Group. When using pre-built permission groups:
Custom permissionsIf using a custom permission group, you can define which performer to represent via Settings > General > Permission Groups > (Select Permission Group) > Documents and Photos > Filters. If you want to include a specific document or photo on a print layout or email, you will need to set the filter to 'Show Client' or 'Show All'. A document or photo set as 'default' will appear on layouts and emails if chosen (regardless of filter setting). Set filter for multiple files In certain areas of AroFlo, you can set a filter for multiple files at once. See Download files and Bulk Actions, below |
 |
||||||||||||||
 |
Sharing a document or photo
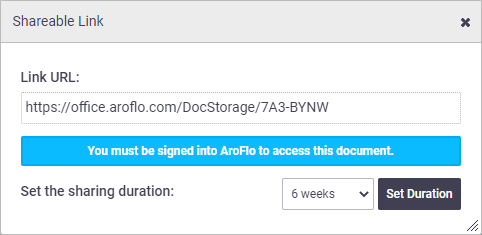
| Documents and photos can be shared with external contacts using shareable links. Shareable links can be included in an email or a document. You can enable or disable a link at any time. Alternatively, you can set a sharing duration which will automatically disable the link when the duration has ended. |  |
 |
Create a shareable link
Refresh the page with the documents and photos table. The expiry date for the link will also appear under the Public Expiry column. Expiry only applies to users not logged into AroFlo. |
 |
 |
Disable a shareable link
|
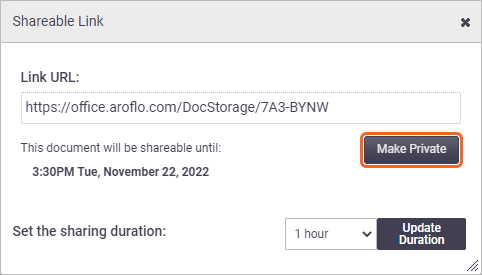 |
 |
Set a default photo
|
Only applicable to assets, inventory and users Once photos have been uploaded, a default can be set for assets, inventory and users. The default photo is displayed as a thumbnail when it appears in a list in both AroFlo Field and Office (e.g. when adding an asset or inventory to a quote or task). Where multiple files exist, set a Default. Multiple files Items with more than one document or photo will also show a counter on the preview. Show this |
 |
 |
Delete a Document or Photo
|
Delete a file from Documents & Photos areas using the Delete multiple In certain areas of AroFlo, you can delete multiple files at once. See Download files and Bulk Actions, below |
 |
 |
Download files and Bulk Actions
In many areas of AroFlo, e.g. Tasks, Quotes, Invoices, and Projects, you can download multiple files at once and also use the bulk actions to update multiple files at once.
Download files for a single folder
Bulk Actions is useful if you only want to download documents from one folder and not download all documents.
Areas that don't have these features
- Inventory
- Users
- Clients
- Suppliers
- Contractors
- Locations
- Work Orders
- Credit Notes
- RFQs
Bulk Actions
|
Use the Bulk Actions to apply a single action to multiple files:
Downloading files If downloading a selection of files, you may need to allow popups, depending on your internet browser settings. Alternatively, click Download to bypass this step. Download all If you want to download all files (or all files within a document folder), use the Download All feature instead. See next tab. |
 |
 |
Download All
Download multiple If you want to download multiple files but not all, use the Bulk Actions. See previous tab. |
 |
 |
 (columns) and select Thumbnail.
 (pencil icon) in the Name column. Update the Document Name and Save.
 (red rubbish bin).