Once you've saved a calendar view and are familiar with the Calendar View Types, you may want to create shareable views, access other shared views, set default views, or duplicate views.
Sharing a calendar view
|
If you want other people in your company to be able to access a calendar view you have created, set the view to 'Shared'. This will allow other users to use this view, but not edit it. You can do this when you create the view, or when you edit it. Updates visible to all users When you edit a view you have created and shared, anyone using that view will see your changes, meaning they'll always have current information. Example: Your Admin Officer creates and shares a calendar view called 'All Staff'. When they update their version of the view, e.g. they add or remove a resource, all shared versions of the view are updated too.
 |
 |
 |
Accessing a shared view
|
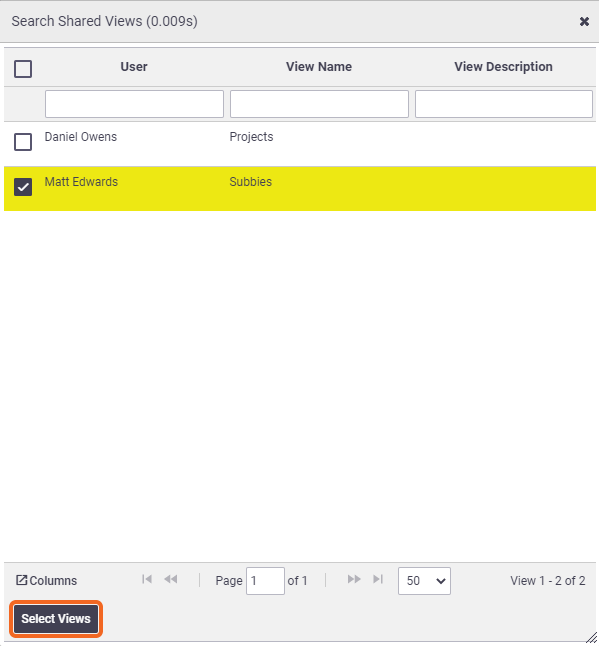
To access a calendar view that someone has made shareable:
You can either:
|
 |
 |
Adding External Dates
You can add government and industry body calendars to your AroFlo calendar, so public holidays, industry RDOs and even your favourite sporting fixtures automatically display in your AroFlo calendar. See Add External Calendars for instructions.
Set a view as the default
|
If you've saved multiple calendar views, you may want to set one of them as your default view. If you don't set a default view, AroFlo will use your last-used view as the default.
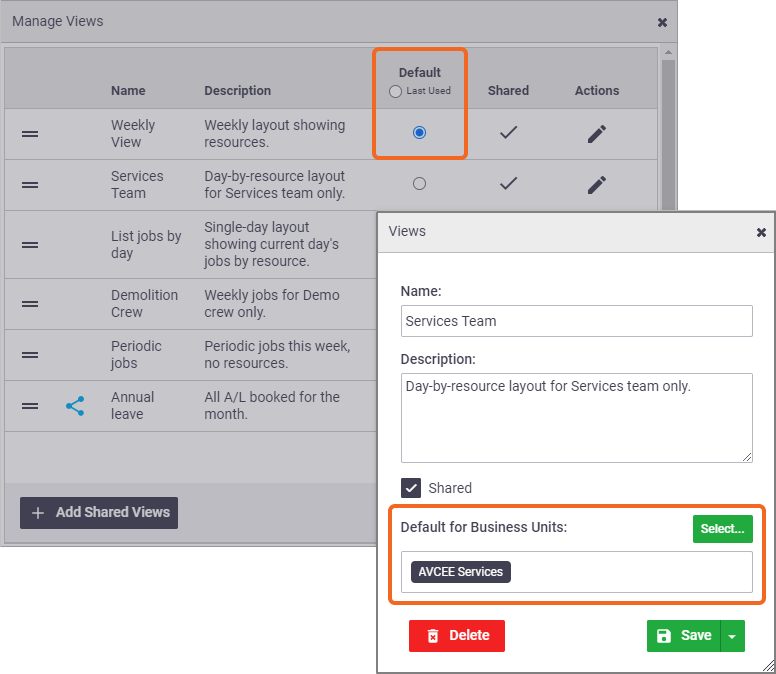
Set a default view for all Business UnitsTo set a default view that will apply to all Business Units:
Set a Business Unit specific default viewTo override the default you have set for all Business Units and set a different default for an individual Business Unit:
To remove a Business Unit specific default view, click Select, deselect the Business Unit, close the window, and Save. |
 |
 |
In our image, the Weekly View is the user's default view for all Business Units, and the Services Team view is their default view for the AVCEE Services Business Unit.
Duplicate a calendar view
|
If you have a view you're happy with, but you want to make a slightly different version of it (e.g. you want all the same settings but a different group of users displayed, or vice versa), you can duplicate the view as follows:
|
 |
 |
Shared views
You can also use these steps to duplicate a shared view.
Delete a calendar view
| Complete steps 1 to 3 from Edit a calendar view and then click Delete and confirm deletion. |  |
 |
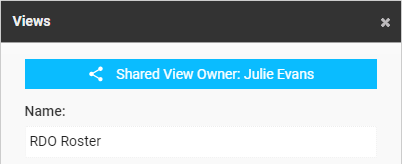
 (Share icon) means the view belongs to someone else and you have added it to your list of views. Changes you make to a shared view are temporary and will not affect the original owner's version of this view. Click
  (pencil icon) to see who the owner of the calendar is.
 (pencil) icon on the relevant view.