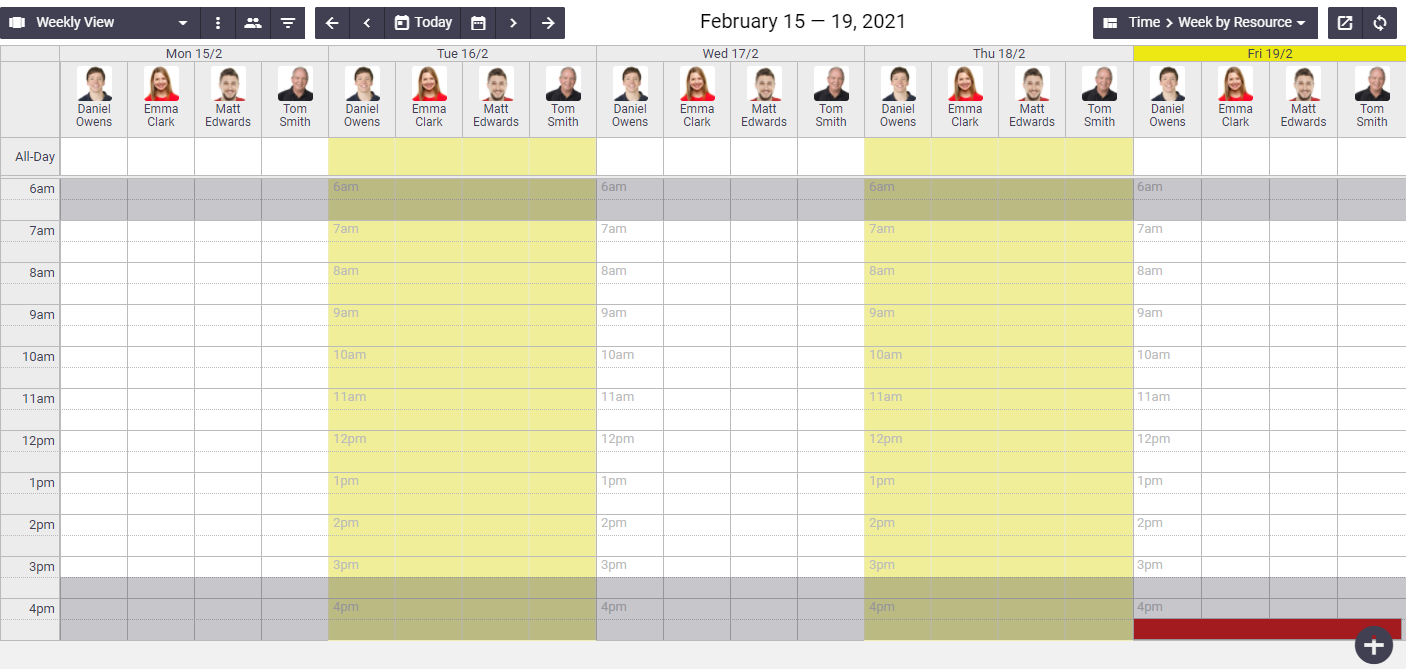
When you open the calendar, it will automatically display the current day, week, or month, depending on the default view that you have configured in your calendar settings. There are a range of options within the calendar that allow you to quickly jump to the date you need, and display:
- task schedules
- overheads
- ad hoc events
- periodic tasks
- task timesheets.
Interested in learning through an interactive course in the AroFlo Academy?
The table below describes the navigation available within the AroFlo calendar.
| Button | Description | ||||||||||
|---|---|---|---|---|---|---|---|---|---|---|---|
 Once you've created some views, this button will show the name of the selected view. For example:  |
Configure and save a range of calendar views for different areas of your business. For example, you may have a Staff view, a Contractors view, and an Assets view, or you may have a different view for each business unit. Altering the calendar settings without saving them to a view will mean that when you navigate away from the calendar, your changes will not be kept. To keep your settings, you must either create a view to save them in, or edit an existing view. See Save a calendar view. |
||||||||||
|
Takes you to the calendar settings. | ||||||||||
|
Select the users, assets or crews that should appear on your calendar view. | ||||||||||
|
Apply a range of filters to the events that appear on the calendar. You can filter by task type, priority, location and more. | ||||||||||
(square with arrow icon) |
Opens the calendar in a new tab, to provide more screen space to work with and also to allow for multi-tasking within other areas of AroFlo. | ||||||||||
(circular arrows icon) |
Refreshes the calendar to show events (e.g. tasks, overheads) that you or another user have added to the calendar. | ||||||||||
(outside arrows) |
Moves the calendar view backwards or forwards 1 week in the daily and weekly views, and 6 months in the monthly view. | ||||||||||
(inside arrows) |
Moves the calendar view backwards or forwards 1 day in the daily and weekly views, and 1 month in the monthly view. | ||||||||||
 |
Returns the calendar view to the current day. | ||||||||||
(calendar icon) |
Opens the calendar date picker, which allows you to quickly display any date within the next six months.
Click the icon a second time to close the date picker. |
||||||||||
 |
Select the view type for your calendar. See Calendar View Types for more information. |
||||||||||
 |
The calendar displays the current time as a highlighted horizontal bar on the current day. The colour of the bar will vary depending on the theme of the Office interface. | ||||||||||
 |
The grey shaded section represents times outside of working hours. Hours of Work Hours of Work are set up in Site Admin, under Timesheets. |
||||||||||
Click the green plus icon to open the calendar shortcuts:
|


