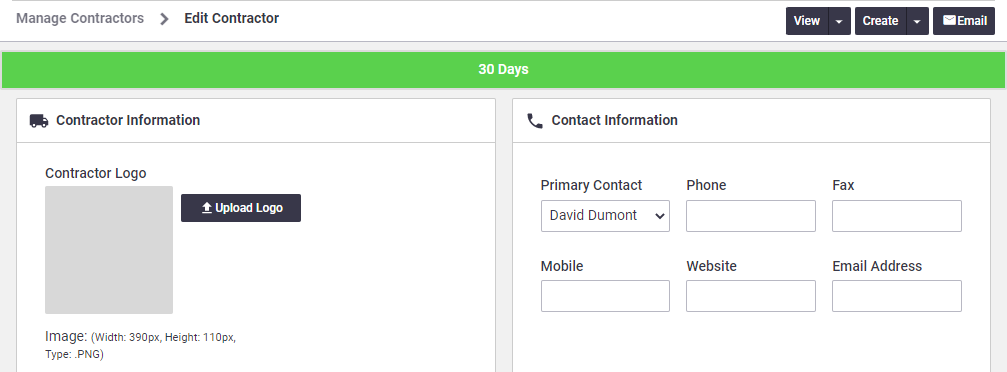
To create a new contractor:
- Go to Create > Contractor.
- Enter Company / Reference Name, First Name and Last Name (required fields).
- Enter additional information as needed. See below.
- Save.
Alternative methods
- You can also create a Contractor from the Contractors button (Accounts > Contractors option > Create)
- or from the Contractor List (Accounts > Contractors > + Create Contractor)
- Alternatively, if you have a Supplier who now offers labour hire, you can convert them into a Contractor. See Edit Supplier Details - Supplier Settings.

Contractor and Contact Information
Contractor and Contact Information explained
| Field | Description |
|---|---|
| Company/Reference Name |
The primary name for the contractor. Duplicate Contractor Names When you create a contractor with a Company/Reference Name that already exists, a warning message will appear with the options to 'View the Existing Supplier', 'Save Supplier' or 'Cancel'. If you use an accounting integration link, we recommend you check your accounting package to see if it accepts duplicate Supplier names. |
| ABN | Record your contractor's national business taxation number (e.g. in Australia, the Australian Business Number). |
| Short Name |
AroFlo creates a short name automatically once you've entered a Company / Reference Name. You can override the name AroFlo creates by typing over it.
This field is a secondary identifier for this contractor. |
| Terms |
Select the appropriate trading transaction terms for this contractor (used for purchasing).
Show this |
| First/Last Name | First and last name of the primary contact for the contractor. |
| Phone | Primary phone number for your contractor. |
| Fax | Primary fax number. |
| Mobile | Primary mobile number for the contractor. |
| Website | Primary website of your contractor. |
| Email Address |
Primary email of your contractor. This could be an email address for the accounts department |
Custom Fields

Fill out any relevant custom fields which may appear. These can be left and filled out later if necessary.
Contractor Company Address
The info below explains how to use the fields in the Company Address, Mailing Address, General Settings, and Business Unit Links sections of the contractor card.

Contractor address and Settings fields explained
| Field | Description |
|---|---|
Location Name |
Use this field to record the specific details of an address, e.g. 1st Floor, Building G. Powered by Google Field This field is powered by Google and will suggest results as you type. You can also click the |
Address (No & street), City, State, Postcode, Country |
Record the company's physical address in these fields. The Address (No & street) field is powered by Google, just like the Location Name field. Just enter the street address and make a selection from the list Google presents. The City, State, Postcode and Country fields will auto-populate. Multiple locations If the contractor has multiple locations, use this area to record the primary location such as a head office. To create additional locations once you've saved your contractor, see Locations.
|
|
GPS Coordinates Auto-Generate, View on Map |
If you did not select an address from Google's suggestions (e.g. if you filled out the fields manually, or if you bulk imported contractors), click Auto-Generate to populate the latitude and longitude of the client's address, or click View on Map and move the pin to the location you want, then click Use Coordinates. |
Mailing Address |
If the mailing address is different from the billing address (e.g. if you want to add a Post Office Box address), tick Use different mailing address to access the Mailing Address information. Powered by Google Field This field is also powered by Google and will suggest results as you type. You can also click the |
Associated To |
If your AroFlo site has multiple business units, select the primary Business Unit this contractor is linked to. |
Business unit links
If your AroFlo site has multiple business units, you can select which business units this contractor should be associated with. Alternatively, you may choose to link a contractor to all business units.
Your Site Administrator can set up default business unit links so that all newly created contractors will have the links you want. See Supplier and Contractor Settings.
Once you save a contractor card for the first time, you'll have more options available to you. See Edit Contractor Details for more information, e.g. setting Contractor Labour Rates.
Contractor contacts and locations
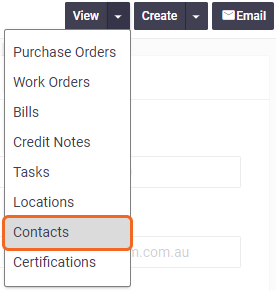
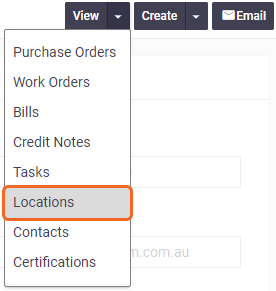
Each contractor can have multiple contacts and locations. Contacts may be sales staff or subcontractor employees.
Create a new contact
|
 |
 |
Create a new location
|
 |
 |
 (GPS pin) icon to fill in details based on your current location.
 (GPS pin) icon to fill in details based on your current location.
 (pin icon) to use your current location and select a matching result from the list that appears.