What are Driver IDs?
|
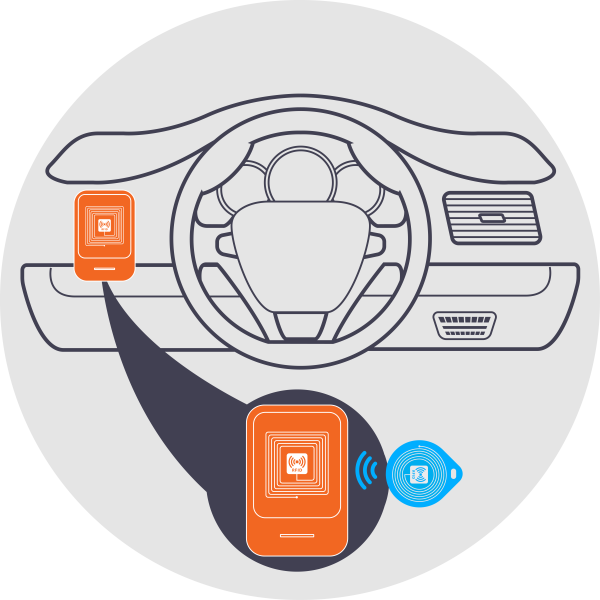
Driver IDs (or RFID tags) are used to 'tap on' to a vehicle as a way of logging who was driving the vehicle at any point in time. The driver ID works in conjunction with a tag reader, which will beep when the driver ID has made contact with it, indicating that the current driver has tapped on.
|
 |
|
GPS Device required
Before you can get started with Driver IDs, you need to purchase and set up a supported GPS tracking unit.
- If you are new to GPS tracking, we recommend hard-wiring the tag reader to your vehicle.
- If you are already using GPS tracking, we recommend you connect the tag reader to your GPS unit via a USB adaptor.
For either option, please contact our friendly customer service team who will be happy to help.
To see our pricing schedule, please click here.
Set Up Driver IDs
|
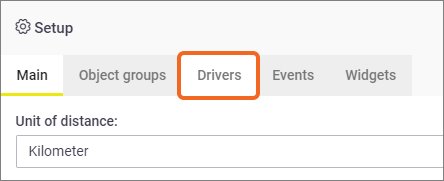
If your company uses this type of system, this can be set up and utilised in GPS using Drivers.
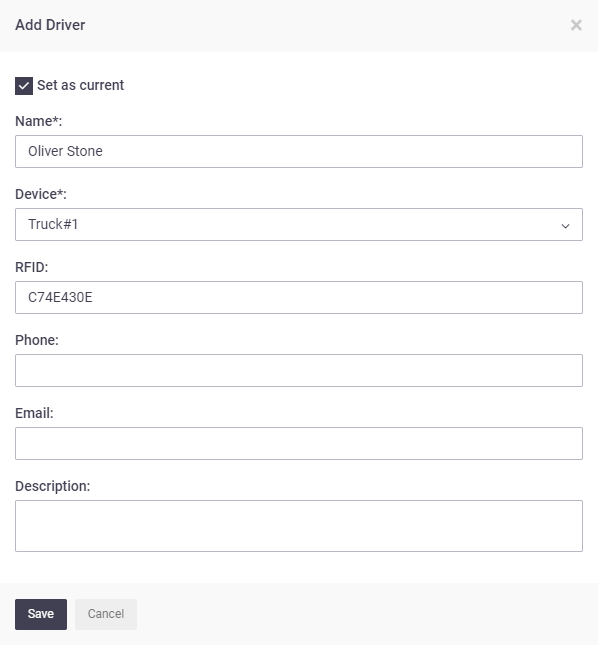
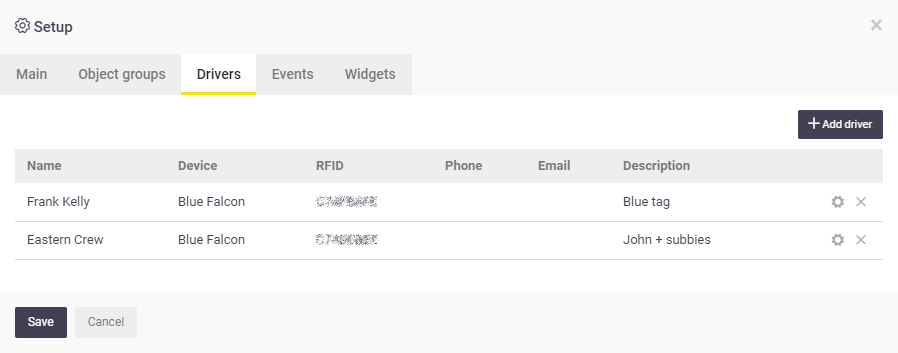
Firstly, you will need to add your Driver IDs:
|
 |
|
Assign User to Driver
Next, assign an AroFlo user to the driver you just created.
- Switch to Site Administration
- Click Users
- Select the relevant user you're assigning the Driver ID to
- Click the Feature Access tab
- Scroll down to Select AroPoint Driver and select the applicable driver from the dropdown. The name and RFID will be shown

- Save.
Multiple users can be linked to a Driver, e.g. a contractor using the same Driver ID as someone else, or a crew using the same Driver ID.
How to track drivers
There are four ways to track driver history:
AroPoint GPS object history
|
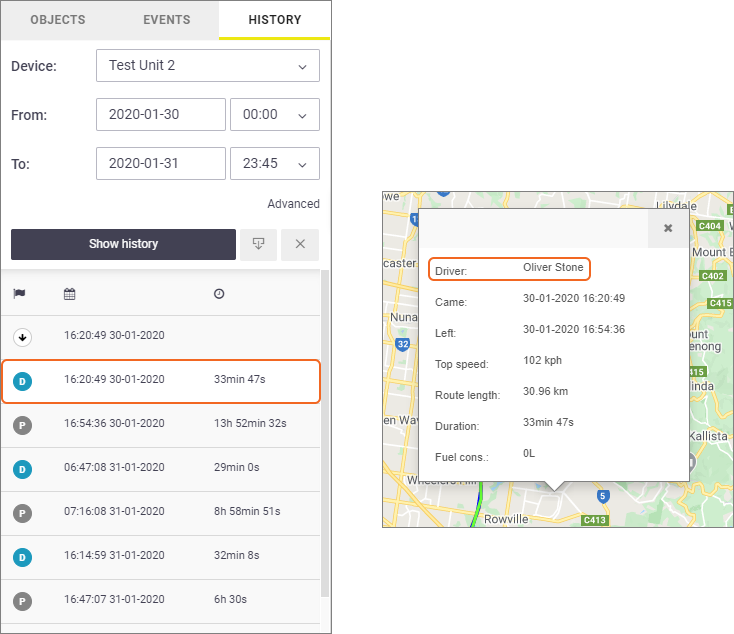
When viewing history for an object, click an entry to display more information, including the driver details.
|
 |
|
AroFlo Asset
|
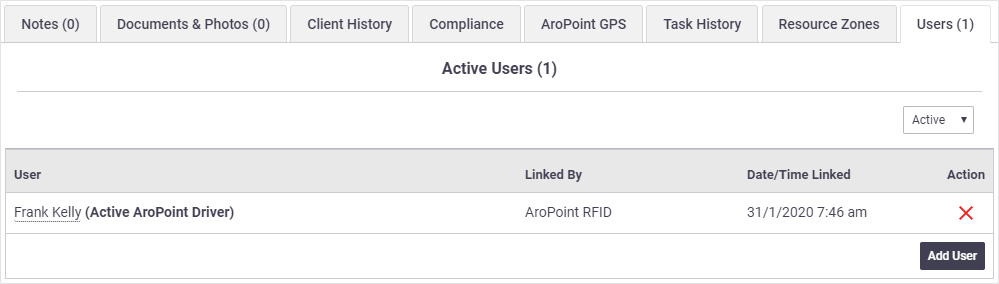
Each time you 'tap on' using a Driver ID, it will link the assigned user to the asset and you'll be able to see the date/time they tapped on, as well as who the active driver is.
|
 |
|
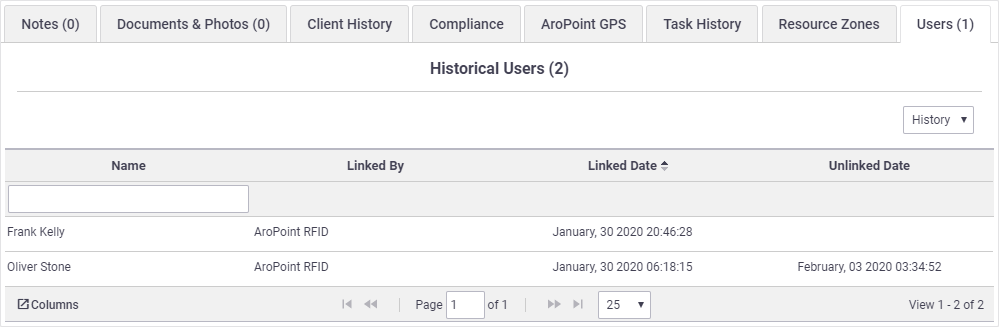
Active and historical users
|
Click the dropdown on the right to switch between active and historical users.
|
 |
|
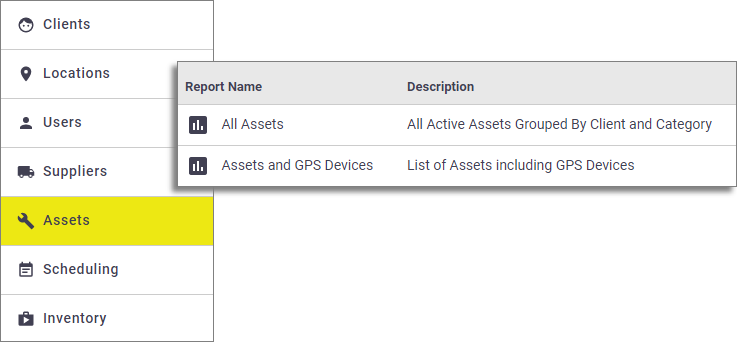
AroFlo Reports
You can use reports in AroFlo to create an asset report to track diver history. Click here to read more on creating reports.
Things to note:
|
You can use either the All Assets report or the Assets and GPS Devices report.
|
 |
|
|
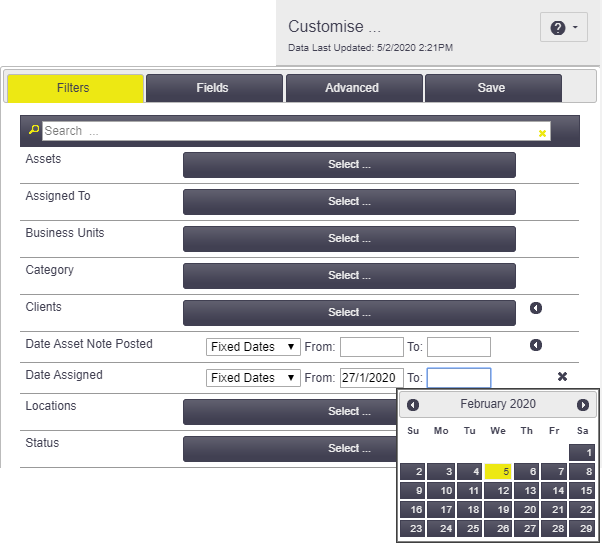
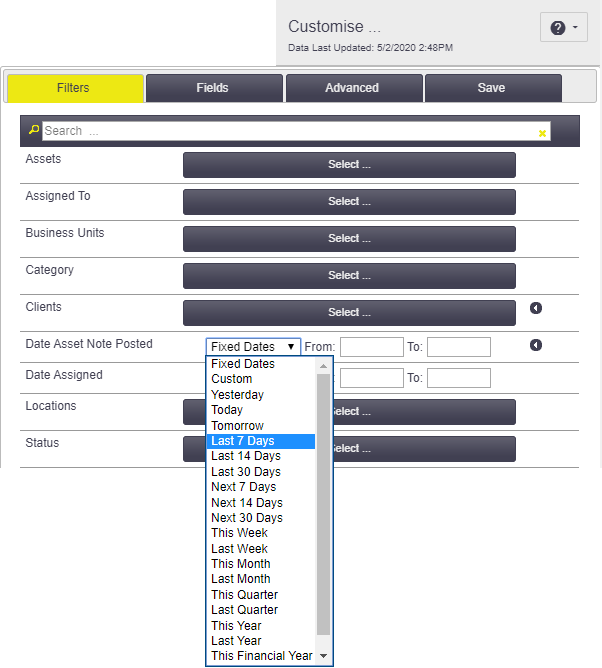
When customising the report, either select a date range from the Date Assigned filter…
|
 |
|
|
or use the dropdown to make a selection.
|
 |
|
|
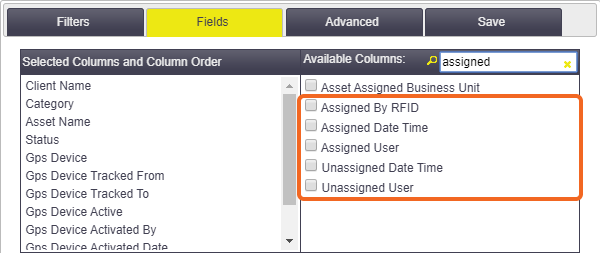
Useful fields to display or sort by are:
|
 |
|
AroPoint GPS alerts
In AroPoint GPS, you can set up an alert for driver changes.
Edit/Delete Driver IDs
Deleting a driver will also unlink the user from it. |
 |
|
 next to the ID, make your changes and click the tick to save.