At the end of these steps, you will have created an invoice, filled it out and sent it to the client from a completed job in AroFlo Office.
Steps
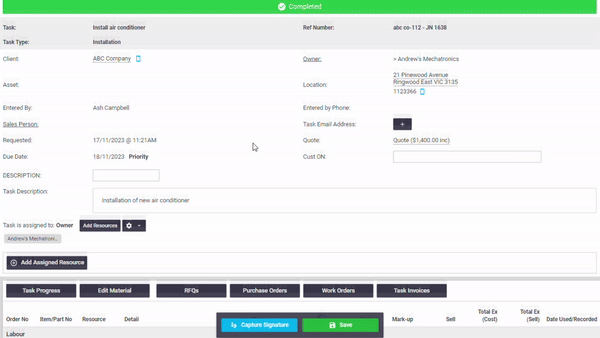
Access your completed task through Workflow > Tasks > Closed.
Search for, or click on the name of your desired task.
Click Create Final Invoice at the bottom of the worksheet.
If the job was unquoted, AroFlo will add all labour and material added to the job sheet automatically. If the job was quoted, you will see several options on adding a price to the invoice:
Add Items booked out on jobsheet: Click to add all labour and materials booked to the job. May result in a Quote Variation line item. See animation to the right for more.
Add from quote picklist: Displays labour and material that was originally quoted, tick some of these items to add them or click All to add everything from the quote.
Adjust the line item Cost (what the item cost you) and Sell (what you are selling to the client for) where necessary.
Click Status > Approved.
Click Save.
Click Email > tick Invoices and AroFlo will generate the invoice PDF and attach it to the email.
Click Send Email.
A “Quote Variation” line item is telling you that an invoice does not meet the price originally agreed to on the linked quote. If you see this, amend your line item Sell price or click Override Quote and Save to remove it.
Summary
You will now have created an invoice, filled it out and sent it to the client from a completed job in AroFlo Office.