Assemblies allow you to specify a list or kit of items that can be used in a quote or task. Existing inventory items can be added to the list in set quantities, while custom cost and sell pricing can be set for each item, or existing inventory pricing used. Labour units can be set against list items, which will be applied when the Assembly is used in a quote.
For example, quoting installation of a new power outlet may require multiple items in specific quantities. These items can be included in an Assembly, and added to a quote as a single group rather than individually. Any labour component will be included against the items and costed separately.
- Faster quoting using pre-configured lists or kits.
- Easier to book materials while working on a job.

Assembly vs Task-Specific List
Assemblies are very similar to Task-specific lists, however, an assembly is more of a ‘kit’ of items in which you select the quantity of the ‘group’ of items, whereas a Task-specific list is more of a curated list of items that may be required for a task and you need to you specify the quantity of each item.
Assemblies and SOR Items
Assemblies cannot include SOR items.

Interested in learning through an interactive course in the AroFlo Academy?
Create an assembly
|
 |
|
Add assembly items
- To add items to an Assembly, click the
 (pencil icon) in the Edit Inventory List Items column on the relevant assembly
 - Click Add Items.
- Use the Categories and/or the search box to locate the required item and double-click to add the item to the Assembly.
Inventory items set as SOR items will not appear for use in an assembly.

- Repeat for each item required, then close the search box.
- Save.
- Set the quantity (Qty) levels required for each assembly item.
- Update the Cost price if a discount is received when purchasing the item as part of an Assembly. Alternatively, tick Use Inv Pricing to use the cost / sell already set in the properties of the Inventory Item.
Use inventory pricing
- When ticking Use Inv Pricing, the prices will update after you Save the Assembly.
- If the Use Inv Pricing box is not ticked, the prices for each inventory item inside this assembly will not update when the inventory price gets updated. - Set the labour hours per part under the Lab heading. These will be applied per unit when the Assembly is used in a Quote.
- In the Settings area, set the Quote/Task/Invoice pricing to use either 'Cost', 'Calculated Cost' or 'Sell'.
If choosing 'Sell' for any of the above, you'll be able to edit the 'Quote/Task/Invoice Sell' value for those items.

If 'Cost' or 'Calculated Cost' is selected, the item will apply the percentage Markup currently set against the inventory item. If 'Calculated Cost' is selected and no Calculated Cost Type is set against the item in inventory, then the sell price will be $0.00.
- To remove any unwanted items from the Assembly, click the
 (red rubbish bin).
 - Save.
Using the Wizard
The Wizard can be used to auto-add items to a new Assembly based on past usage in the system.
- Click the (pencil icon) in the Edit Inventory List Items column on the relevant assembly
- Click Use Wizard.
- Select a Task Type and/or a Client.
- Click Run Wizard.
- Remove any unwanted items by using the
 (red trash can).
 - Make your changes to quantities, costs, and settings, or add items, as above.
- Save.
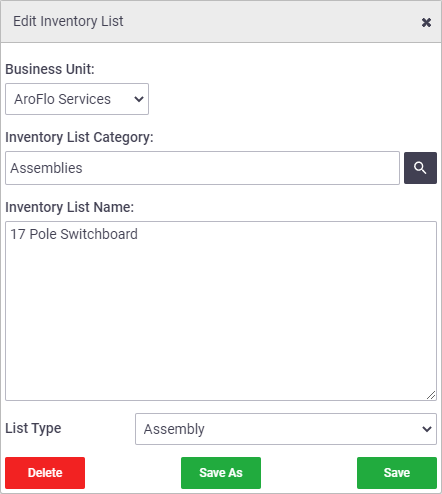
Edit or delete an assembly
To edit the details of an assembly such as the Inventory List Name or Inventory List Category, or to delete an Assembly:
|
 |
|