A Service Action is like a package of items - compliance forms, documents, and inventory items - that you can attach to a task checklist or a client asset, to save your Field staff having to search for the forms, docs and materials they use most often.
Example
If you know that your staff will always need a JSA form, access to technical specs, and certain spare parts for a particular type of job, you can bundle all those things up into a service action and attach it to a task checklist or a client asset. As soon as Field staff select the service action from the task checklist or asset, everything they need is added to the task. So easy!
- Streamline periodic asset servicing by adding service actions to individual assets
- Easily apply discounts or additional charges from the task checklist
- Give your staff a shortcut to just those documents, forms and materials they need.
There are three steps to setting up service actions:
- Create a service action group to serve as a 'container' for the individual service actions
- Create the individual service actions and add the necessary documents, forms and inventory items to them
- Link the service action group to one of your task checklists or to an asset.
The sections below describe this process in detail.
Subcontractors
Subcontractors can also use any service actions you add to your task checklists.
Create a service action group
To create a new service action group:
- Go to Site Admin > Settings > Tasks.
- Click Service Actions.
- Click the
 (plus) icon.
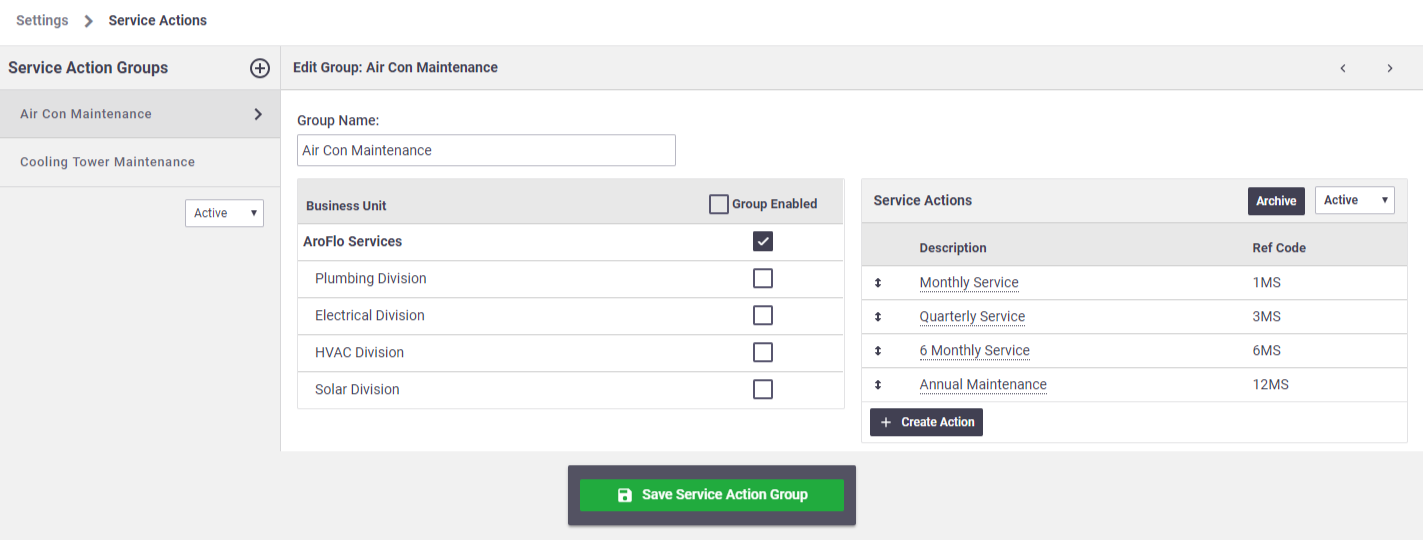
 - Enter a group name, e.g. AC Maintenance, Exit Lighting, Fire Services, and click Create.
- Optional: If your site has multiple business units, you can share service action groups by checking the boxes for each business unit.
- Click Save Service Action Group.
Create service actions
To create the individual service actions:
- Within your service action group, click Create Action.
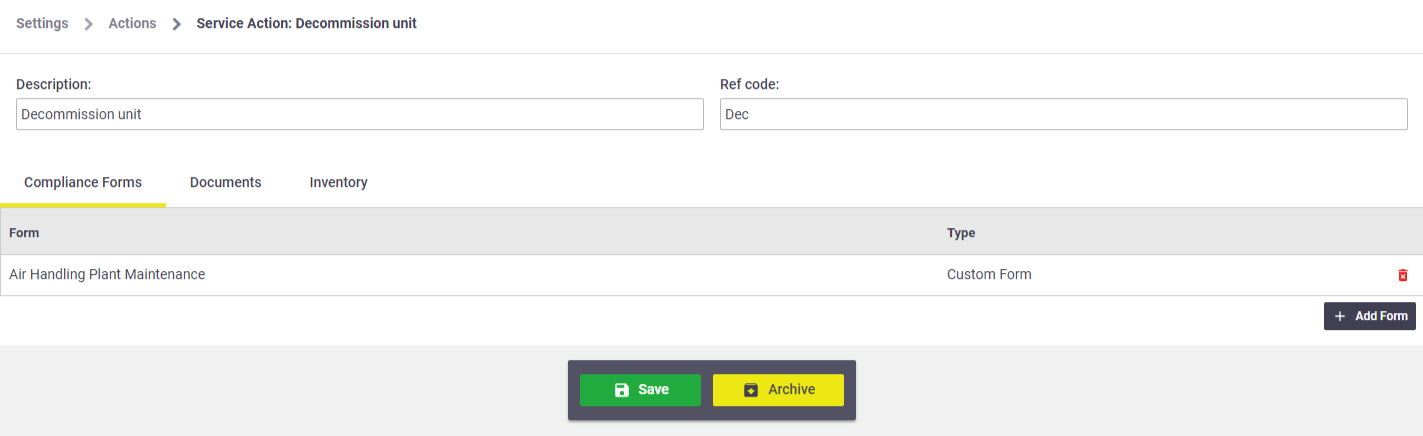
- Enter a description of the service action.
- Enter a reference code and click Create.
- On the Compliance Forms tab, click Add Form. Find the form by using the search filters and double-click to add the form.
- On the Documents tab, click either:
- Add Document, to upload a new document from outside your AroFlo site, or
- Document Directory, to attach existing documents stored in AroFlo.
- On the Inventory tab, click Add Item. Find the inventory item by using the search filters and double-click to add the item. Update the Quantity field as needed.
- Click Save.
When applying Service Actions in Office or Field, the documents, inventory items or forms added will appear with a tag symbol ( )
)
Link service actions to checklists or assets
You can make your service actions available for use by linking them to either a task checklist or an asset, or to both:
Linking to task checklists
To make your service actions available from a task checklist:
- Go to Site Admin > Settings > Tasks.
- Click Checklists.
- Click the name of the checklist you want.
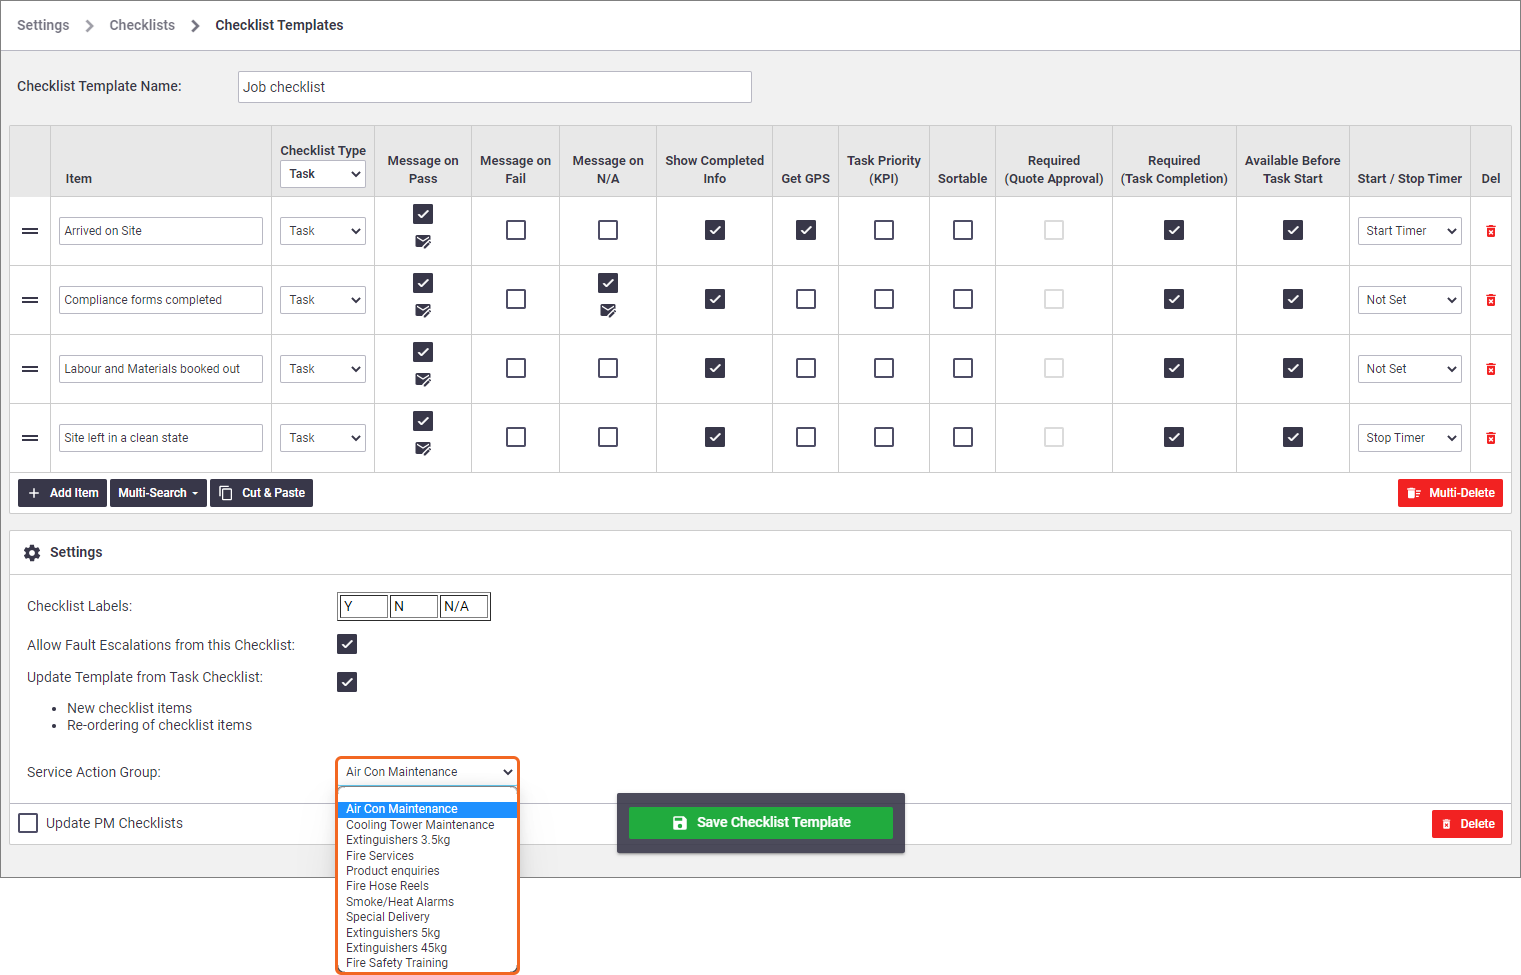
- Click the Service Action Group dropdown and select the group you want.
- Click Save Checklist Template.
See service actions in use on task checklists
AroFlo Office
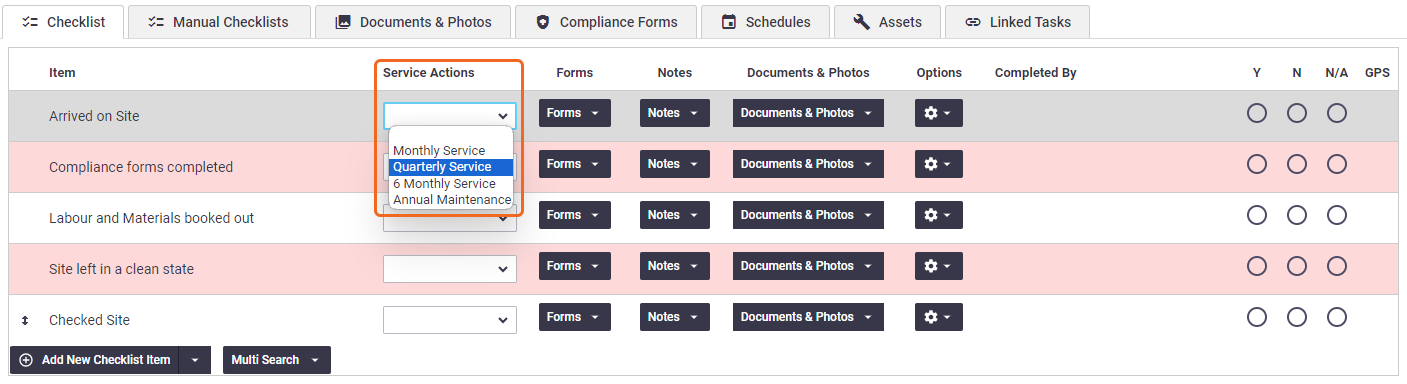
In AroFlo Office, the Service Actions dropdown appears directly to the right of each checklist item's name.
AroFlo Field
In AroFlo Field, the Service Actions dropdown appears in the options available via the blue Expand icon.

Linking to assets
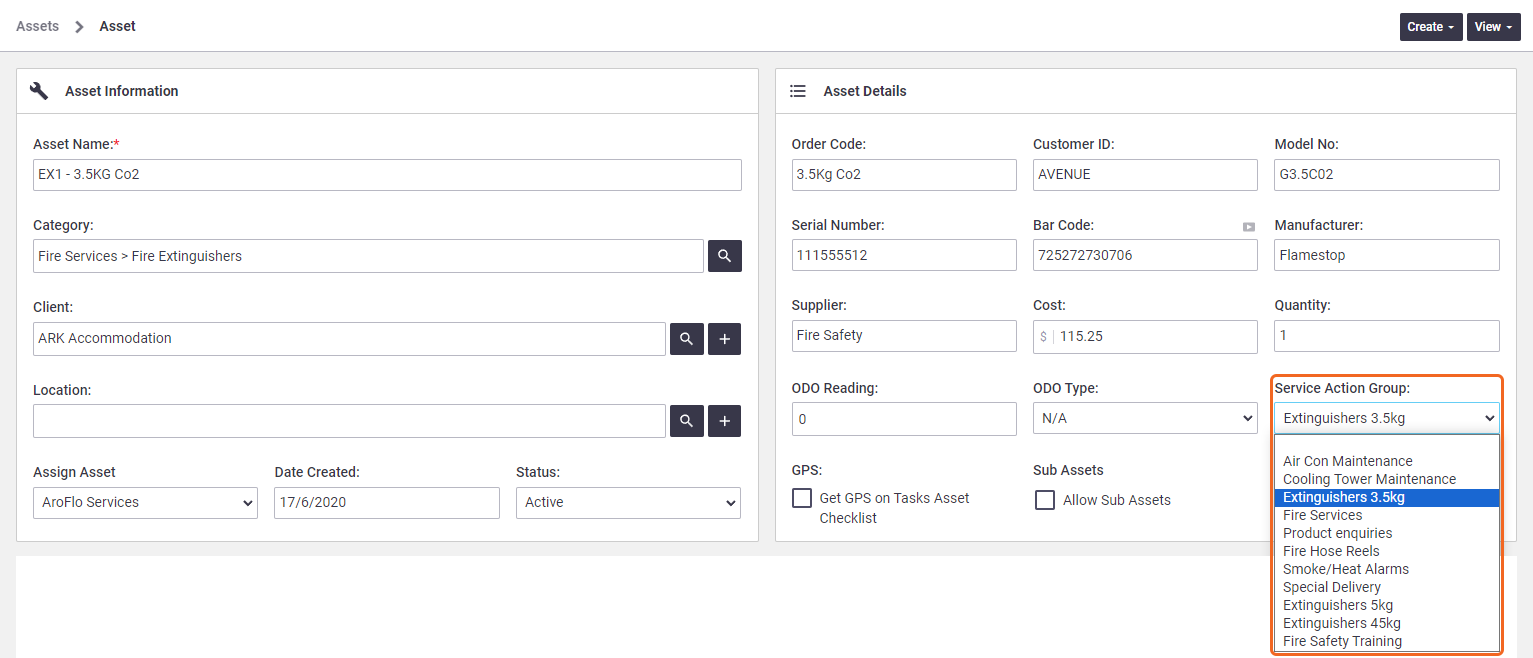
To make your service actions available from an asset:
- In AroFlo Office, go to Manage > Assets.
- Locate and open the asset you want to link the service action to.
- In the Asset Details section, click the Service Action Group dropdown and select the service action group you want.
- Save Asset.
Extra Efficiency with Periodics
Once you've set up service actions and linked them to your assets, you can link those assets to your Periodic task templates. This will save your Field staff having to add the assets to their scheduled maintenance tasks each time.
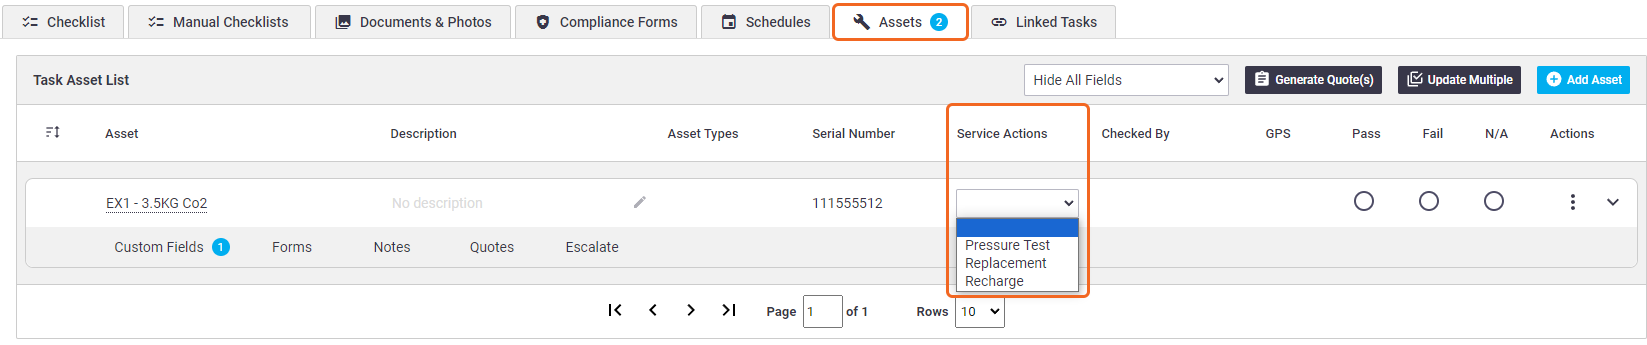
See service actions in use on assets
AroFlo Office
In AroFlo Office, open a task and click the Assets tab. Once you've added the relevant asset(s) to your task, you'll have access to the Service Actions dropdown.
AroFlo Field
In AroFlo Field, open a task and tap the Assets tile, or More > Assets. Once you've added the relevant asset to your task, you'll be able to access the Service Actions dropdown.
