Setting the ordinary hours of work for your business means you can:
- have your AroFlo Calendar shade non-working hours (full AroFlo clients and AroFlo Go clients).
Show this
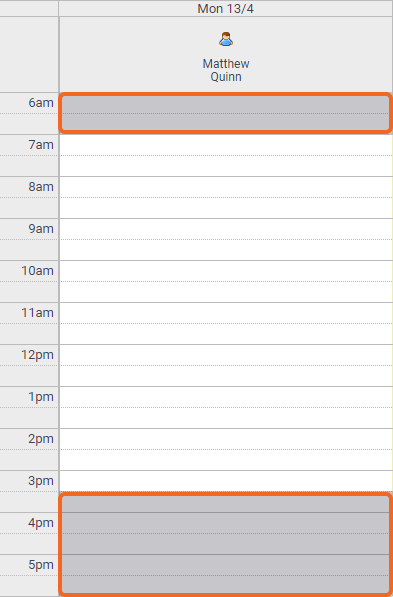
- automate certain timesheet entries (full AroFlo clients only)
- let AroFlo calculate overtime hours for you.
Set company-wide hours
To set up ordinary working hours that apply to all users:
- Go to Site Admin > Settings.
- In the Search Settings box, enter Hours of Work.
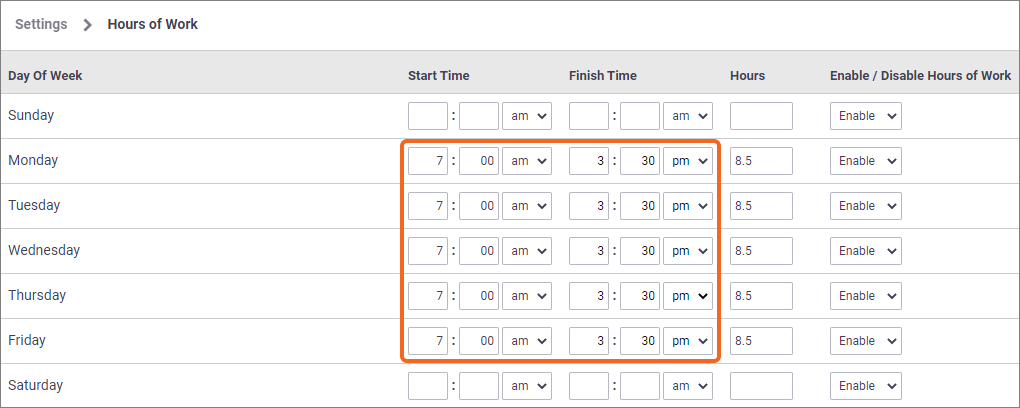
- Enter the start and finish times for each working day. You can either type them in or click into the fields for a dropdown list.
You can set your hours of work up with start/finish times (recommended) or with hours only.
Start/finish times
Hours only
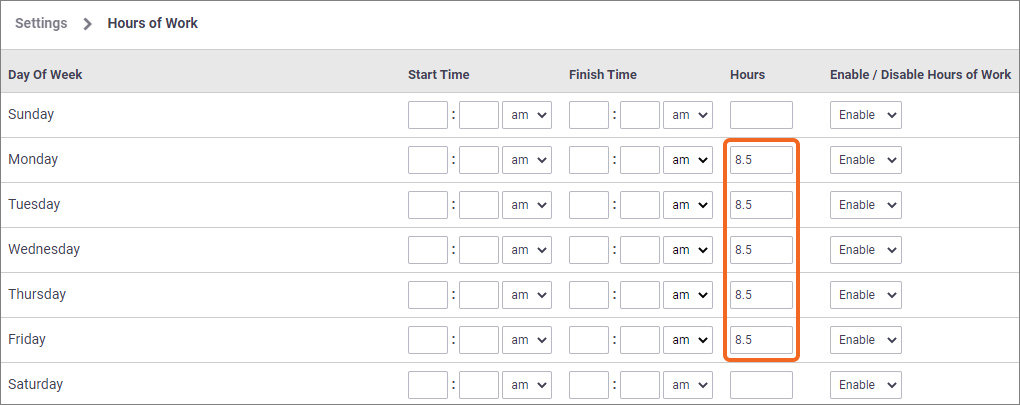
If you use hours only:
- some aspects of timesheet automation will be different. See Timesheet Automation Conditions for more information.
- your AroFlo calendar will not have the non-working hours shaded.
- Under Enable / Disable Hours of Work, disable any non-operational days.
Alternatively, you can enable working hours but set the Hours field to zero. This will allow any Convert Overtime Hours conditions to apply when someone needs to work on a non-operational day (e.g. on call).
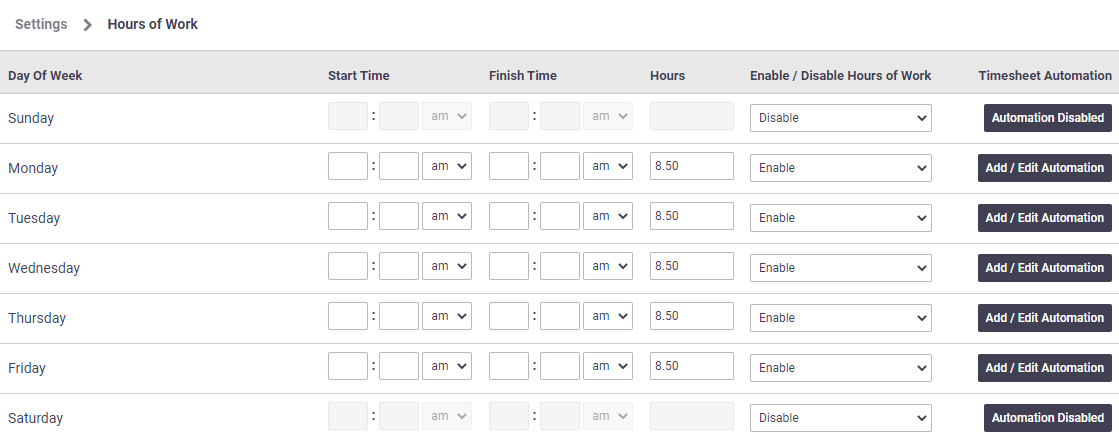
- Click Save. The Add/Edit Automation button appears.
Set business-unit specific hours
For those with multiple business units
By default, child business units 'inherit' the ordinary working hours (and timesheet automation conditions) of their parent business unit. You can either leave these defaults in place, or follow the instructions below to set business-unit specific hours. Those with a single business unit can skip this section.
If you need a child business unit to have different ordinary working hours from the parent business unit:
- Go to Site Admin.
- Click the name of the business unit you need.
- Click Settings and search for Hours of Work. The parent business unit's hours of work appear.
- Under Enable / Disable Hours of Work, select Enable for the day you want to change.
- Enter the start and finish times for that day.
- Click Save.
- Repeat these steps for each day you want to change.
You can switch back to the parent business unit's ordinary working hours at any time by setting the relevant day back to Inherit.
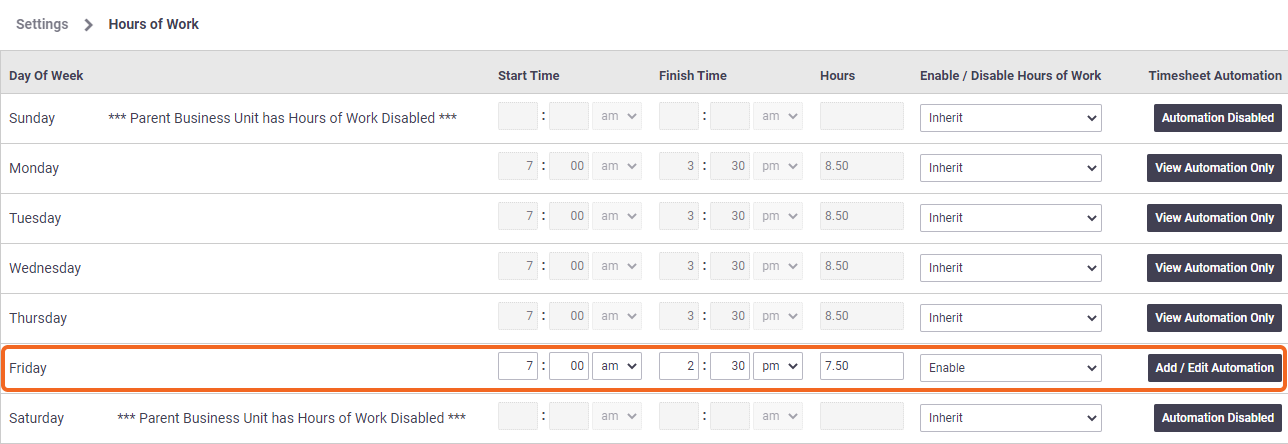
Example
In our image, our child business unit has different hours of work on a Friday.
Working across business units
If a user works across multiple business units, the ordinary hours of work and the timesheet automation conditions for the user will be drawn from their own business unit.
Example
A worker in Business Unit A works on a task that sits in Business Unit B.
- The worker's hours will be recorded on their timesheet in Business Unit A, using the ordinary working hours and any timesheet automation conditions set up in Business Unit A (or their user-specific settings, if any - see next section).
- The labour charges on the task will be based on the Work Types set up in Business Unit A.
Customise a user's working hours
You can customise working hours for individual users to reflect their agreed working arrangements. These settings will override the default working hours and any automation conditions set for the parent company or business unit.
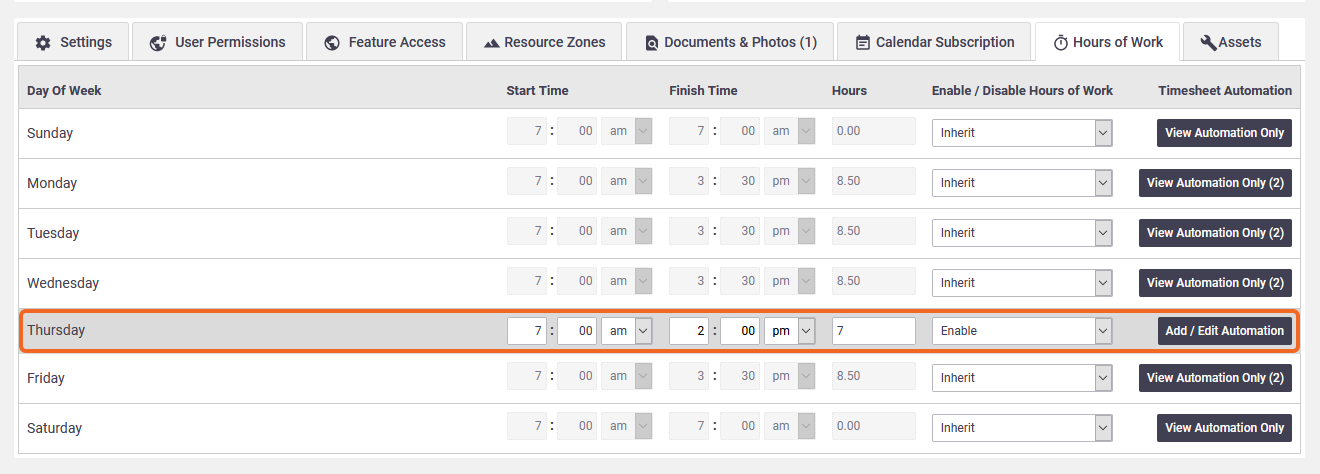
To customise a user's hours:
- Go to Site Admin > Users.
- Click on the User's name in the list.
- Click the Hours of Work tab.
- On the day you want to change, under Enable / Disable Hours of Work, select:
- Enable to enter customised hours, or
- Disable if the person does not work on that day.
- Enter the user's start and finish times for that day, or just enter the number of Hours they'll work.
- Click Save.
To switch back to the ordinary business hours, select Inherit, and Save. The business unit's ordinary working hours will be reinstated.
You can also set user-specific automation conditions. See Timesheet Automation Conditions for more information.
Edit working hours
At any time, you can edit the ordinary working hours by going into the Hours of Work settings, making the necessary changes, and saving.
- For the business: Go to Settings > Hours of work, alter the times and click Save.
- For an individual: Go to Users > Click the user name > Hours of Work tab, alter the times as necessary (you may need to click 'Enable' first, as described above in Customise a user's working hours), and click Save.
If you have Timesheet Automation conditions set up for the day you want to edit, check that the new working hours you want to enter do not conflict with any of your conditions. See Edit Conditions for more information.
What to do next
Now that you've got your ordinary hours of work set up, you can make life much easier for yourself by automating those timesheet entries that you'd otherwise have to enter manually. Things like toolbox talks, lunch breaks, and overtime calculations can all be automated. See Timesheet Automation Conditions to learn how.