Contractors can be set up with their own AroFlo logins to allow them to access and complete the tasks that you've assigned or scheduled to them.
Contractor Licences
Please note that there is an additional cost for each active contractor that accesses AroFlo. See our pricing schedule to learn more.
Enable system access
Firstly, you will need to enable system access on the Contractor card:
- Go to Accounts > Contractors and find the contractor you wish to grant system access to.
- Click the contractor's name to access the Contractor card.
- Scroll down to Settings.
- Set System Access to Y.
- Scheduling Access (optional) - allows contractor contact logins with Manager access to create new schedules in AroFlo Field.
- Save.
Subcontractors on your Calendar
Enabling System Access for subcontractors also allows you to schedule tasks directly to their contacts and show them as Resources in your Calendar.
Set up a contractor contact login
Each contact for this contractor must have their own unique username and password combination.
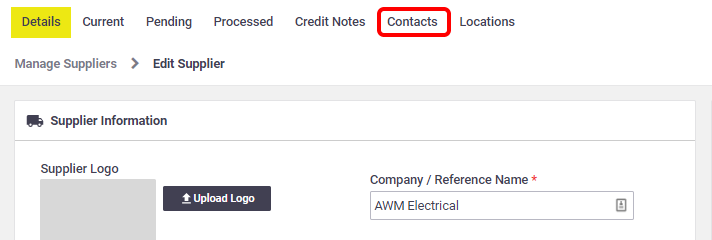
- From the Contractor card, click View > Contacts.
- Select the contact from the Users list or create a new contact.
- In Contact Details, enter a User Name and click Check Availability.
- Set a password for the user:
- If creating a new contact, enter and confirm a password (6 characters min.)
- To set a password for existing contacts, click Reset Password, enter and confirm a password (6 characters min.)
- Scroll down to Settings and select the appropriate Access Type, i.e. Manager or Base
If creating a new contact, Save first to access this option.
- Save.
Before giving the contractor their individual login credentials, it is good practice to test each user login yourself and confirm that they can log into the system, and their level of access is appropriate*
*See above note regarding additional costs.
Assign and schedule tasks to Contractor
Once a Contractor has been set up with System Access, you'll be able to assign a task to the Contractor via Add Resources > select the name of the contractor.
- Contractors and other business units will have a prefix of >> in front of the company name.
- While you can assign a task to the contractor overall, only Contractor users can assign tasks among themselves (i.e. among contractor users).
If you enabled Scheduling Access for the contractor, you can also schedule tasks to contractor users via the Calendar by adding Contractor users as Resources on your calendar.
- Contractor users will display the company name in brackets after their first name
- Scheduling tasks to contractors is only reflected in your AroFlo as Contractors do not have access to the Calendar.
View contractor tasks
To view tasks assigned to a contractor:
- Go to Accounts > Contractors.
- From the Contractor list, find the relevant contractor and click the down arrow beside the View button and select Tasks.
This can also be done from within a contractor card.
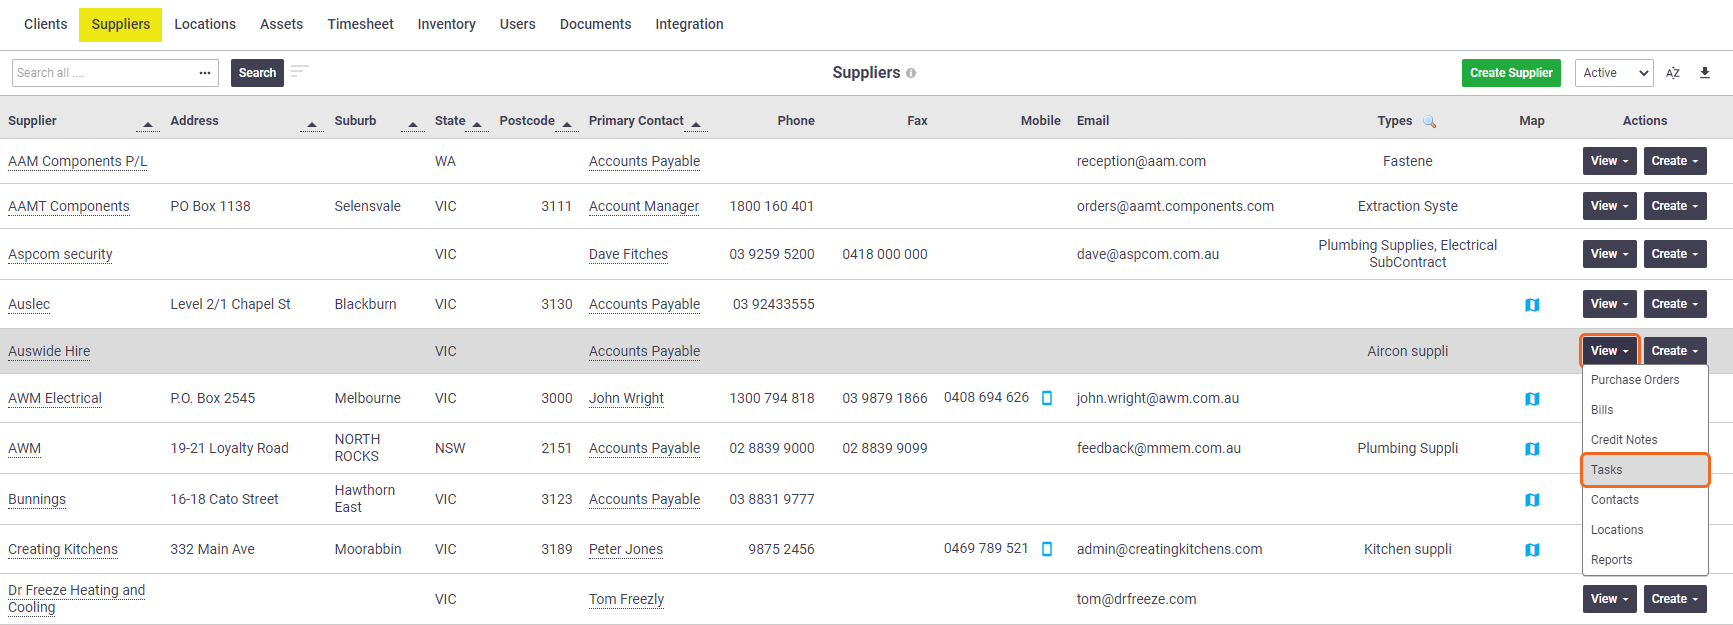
Chart of access
Select a tab…These tabs provide an overview of the functions that are available to active contractor users. Before setting up logins, make sure that this feature will provide enough access for your contractors, and if it doesn't, consider letting them know about AroConnect. Example:
TasksAccess Current Tasks
Assign Tasks
Access Task Checklists
Add Labour/Materials and Expenses
Access Completed Tasks
Upload Photos to a Task**
** Only if your AroFlo subscription includes the document storage add-on. AssetsAdd or Remove Assets From a Task
NotesView Task Notes
Add Task Notes
ComplianceAccess Compliance Forms*
* Only applicable to compliance forms that have contractor access enabled. |
 |
||||||||||||||||||||||||||||||||||||||||||||
|
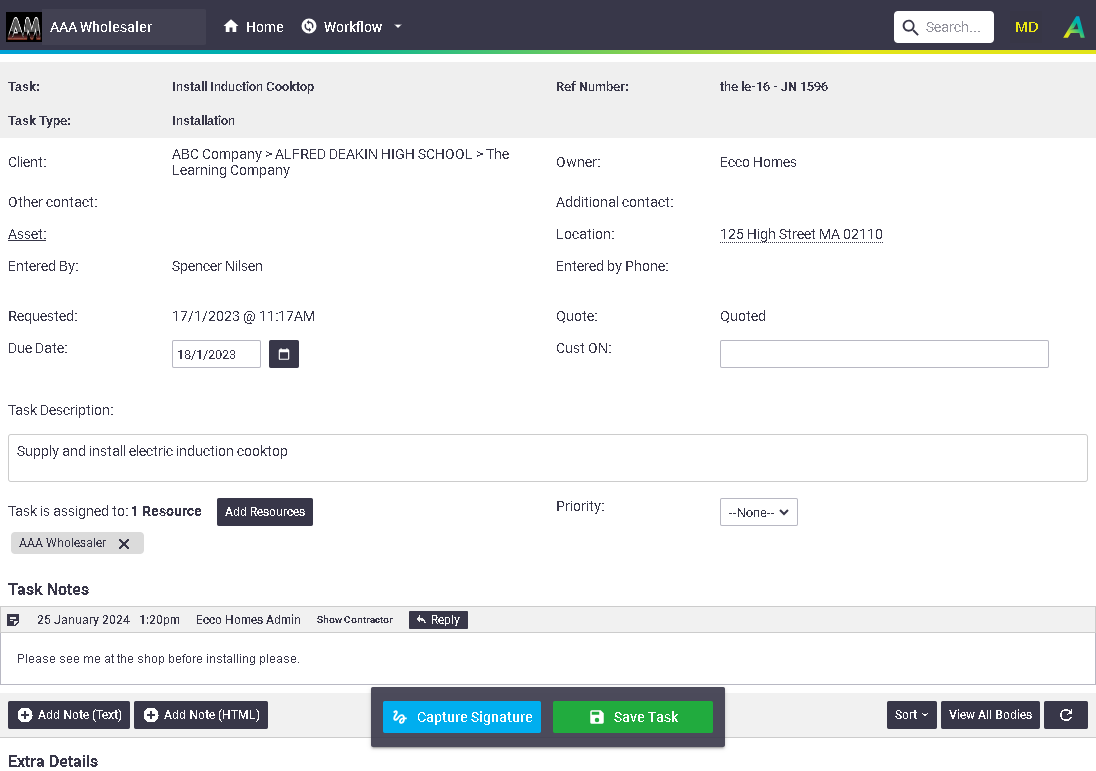
Document and Note Visibility
Any notes or documents uploaded to tasks will have the visibility set to 'Show Contractor'. Any contractor-specific setting only applies to notes/documents added by internal users.
Manually end an active user session
Users with the pre-built Management permission group can manually log a contractor user out of AroFlo.
- Go to Accounts > Contractors and select the contractor you need.
- Click Contacts.
- In the End Active Sessions column (far right of screen), check the box for the contact whose session you need to end.
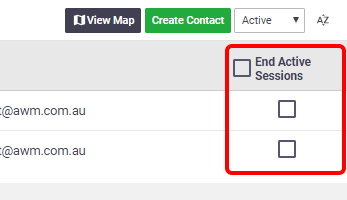
- Click Save > End Selected Sessions. The user's session will be ended within 60 seconds.
- When you manually end an active user session, any work the user had not saved will be lost.
- Archiving a user or contact will automatically end their session.