Document folders allow you to better organise your documents and photos.
Document folders are currently available in the following areas:
Like documents and photos, document folders are specific to a record (like a quote or task). So if you create document folders for one task, they will not be available to another task.
- You can set a default folder structure for tasks, depending on the task type.
- The Document Directory can be used for shared files and folders, which is available from within any area that has the Documents & Photos tab.
Creating folders
Create a folder
|
 |
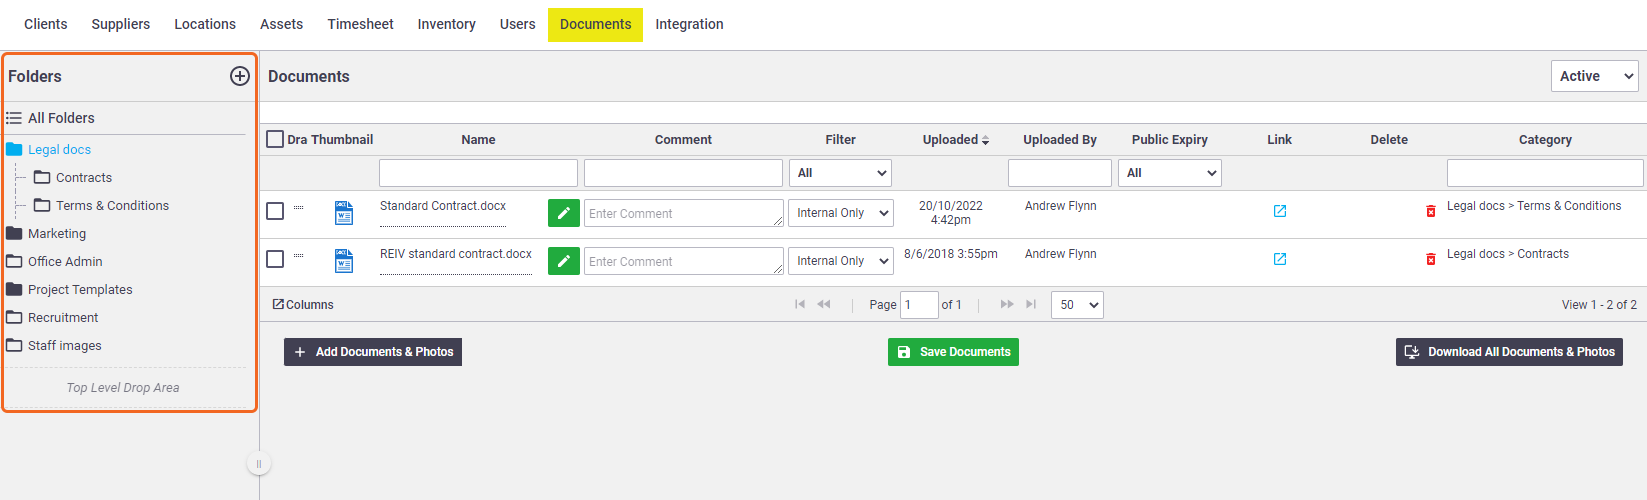
 (expand) to expand the Folders panel (unless in the Document Directory)
 (plus icon)
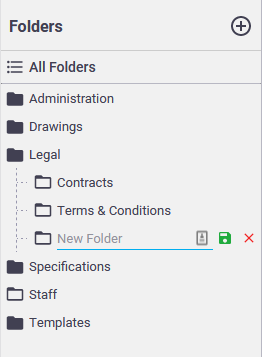
Create a sub-folder
Hover over the folder you want to use as the top-level folder. On the controls that appear to the right of the folder name, click |
 |
|
Enter a name for the sub-folder and click save Click the Click the The To change a sub-folder to a top-level folder, drag it to the Top Level Drop Area at the bottom of the folder list. |
 |
 (edit) icon to change a folder's name.
 (delete) icon to remove a folder.
 (solid black folder) icon indicates that there are sub-folders in that category.
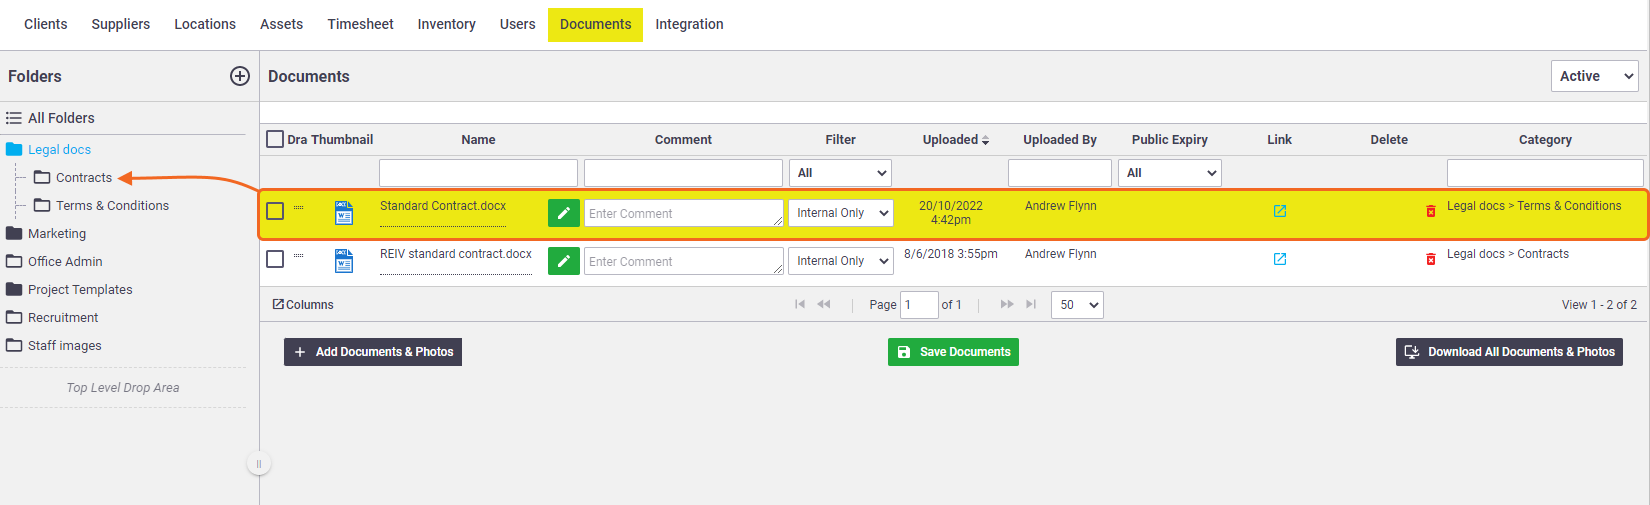
Move a file to a folder
Move a file from one folder to another by clicking in an empty space on the row, or by using the icon under the Drag column  , and dragging the file to the folder you want.