Following on from our RFI example, let's say the architect has responded to our RFI and advised that the correct width for the overhang is 400mm, not 40mm.
The contract was priced for the 40mm width, so we need to write up a variation for the difference between the cost of the 40mm overhang and the 400mm overhang, and ask the client to approve it if they want to proceed with the change.
We'll create a Variation task for this, from which we can later create a quote if necessary.
Creating a Variation task allows you to use our pre-built Variation Request Form to record the details of the variation. This can be handy if you need to obtain internal approval, e.g. from a Project Manager, before sending the variation to your client.
Create a variation task
Before you begin
Download our pre-built Variation Request Form for a professional-looking document to send to your stakeholder. You can alter it if you like, or create your own form from scratch.
Variation Request Form in AroFlo vs PDF
AroFlo
When you're completing the pre-built Variation Request Form in AroFlo, it looks something like this:

When you save the form as a PDF to email to your respondent, it will look like this:

- In AroFlo Office, go to Workflow > Projects > Open and click the project name to open it.
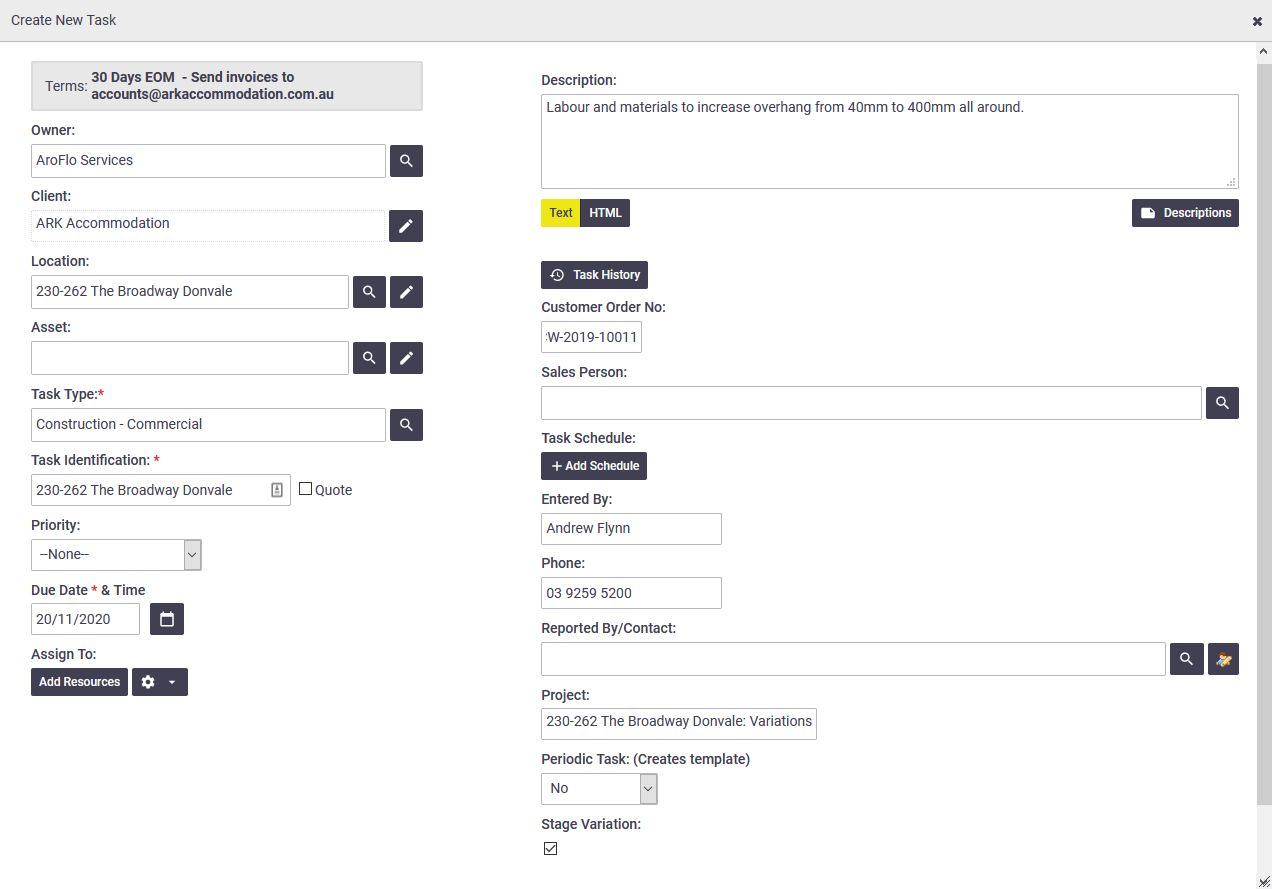
- On the Tasks tab, click Create Task and select the Variations stage.
- Complete the fields as described in Create a Task. Make sure the Task Type reflects the kind of work you're quoting on, e.g. 'Construction - Commercial'.
Be sure to click the Stage Variation box, just above the Create Task button. This will allow you to sort by Variations Only on the project's Progress tab. If you forget to tick Stage Variation when you create the task, you can edit the task header later and tick the Project Task Variation box.
- Click Create Task.
- Your task will now be listed in the Tasks tab, under the Variations stage. Click the task name to open it.
- On the Compliance Forms tab, click Create Form.
- Locate the AroFlo pre-built Variation Request Form that you've downloaded and click Create.
- Complete the form fields and click Create Form.
- Click Save Form.
- In the form's Print Options area:
- click Preview. To see how the form will display, click Print and select PDF. Click the link to open the preview, or save the file to view it. If you're happy with how things look, close the preview. If you're not, you can select another layout and preview again.
- click Email. Complete the sending information as described in Send an Email, attach the Variation Request Form, and click Send Email.
- Depending on your workflow, you could set the task Status to 'Pending' and the Substatus to 'Awaiting approval'.
- Click Save Task.
Create a quote from the variation task
Once the variation has been approved, which you can see in your Task Notes or your Email History, you can convert the task to a quote if you need to, as follows:
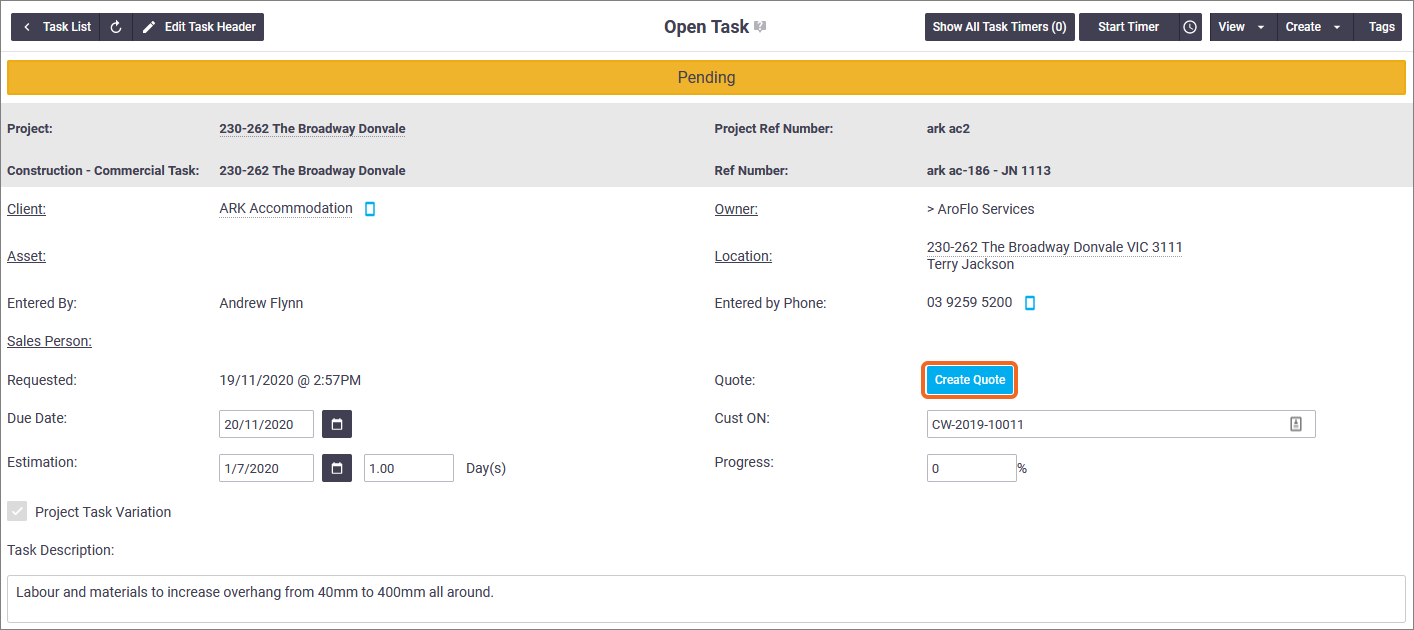
- Open your Variation task.
- Click the blue Create Quote button in the task header. This turns the task into a quote.
- Add any line items you need to and click Save Quote.
- In the Print Options area:
- click Preview. If you want a quote layout specific to variations, you can download one from our Sample Custom Layouts page and use it here.
- click Email. Complete the sending information as described in Send an Email, attach the variation quote, and click Send Email.
- Optional: Set the quote Status to Pending Approval and the Acceptance Status to Awaiting Decision.
- Click the project name to return to the project overview.
You'll notice the quote has the same job number as the task it was created from. That number will remain the same once the quote is approved and converted back to a task.
Approve the variation quote
Once your client has approved the variation quote:
- Set the quote Status to Approved.
- Optional: Set the Acceptance Status to Accepted.
- Click Save Quote. This converts the quote back to a task.
- Click View Task.

This task can now be scheduled like any other, and labour and expenses can be booked against it.
What about the project timeline?
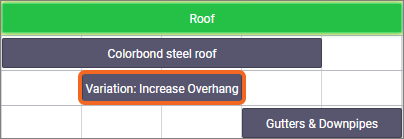
We created this task within the Variations stage, which is handy if you need to keep all variations together, but if the variation tasks need to be slotted into the Gantt chart, you may want to move them to the stages they relate to.
Show me how
To move a task from one stage to another:
- Click the task name to open it.
- Click Edit Task Header.
- Click the
 (magnifier) beside the Projects field. The Search Projects window opens.
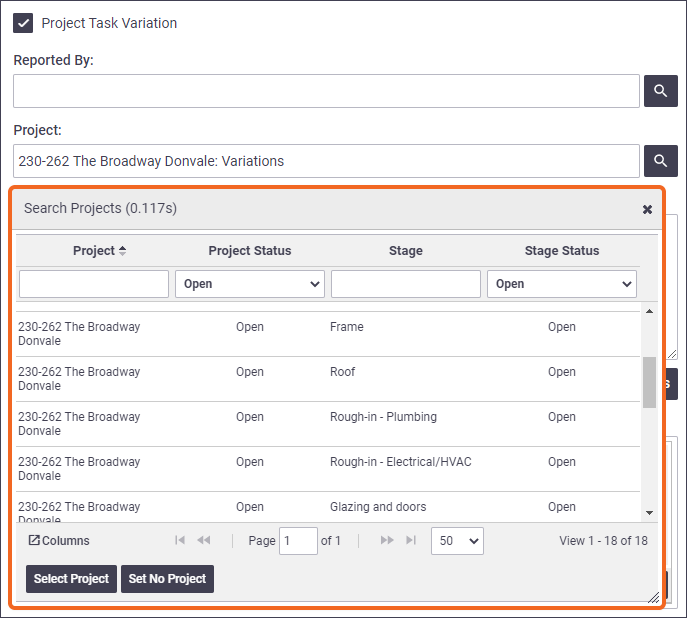
- Select the project stage you want and click Select Project.
- Click Save.
- Click Task (top left) to return to the task worksheet.
- Click the project name to return to the project overview. The task now sits in the stage you moved it to, which makes it easier to have it display where it needs to on your Gantt chart.