|
The task sheet is the central point where Field users can obtain all of the information that's needed to complete a job. To access the task sheet, tap on a task from your schedule or task list. Transaction Terms You may have a coloured banner displaying underneath the task header indicating the client's transaction terms (see image). See Transaction Terms for more information. |
 |
 |
Task Header
|
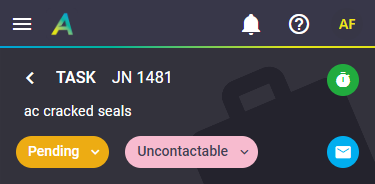
The task header tells you the job number and task name. Edit the task status and substatus from here if you need to, and then Save. Learn More. Also included is the labour timer option and the option to email the task jobsheet to your client. Tap |
 |
 |
Task Shortcuts
|
Tap the plus button Completed tasks If the task is completed, you won't have as many options available here and the option to create a part invoice will instead be replaced with one to create a final invoice.
|
 |
||||||||||||||||||||||||||||||||||
 |
|||||||||||||||||||||||||||||||||||
Task Tabs
|
The task worksheet is broken up into five tabs: The Notes and More tabs will have a counter on them if there is information contained within them, e.g. if a note has been added. |
 |
 |
Overview tab
The Task Overview gives you the main details of the task, and is broken up into sections. How much information is available is dependent on what's been included on the task.
Client Information
|
Information about the client is shown at the top of the worksheet and includes the client's transactions terms banner (if set). See Transaction terms. Explanation of fields
Additional contact details and options Tap the name of the contact to open further details and options, e.g. additional phone numbers, SMS the contact, or email addresses, depending on the information included on the Contact Card. Show this |
 |
||||||||
 |
Job Costs overview
|
This is a quick overview of your job costs. Tap an entry to easily go to that area (e.g. Labour). Feature Access settingsHow this information displays depends on your Material and Expense visibility set within your Feature Access Settings, e.g. you may see dollar values or number of items. |
 |
 |
Task tiles
|
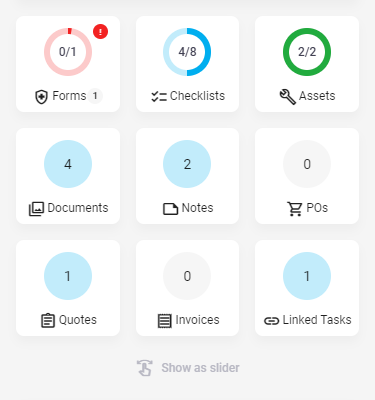
These are quick links to view and access task-related information.
Counters What do the colours and numbers mean?
The Forms tile may have an additional counter (see image) to show how many forms have been linked to the task type. Coloured Indicators
Alert icon |
 |
||||||||||||||||
 |
Task details
|
Additional details of the task. Explanation of fields
Additional contact details and options Tap the name of the contact to open further details and options, depending on the area and information included on the Contact Card. See Client Information, above. |
 |
||||||||||||||||||||||||||
 |
Project Information
|
Appears for Project tasks only. Explanation of fields
|
 |
||||||||||||
 |
Custom Fields
|
Depending on the type of task, you may have additional fields available to you, if custom fields have been set for the task type and/or have been filled out on the client card and have been set to display. Examples include a text box, a select box, a date field, radio buttons, a canvas draw field, or a documents and photos field. See Custom Fields for more information, including types of fields and how you can use these in your workflow. See the section below for a few examples of custom field types. |
 |
 |
Task Description
|
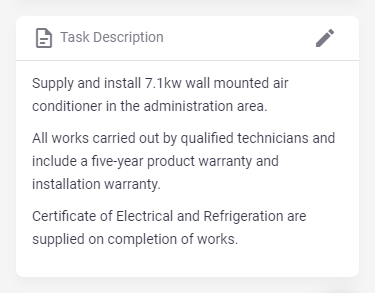
The Task Description: details of the problem or request. Tap Tap Description to use a description template. |
 |
 |
Asset Information
|
If the task was created from an asset, the following three fields will be displayed as part of the main task information:
|
 |
||||||||
 |
Custom Fields examples
Documents and Photos
|
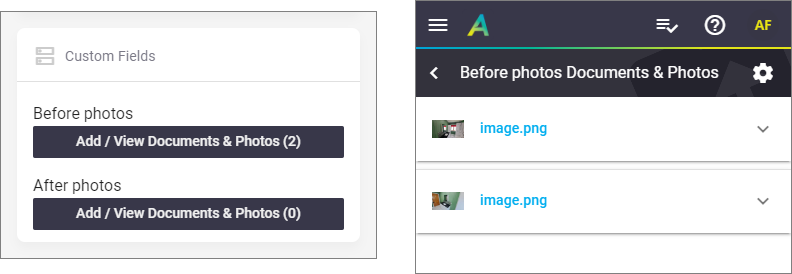
Documents and Photos fields can be really useful, especially if you want to record something like before and after photos on a job.
Tap See Documents and Photos - Manage your document or photo for more information. |
 |
 |
Multiselect
|
A multiselect custom field is useful for selecting and showing multiple options, for example, rooms of a house that need to be serviced.
|
 |
 |
Canvas
|
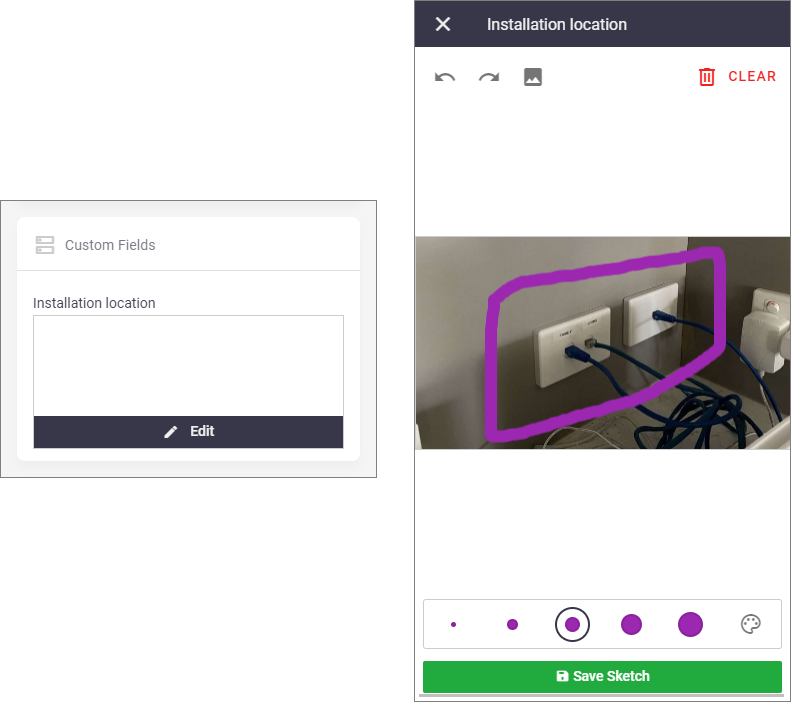
This field can either be used to create simple drawings, or for uploading an image, and then marking it up.
Tools
|
 |
 |
Other tabs
Checklists
|
Most tasks will have a checklist automatically assigned when the task is created. Checklists can:
Tap the Show me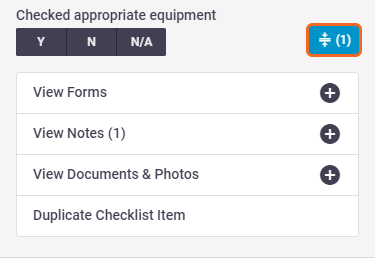 The 1 in brackets indicates information is contained within one of those additional options. |
 |
 |
Items
| The Items tab is where you view and record Labour (hours spent on a job), Materials (materials used on a job), and Expenses (task-related expenses) that have been added to the job. You can also view and create purchase orders for this task. |  |
 |
More
|
All other applicable aspects related to the task appear in the More tab, in the form of a pop-up. Certain options will have a counter on them to indicate that information is contained within them.
|
 |
||||||||||||||||||||||||||||||||||||
 |
Other options
These six options appear on most of the five tabs available to you:
Signatures
|
Tap Signatures to capture a signature from your customer, or view existing ones. This is available on all tabs except More. You can also view captured signatures from More > Signatures. |
 |
 |
Save
| Save any changes to the task. This is available on all tabs except More. |  |
 |

 (back) to return to your
  to navigate to the address using your device's default navigation app.
 to call them using your device's default dialling application.
 - this appears if you have a warning at the top of the task, e.g. if you have a form that needs to be completed before the task can be started, or if you've tried to save the task before completing required checklist items or task asset fields.
 to copy the email address.
 if you need to edit this. Remember to Save the task.
%20(3).png) for more options:
for more options:
 (down arrow) to update the file details, e.g. rename the file, add comments, edit the document filter, or delete the file.
 to open a Filter list field and type to narrow down your results
 at the top to clear all. Remember to Save your task.
 Edit (pencil icon)
 to upload an image from your device and then mark it up.
 ) to show/hide the colour palette
 /
/ 
 Clear to erase the canvas.


