Purchase order items can be moved from an existing task to a different Task, or back to Stock if the item was not used on the job.
The Move Items feature is controlled by each user's permission group. By default, all users can move items from purchase orders to tasks or to stock.
Custom Permission Groups
For those with custom permission groups, Site Administrators can disable this feature by going to Site Administration > Settings > Permission Groups > [Select permission group] > Purchase Orders > Fields > Move Items (set to unticked).
To move an item on a purchase order:
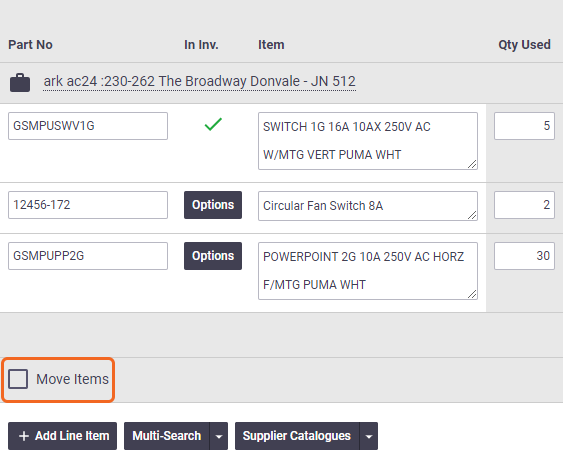
Step 1
Click Move Items.
Step 2
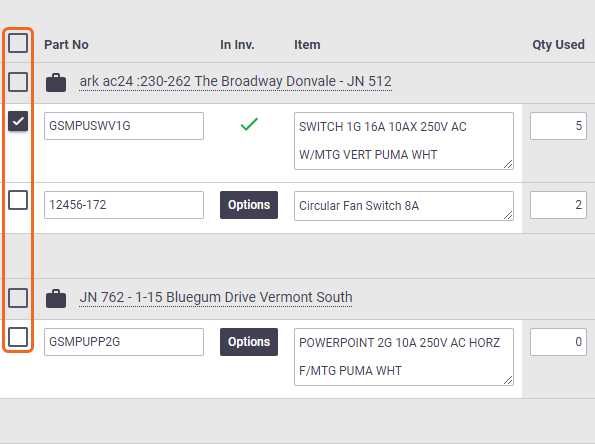
- Select the checkbox for each item you wish to move, or
- select the checkbox next to a task name to select all items for that task, or
- select the checkbox at the top to select all items.
Step 3
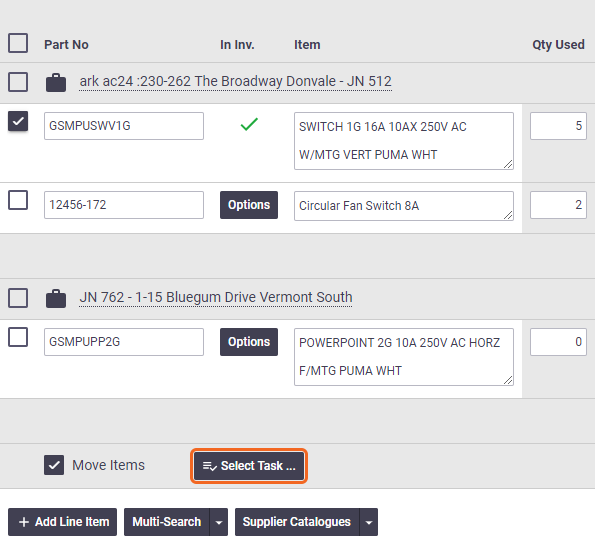
Click Select Task
Step 4
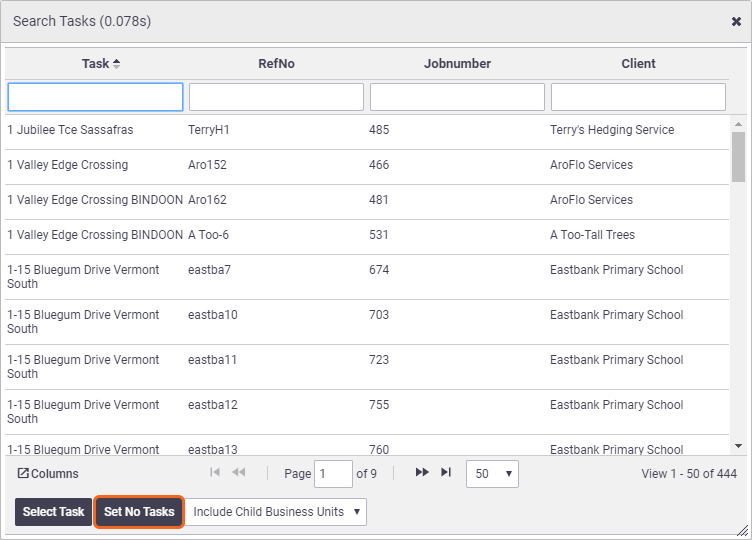
Double-click to select a Task from the list, or click Set No Tasks to move to Stock.
Use the search boxes in the top row to quickly locate a Task.
Business Units filter
If you have access to multiple Business Units, you will have an additional filter at the bottom of the search window to display further options.
Filter option |
Description |
|---|---|
| This Business Unit Only | Only displays tasks that are part of the selected business unit. |
| Include Child Business Units | Displays tasks that are part of the selected business unit, as well as child business units. |
| Include All Business Units | Displays tasks for all business units. |
Step 5
| Choose to either keep or remove the items (and associated costs) from the existing Task. | 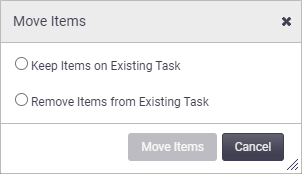 |
 |
Step 6
Click Move Items. The items will now appear under the selected Task or Stock.

- If moving all items to a different task, the purchase order will be linked to the task you are changing it to.
- Purchase Orders placed via Supplier Connect do not display the Move Items checkbox. The items will be allocated to Stock, and can be assigned to tasks via the Materials button on the Task Worksheet.