|
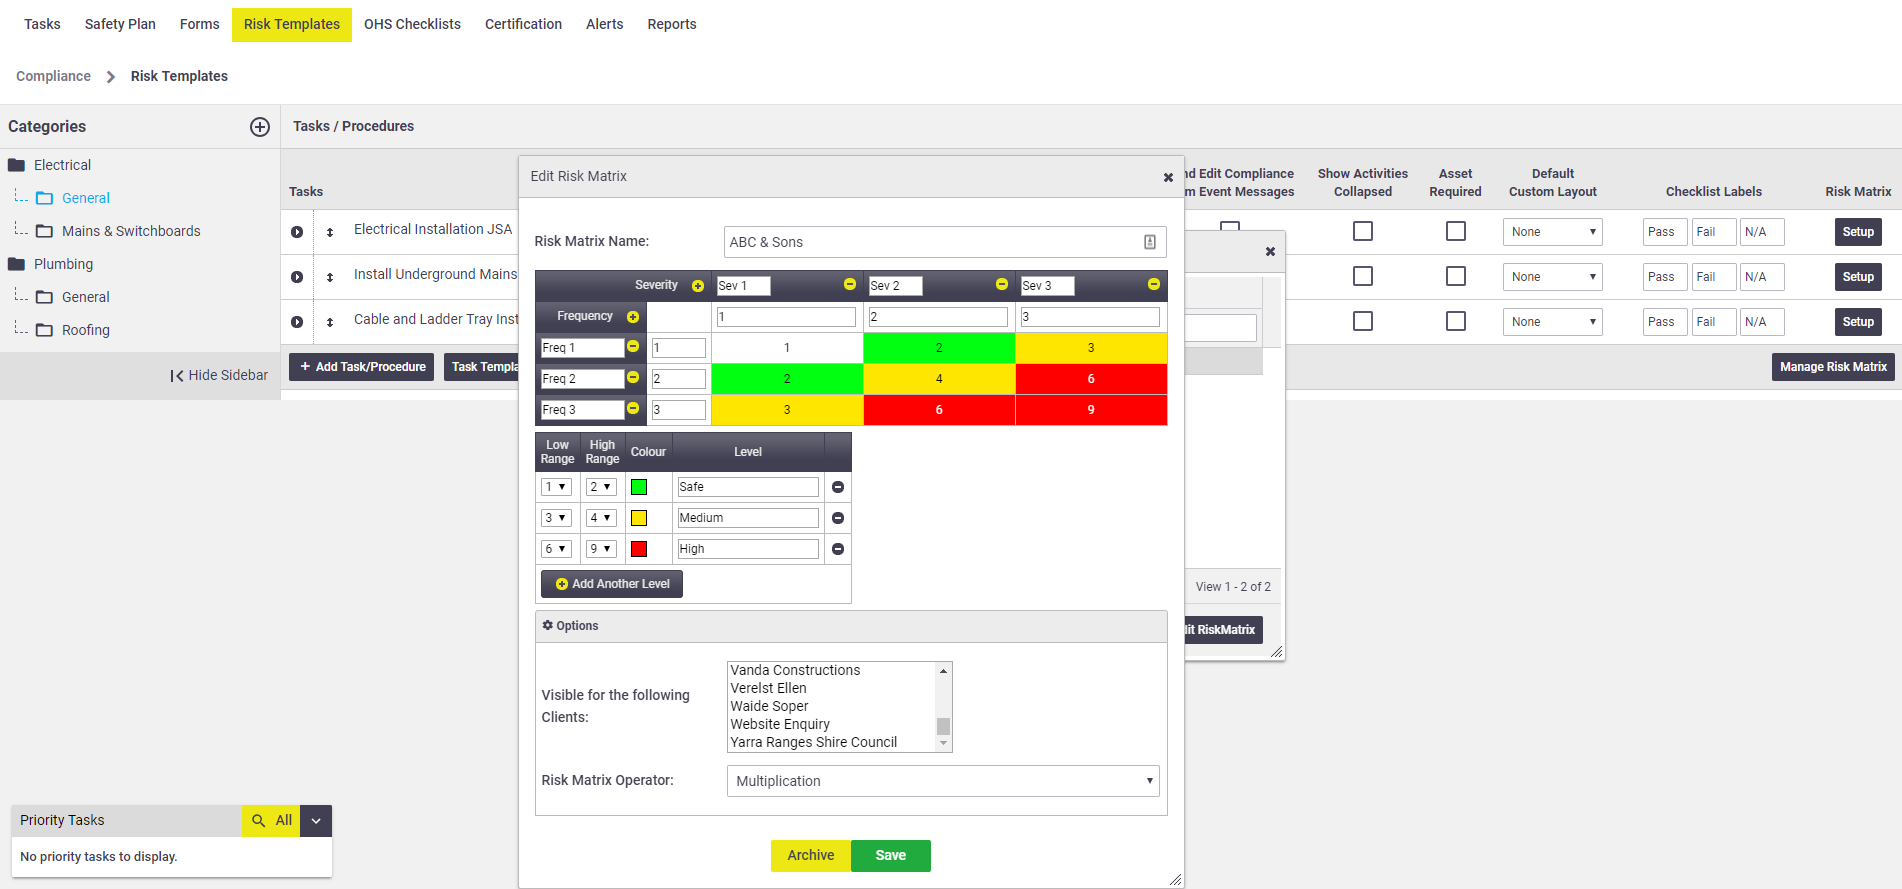
A Risk Matrix is an essential part of using Risk Templates. AroFlo comes with a default Risk Matrix, or you can make your own using the steps in this guide. According to WorkSafe, "Risk matrices are a convenient way of expressing the likelihood and severity of...events." Your Risk Templates use a Risk Matrix to help your users judge the frequency and severity of risks associated with the tasks or procedures inherent in the work they may be doing that day. |
 |
 |
A Risk Matrix is an important document that should be completed with appropriate stakeholders, including HSRs, relevant experts, and affected employees. The instructions contained in this guide are general only to guide you in the construction of your matrix within AroFlo.
Using an Existing Matrix
| If you're wanting to simply re-use an existing custom Risk Matrix, from the Setup Risk Matrix screen, use the Add Risk Matrix dropdown, select the matrix you need, and Save. | 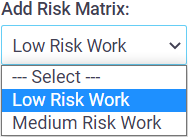 |
 |
Building Your Matrix
- Go to Workflow > Compliance > Risk Templates
- Click the category and/or subcategory that contains the template you'd like to assign a Risk Matrix to and click Setup under Risk Matrix.
- The Setup Risk Matrix screen will appear. AroFlo will let you know if you're using the System Default Risk Matrix. To set up your own, click Manage Risk Matrix.
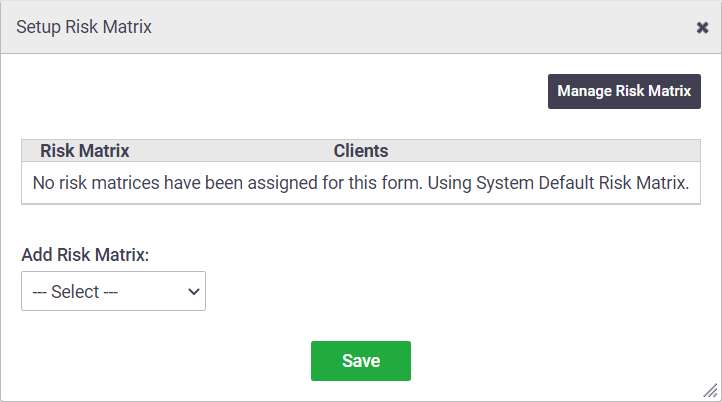
- Click Add Risk Matrix.
- Name your Risk Matrix.
- Click the plus icon next to Severity and Frequency until you have the configuration required for your template.

- Name your severities and frequencies to your requirements.
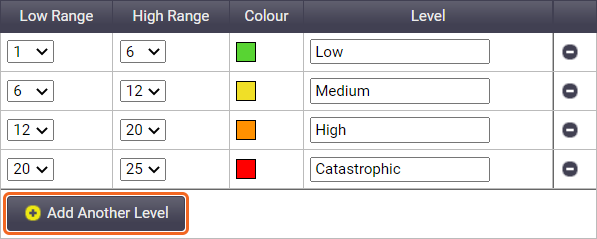
- Next, add colors to represent your risk levels in AroFlo Field by clicking Add Another Level until you have enough. Name each of the levels, define a color by clicking the swatch, and then select one. Finally, select a number where the risk range starts and ends for the colors using the Low Range and High Range selectors.
- Click Options if you'd like to define any additional settings for this Risk Matrix, and click Save.
- Close the Edit Risk Matrix and Search Risk Matrix pop-ups if they're still visible.
- Finally, select the new Risk Matrix you set up in the Add Risk Matrix selector, then click Save.
Using Your Matrix
|
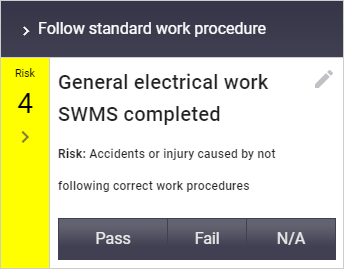
In practice, you do not use a Risk Matrix on its own, as by nature, it is simply a mechanism for calculating risk. Your Risk Templates that have the Risk Matrix linked to them are accessed by a field technician, and you will be able to see the outcome as they fill out a Risk Template and use the checklist. For more information, see Types of Compliance Forms > Risk Assessments. |
 |
 |