Print and Email Default settings let you preset email templates, email addresses and print layouts across various areas in AroFlo.
Defaults can be applied to invoices, quotes, tasks, purchase orders, compliance forms, request for quotes and credit notes.
This feature may be useful if you want to:
- Set common subject text or body text in the emails you send, e.g. set emails with a purchase order to include 'Please find attached PO number [PO Number]'.
- Set email recipients, e.g. ensure your invoice emails are cc:'ed to your accounts department email address.
- Set default print layouts, e.g. set your sales invoices to use a simple layout and your project invoices to use a detailed layout.
You can also set Client, Supplier, and Contractor-specific defaults
Client-specific settings
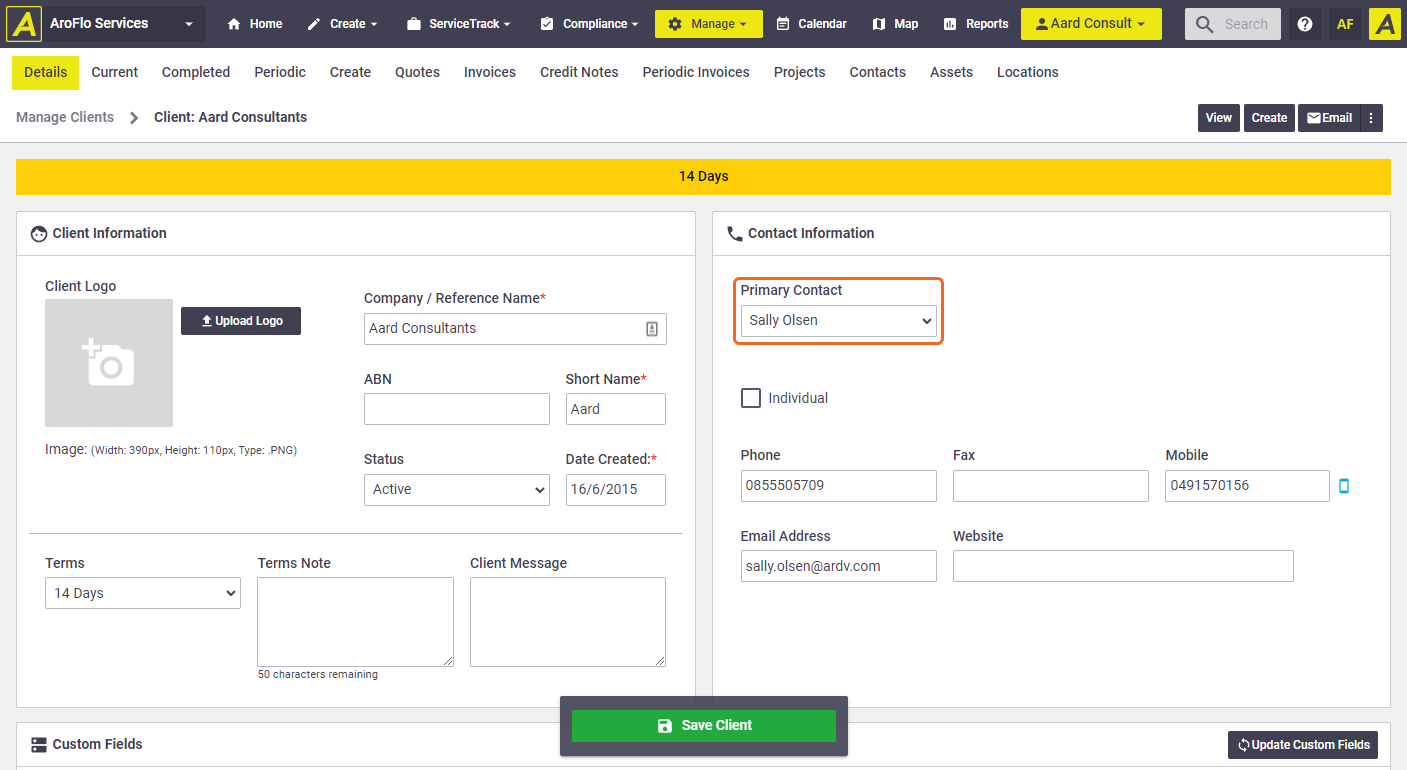
Client-specific settings can be set up within the Client card > Client Print & Email Defaults.
Example: Set your VIP clients to receive a unique invoice layout, designed specifically for their requirements.
Supplier-specific settings
Supplier-specific settings (for purchase orders and request for quotes) are available within the Supplier card > Supplier Print & Email Defaults.
Example: One of your suppliers may require a unique purchase order format.
Contractor-specific settings
Contractor-specific settings (for work orders and request for quotes) are available within the Contractor card > Contractor Print & Email Defaults.
Example: One of your contractors may require a unique work order format.
- These settings will override the Business Unit default settings.
- These settings are not available in AroFlo Go.
Using multiple Business Units?
Like client and supplier settings described above, setting the defaults of a child business unit will allow you to use that instead of parent defaults for most options.
Interested in learning through an interactive course in the AroFlo Academy?
Set Print and Email Defaults
To set up default settings for your company/business unit:
- Go to Site Admin > Settings.
- Use the search box to find Print & Email Defaults.
- Click the relevant area from the results that appear (e.g. Quotes, Tasks, Invoices)
Switch between areas using the sidebar
Show me

- Optional: Select a type using the tabs in the header, if required (e.g. Simple or Detailed Quotes, or Project Invoices or Part Invoices)
Type

- Set any default options as described in the section below.
Which print and email settings take priority?
Defaults set against a Client / Supplier / Contractor
|
1) Defaults set against an area type on the Client / Supplier / Contractor card. Example: Sales invoices for VIP clients. |
2) Defaults set against an area on the Client / Supplier / Contractor card. Example: Invoices for VIP clients. |
|
2) Defaults set against an area on the Client / Supplier / Contractor card. Example: Invoices for VIP clients. |
Defaults set against a Business Unit (BU)
|
3) Defaults set against an area type in the Business Unit. Example: Electrical Division sales invoices. |
4) Defaults set against an area in the Business Unit. Example: Electrical Division invoices. |
|
4) Defaults set against an area in the Business Unit. Example: Electrical Division invoices. |
Defaults set against the Company (Top level BU)
|
5) Defaults set against an area type in your company. Example: Your company sales invoices. |
6) Defaults set against an area in your company. Example: Your company invoices. |
|
6) Defaults set against an area in your company. Example: Your company invoices. |
Print and Email Default Options
Use the tabs below to read about each setting

Print Layout
Select your preferred default print Print Layout from the dropdown menu.
For example, you could set your sales invoices to use a simple layout and your project invoices to use a customised detailed layout.

Email Body Template
|
Select an existing email template using the dropdown or click Example: Create an email template for emails that contain an invoice. The template includes a subject line and body of text. This could be 'Dear [Contact Name], Please find attached invoice [Invoice Number]. Regards [Current User Firstname]'. |
 |
 |
Email Fields
Automate the recipient email addresses in your emails, using the options below.
- To: is generally for the main recipients of your email.
- CC: is for sending a copy to other interested parties for their information.
- BCC: is for sending a copy to other interested parties, however, the BCC list is secret: no one can see this list except the sender.
- From: provides the recipient with an email address for responding to the email.

Available options in each of the above fields
Option |
Description |
||||||||
|---|---|---|---|---|---|---|---|---|---|
| System Default | The system default option varies between the To, CC, BCC and From fields.
|
||||||||
| Task Reported By | This option is only available in the 'To:' field. This will auto-populate the email address of the Contact who reported the task which was originally linked to the quote, invoice, etc. Show me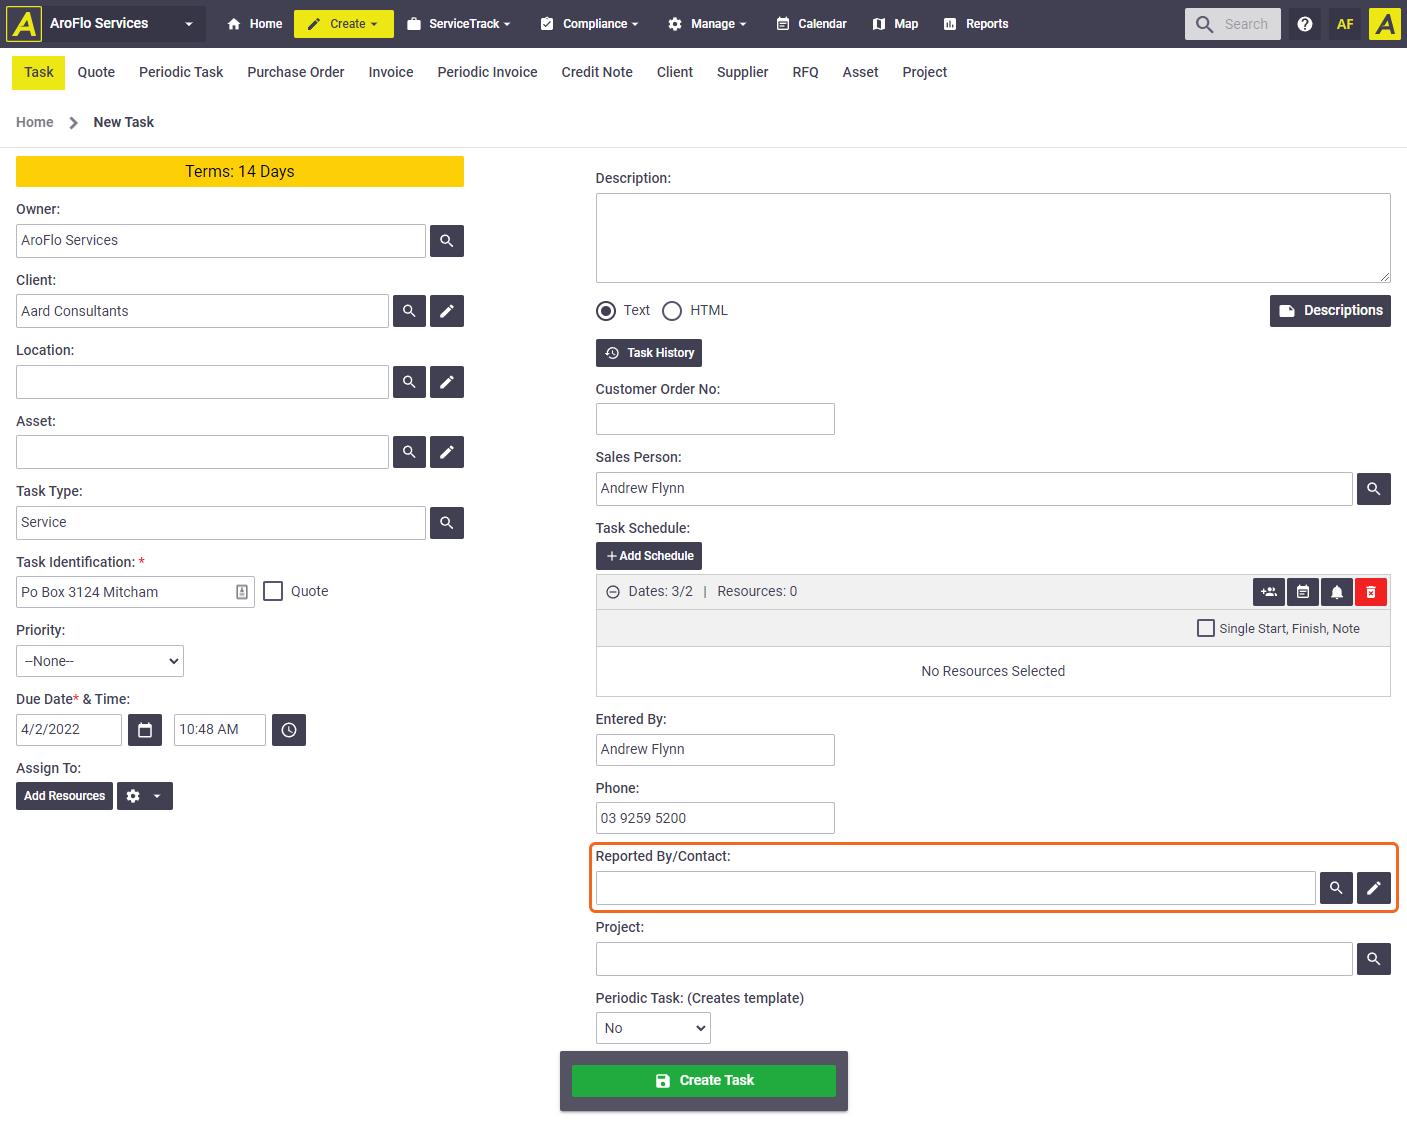 |
||||||||
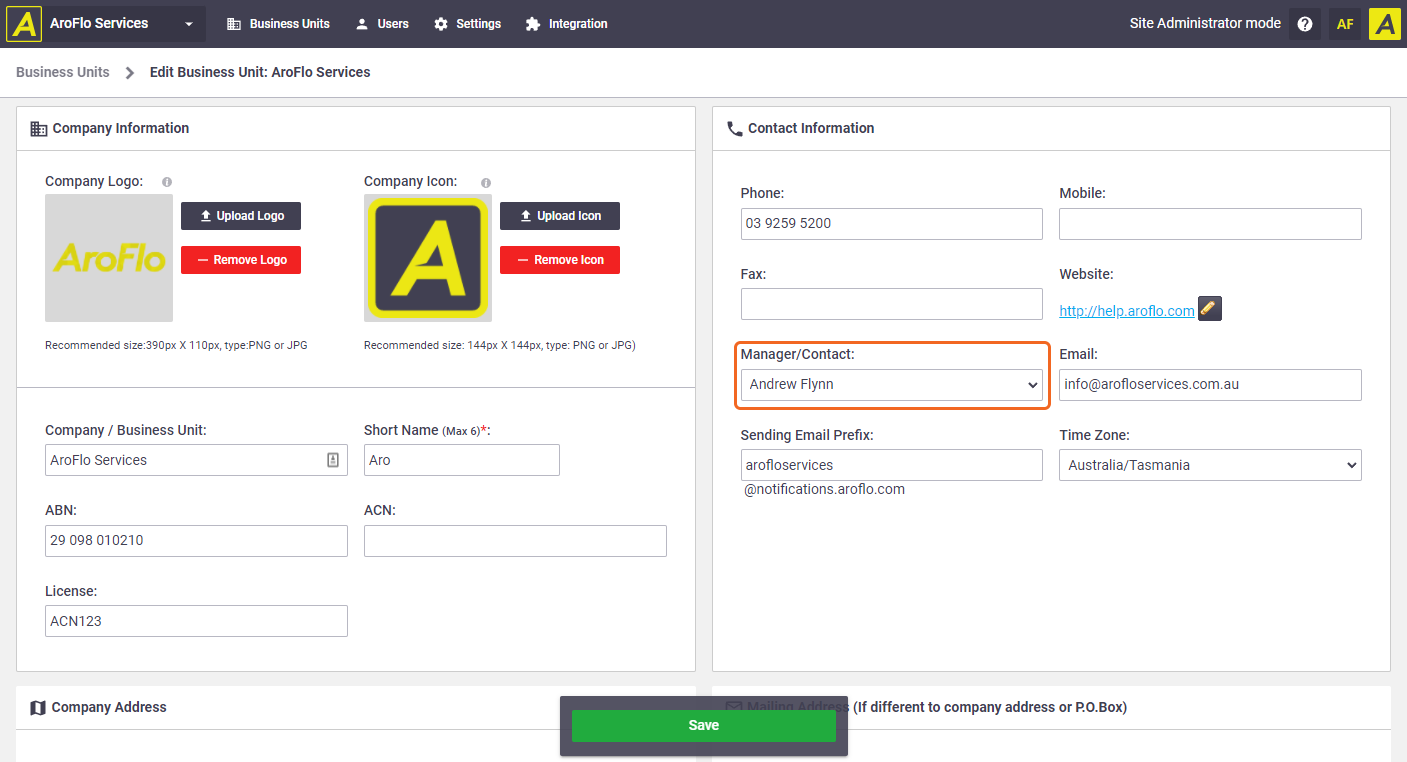
| Business Unit (Manager) | Auto-populates the email address of the Business Unit Manager linked to the quote, task, invoice, etc. Show me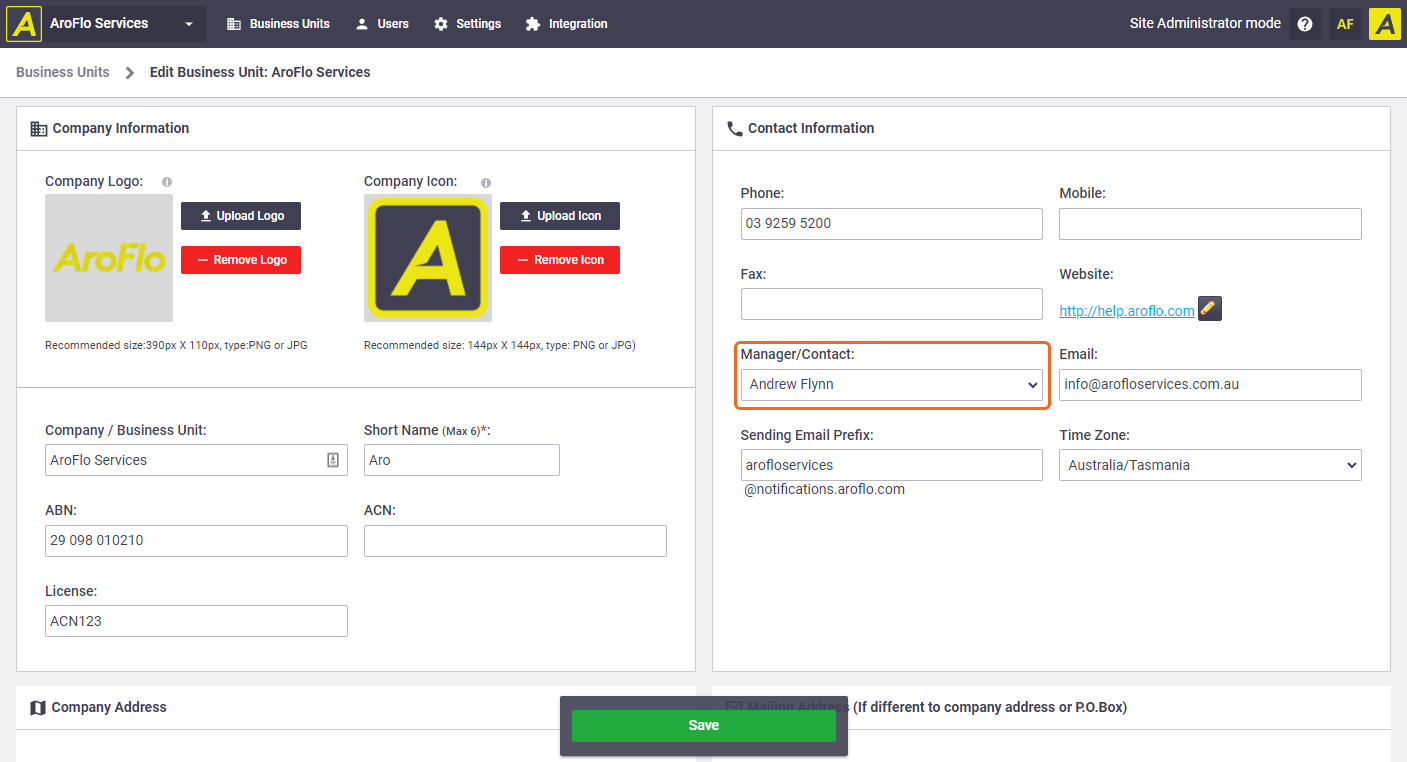 |
||||||||
| Business Unit | Auto-populates the email address of the Business Unit linked to the quote, task, invoice, etc. Show me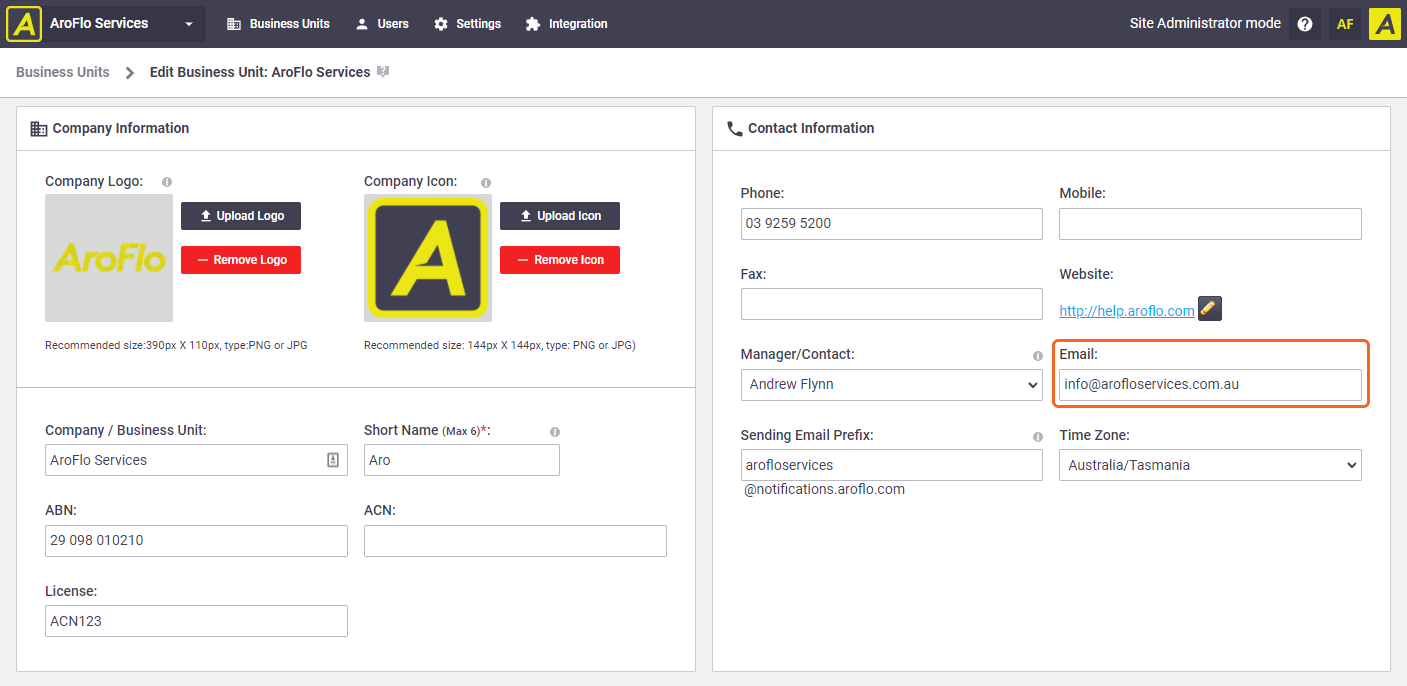 |
||||||||
| An Existing User | Auto-populates the email address of a listed AroFlo user. | ||||||||
| Current User | Auto-populates the email address of the user who is logged in, planning to send the email. |
||||||||
| User Defined | Auto-populates a custom email address. Enter the address into the blank field that appears. Separate multiple addresses with a comma (,) or semi-colon (;). |
Notification Emails
Automate the recipient emails for various events. The fields listed can be found under Email Options.
- On Failure: Set automatic notifications for when an email is not delivered or bounces back.
- Track Emails: Specify an address to copy the email sent.
- Read Receipt: Specify an address for read receipts. These are records of when an email has been opened by the recipient.

Available options
Option |
Description |
|---|---|
| System Default | Auto-populates the email address of the Business Unit Manager linked to the quote, task, invoice, etc. Show me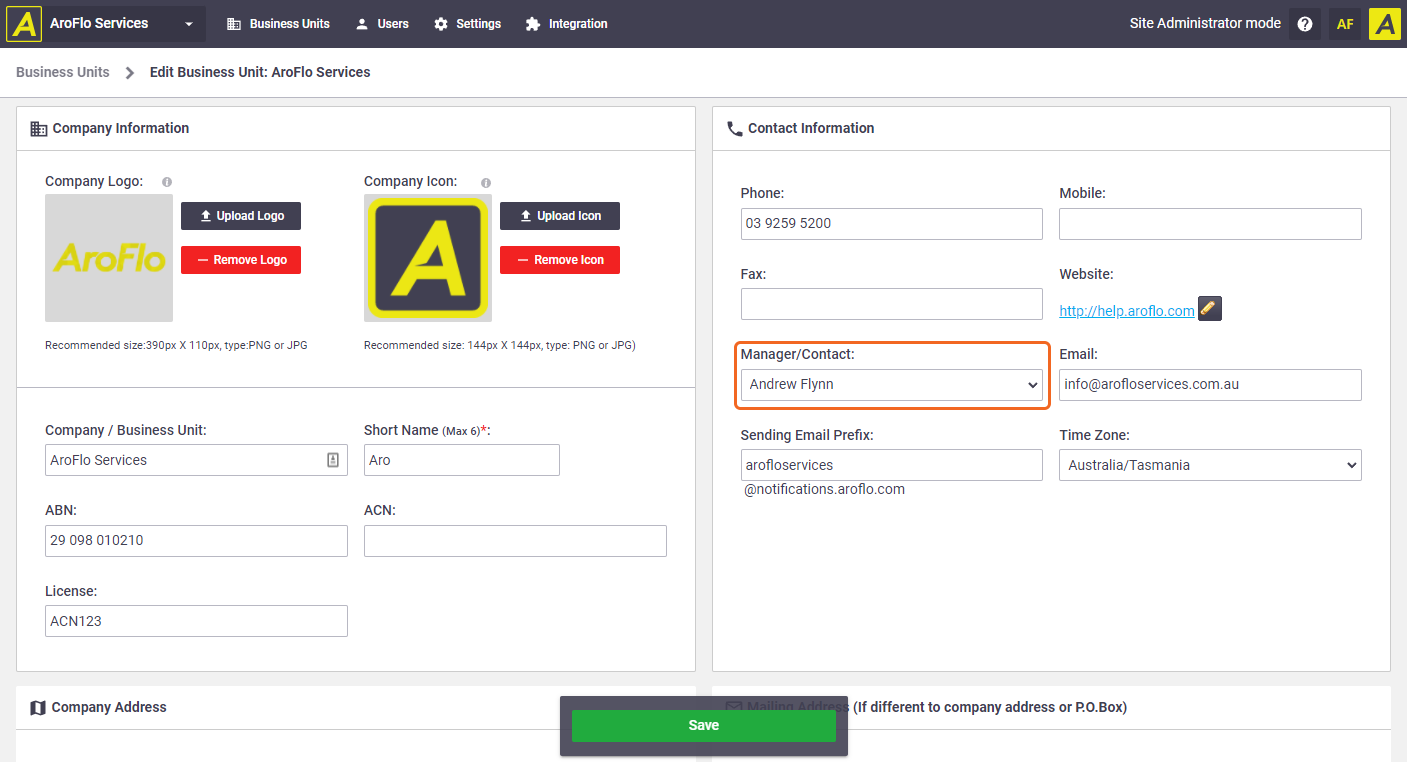 If no email address is defined, the 'From' field on the email will be blank. You can manually enter an email address when you want to send the email. |
| Business Unit (Manager) | Auto-populates the email address of the Business Unit Manager linked to the quote, task, invoice, etc. Show me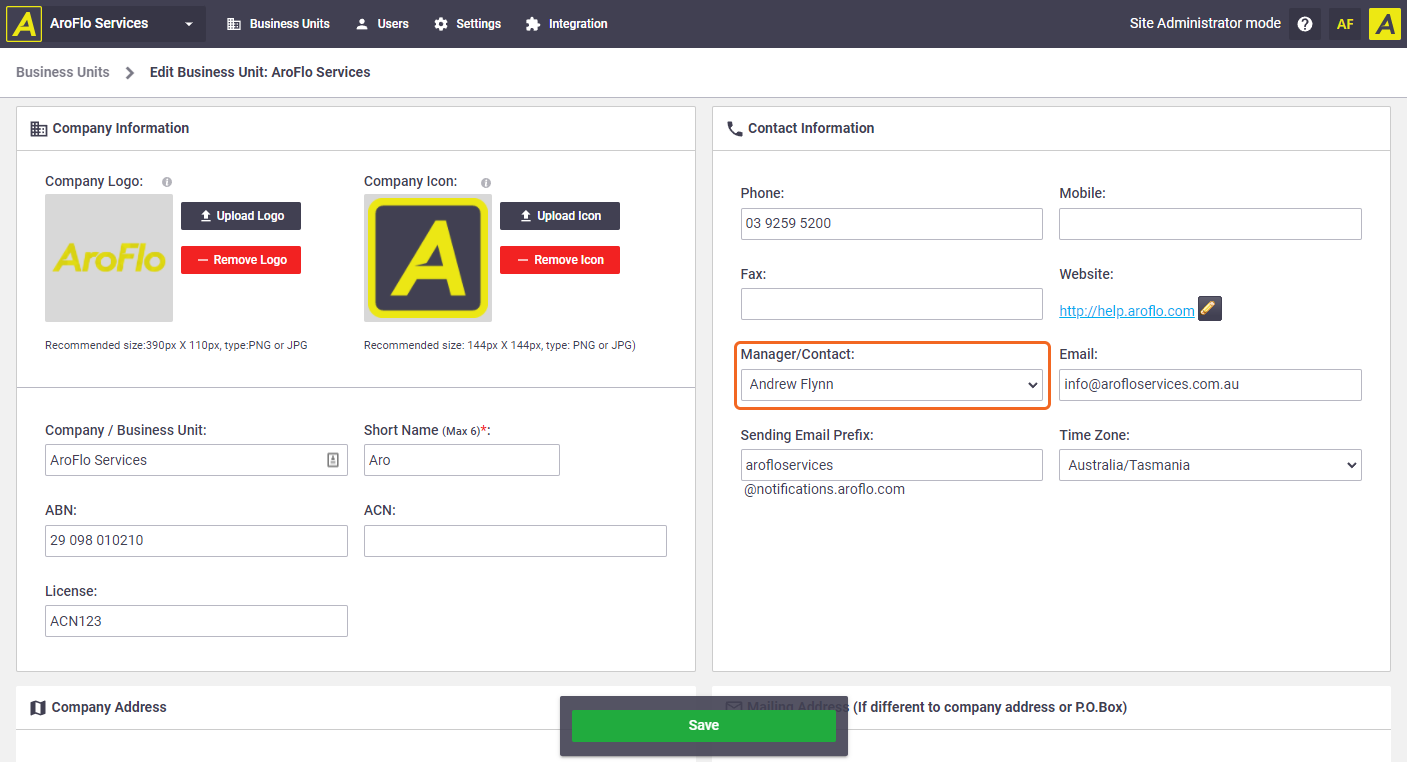 |
| Business Unit | Auto-populates the email address of the Business Unit linked to the quote, task, invoice, etc. Show me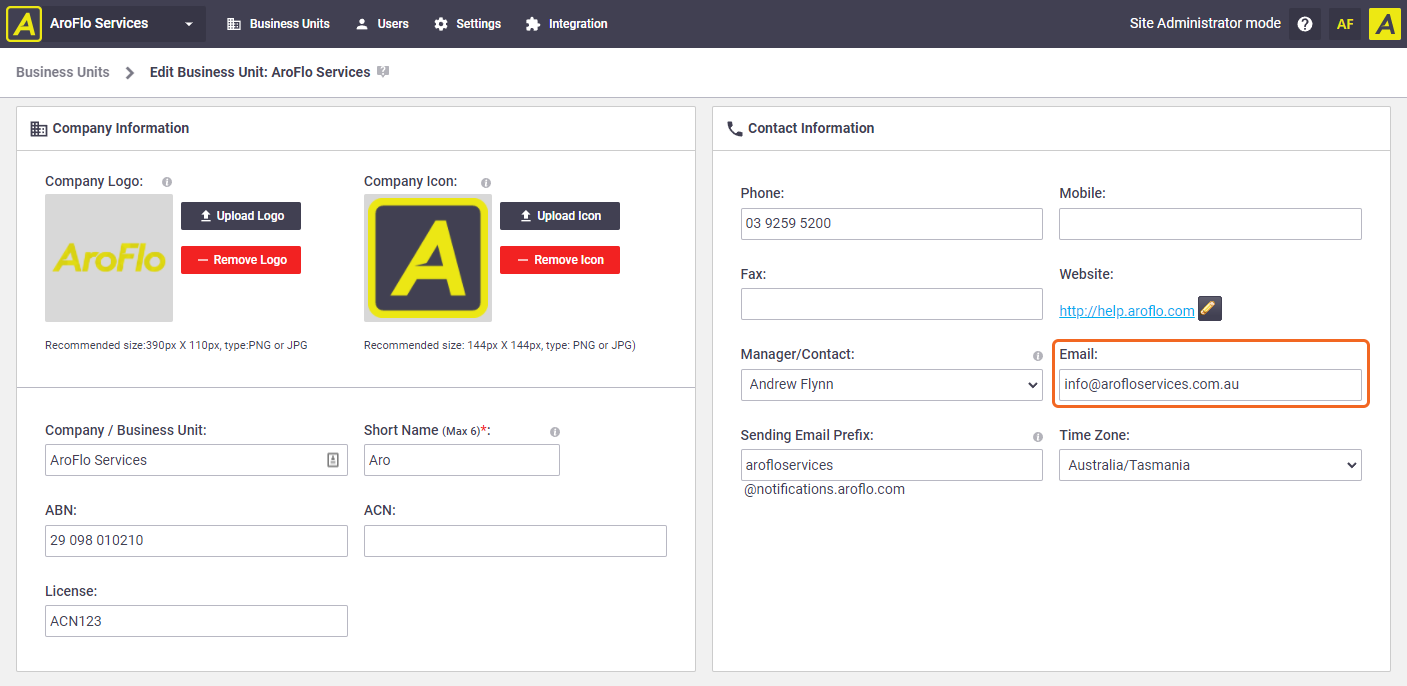 |
| An Existing User | Auto-populates the email address of a listed AroFlo user. Archived users If the selected user is later archived or is moved to a different business unit, that status will be shown against their name.  Once a new user is selected, the archived/moved user will no longer appear in the selection list. |
| Current User | Auto-populates the email address of the user who is logged in, planning to send the email. |
| User Defined | Auto-populates a custom email address. Enter the address into the blank field that appears. Separate multiple addresses with a comma (,) or semi-colon (;). |
Track Delivery Status, Opens and Clicks
This setting is used to track email delivery status. It is a method to see if the email has been opened, clicked or read.
| Option | Description |
|---|---|
| System Default | Tracking is on |
| Yes | Tracking is on |
| No | Tracking is off |
Allow Reply Imports
This setting enables automatic importing of email replies to the Task Notes section. Refer to Tracking Email Replies for more information.
| Option | Description |
|---|---|
| System Default | The system will import emails as task notes. |
| Yes | The system will import emails as task notes. |
| No | The system will not import emails as task notes. |
 (magnifier) to search. You can also edit a selected template using
  (pencil).