|
Recording materials not only adds your costs to a job but it is also essential for accurate stock control. Interested in learning through an interactive course in the AroFlo Academy? Materials used on a job are viewed and recorded by tapping:
Tap See below for instructions on how to use each option.
|
 |
||||||||||||
 |
Alternatively, if you want to quickly add items to your task without first viewing existing items, you can also use the Task shortcuts ![]() > Add Material to access these same options.
> Add Material to access these same options.
Project Tasks
|
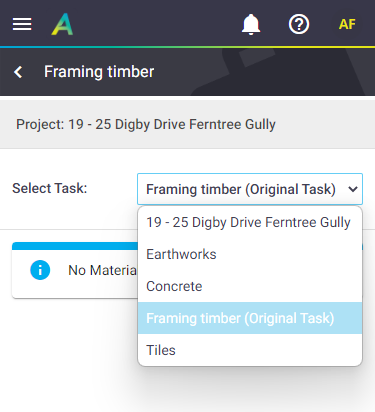
If working on a project task, you'll have an additional Select Task section at the top of the list of material items. Use this to view materials from other tasks in the project and add items if necessary. Original Task The task that you initially navigated to is known as the Original Task. When saving materials to another task, however, this new task will now be known as the Original Task (and will also be referenced in the task header). This task will remain when switching tabs (i.e., to Labour or Expense). |
 |
 |
Feature Access settings
How material items are displayed once added depends on your Material and Expense visibility set within your Feature Access Settings, e.g. whether or not prices are showing.
Search for Materials
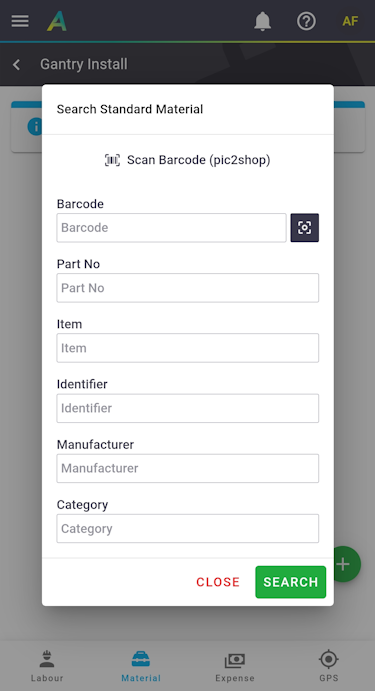
1. Search
|
 |
 |
2. Add Search Results
|
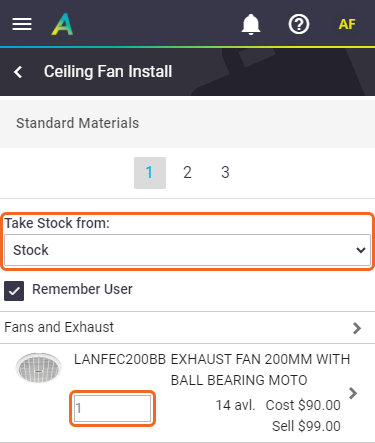
Once the search results are displayed:
After searching inventory, you can switch to Quote Material (if applicable) or Inventory Lists by using You can also tap Search from within the Standard Material and Inventory Lists section; however, the behaviour will be slightly different. |
 |
 |
Add Inventory Items
|
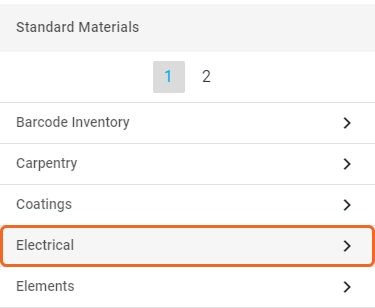
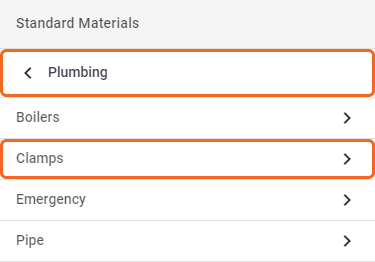
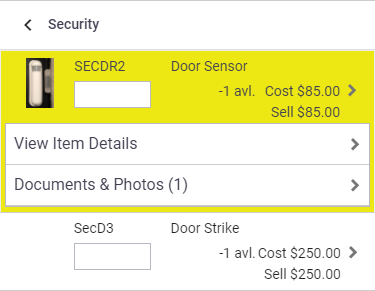
Inventory items are organised in categories (and sub-categories) that have been created in AroFlo Office. You can browse through the categories and book items out directly from the category.
|
 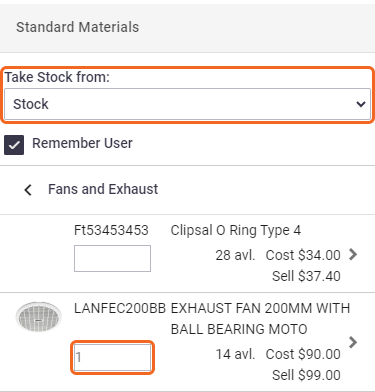 |
  |
Add Quoted Items
|
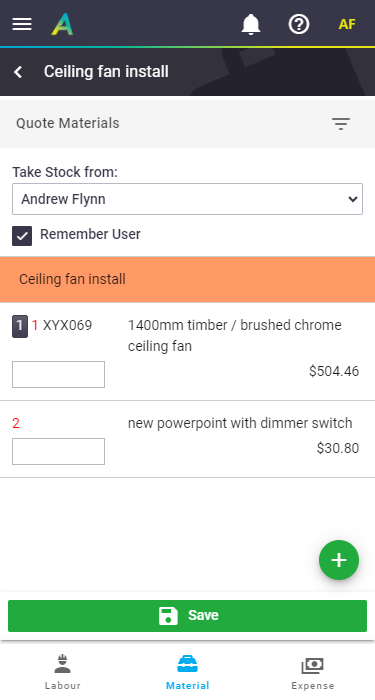
If the task you're working on originated from a quote, or from a project created from a detailed quote, you'll have the option to add materials from the quote.
Project TasksFor project tasks where the project was created from a detailed quote, the list will display all quoted items within the project, but you can use the filter option
|
 |
||||||||
 |
Add Inventory Lists
|
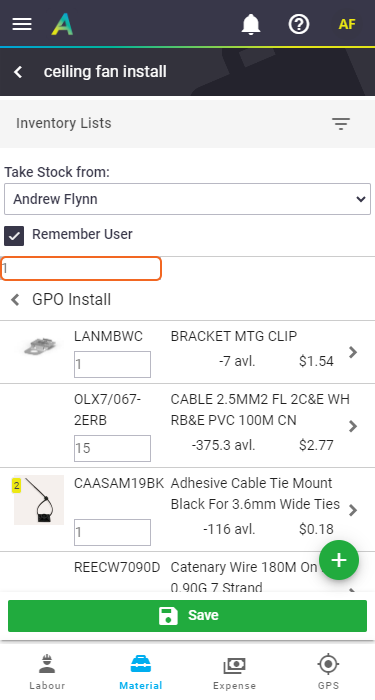
Inventory Lists are another powerful way of quickly booking out several items on to a task. These lists (created in AroFlo Office) should contain most of the common items you would use on a regular job.
Search Inventory Lists Use the
AssembliesIf you select an Assembly from Inventory Lists, you're given the option of either setting a total quantity in the header line, or setting individual item quantities (see image). |
 |
 |
Ad-hoc materials
|
If you've used a one-off item that is not listed in your inventory, you can add the item to the task as an Ad-hoc Material item:
All Fields Explained
|
 |
||||||||||||||||||
 |
Editing items
|
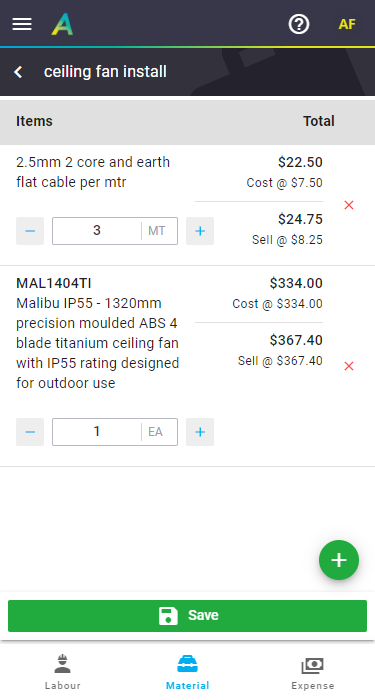
Once you've added items to the task, return to the task material screen using any of the above methods. Tap the Tap the < (back arrow) at the top to return to the task items screen. |
 |
 |
Purchase/Work Order items
|
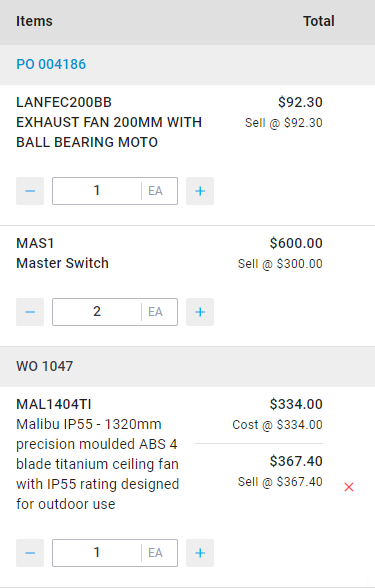
If your task contains purchase orders or work orders, material items will be visible under the relevant headings PO or WO. Tap the purchase order number to open the related Purchase Order. |
 |
 |

 (black square) to scan the item's barcode. You can also use an external scanner paired to your device to populate any fields with a corresponding barcode, e.g., Part No or Identifier. See
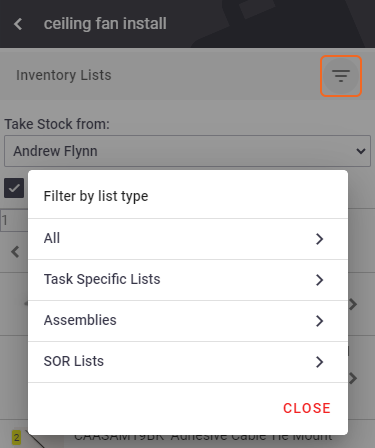
 to filter the list:
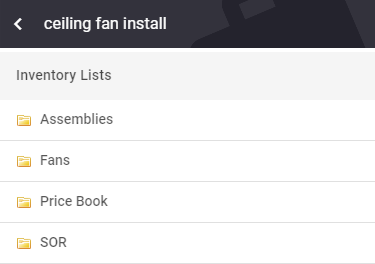
 (Filter by) to filter the list based on Task Specific Lists, Assemblies, and SOR Lists.
 or
or  buttons to adjust item quantities and Save. Alternatively, tap x to remove an item.