AroPoint has a number of tools available to you.
|
From the Map view, click See the below table to find out what each option does. |
 |
 |
| Tool | Description |
|---|---|
| Alerts | Create actions that are triggered by the GPS device's activity. |
| Geofencing | Create boundaries on the map, which can trigger alerts. |
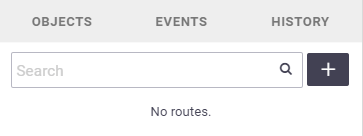
| Routes | Set up regular routes and display them on the map. |
| GPS Reports | Generate reports based on your objects' data. |
| Ruler | Click point-to-point on the map to check distances. This can be used to find out how far away a job is. |
| POI (Point of Interest) | Add a position on the map to be highlighted in the form of a marker icon. This can be handy for marking the locations of your regular suppliers and clients, or a particular job site. |
| Show Point | Enter map coordinates to jump to on the map. |
| Show Address | Currently not supported |
| Send Command | Currently not supported |
Routes
|
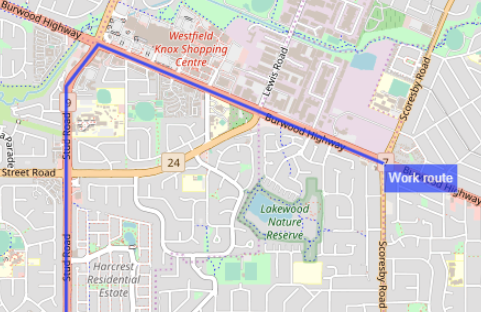
Frequently used routes, e.g. supplier runs and work routes, are useful to display on the map to make navigating on the map easier, and also to see where your objects are in relation to your set routes.
Create a route
The routes shown on the map are determined by your AroPoint Profile. |
 |
 |
Edit a routeClick on the corresponding route option You'll be able to edit the name, points, and colour of the route. Ticking / unticking the check boxes ( Delete a routeClick on the corresponding route option |
 |
 |
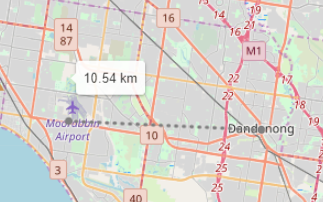
RulerUsing the Ruler, you can click from one point to another on the map to check distances. This can be useful for finding out how far away a job is. |
 |
 |
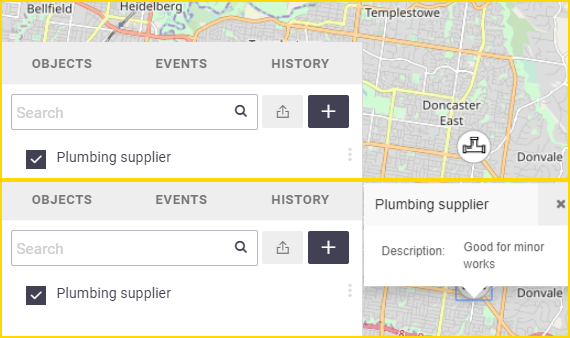
Points of interestA point of interest is a location on the map that you would like to be highlighted in the form of a marker icon, e.g. a frequent supplier, frequent client, or a job site. Similar to Routes, points of interest are useful to display on the map to make navigating the map easy, and also to see where your objects are in relation to your set points of interest. |
 |
 |
Create a point of interest
- From Tools
 click POI
The following screen will display: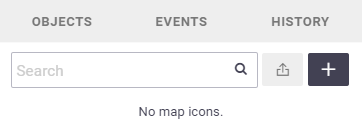
- Click the
 (plus icon) to create a new point of interest
 - Type a Name, Description and choose a Marker Icon
- Place your Marker Icon on the map
- Save
The points of interest shown on the map are determined by your AroPoint Profile, or, an AroPoint user with Full Access can import them between users.
Edit a point of interestClick on the corresponding POI option ( You'll be able to edit the name, description and marker icon. Ticking/unticking the tick boxes (
Delete a point of interestClick on the corresponding POI option ( |
 |
 |
 (spanner icon).
 click Routes
 and click Edit.
 ) will show / hide the routes on the map.
 ) will show/hide the points of interest on the map.