

Documents can be uploaded from your file system or you can take photos and video directly from AroFlo on your mobile device, laptop or desktop computer using a webcam. You can even simply copy and paste images from your computer's clipboard. If you need to send images to your client, you can download them individually or as a zip file.
The documents and photos functionality is only available if you have Document Storage enabled for your AroFlo subscription. To find out more or to activate this feature, please call AroFlo Customer Support or log a support request.
Adding columns
|
Whenever you see
|
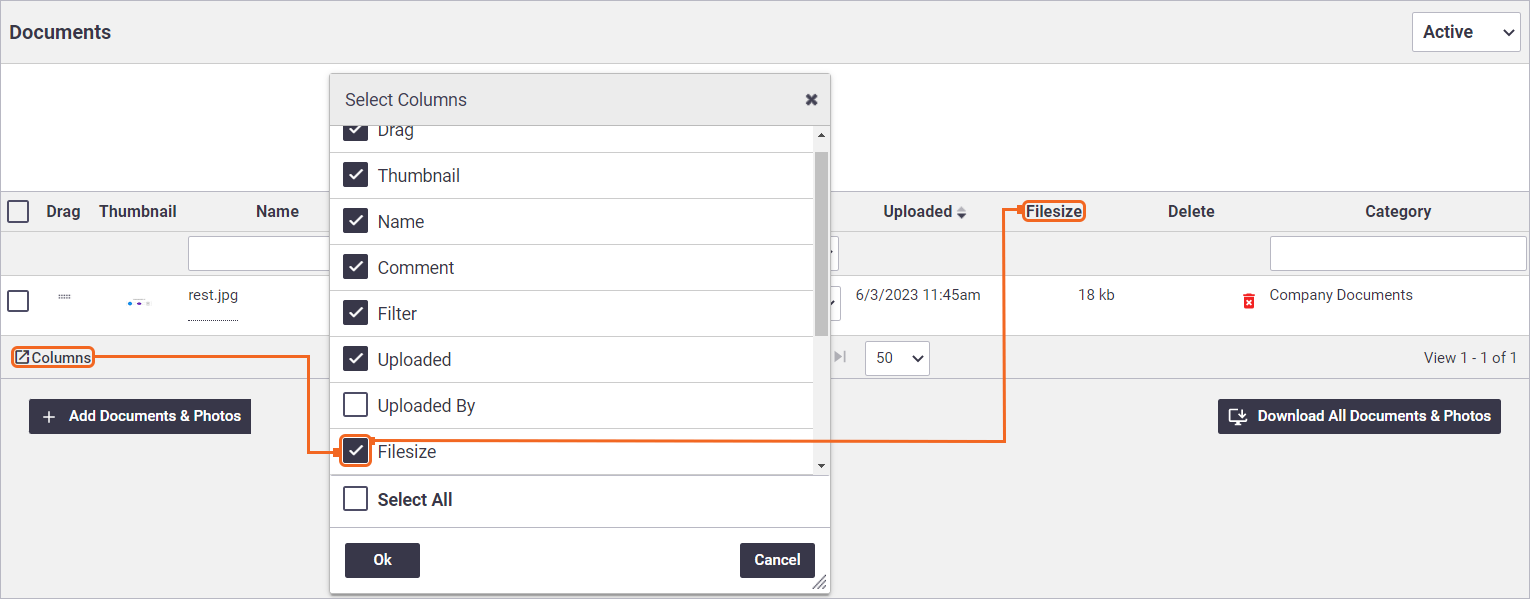 |
 at the bottom of a table, it means you can add or subtract columns to the screen you are on to get more detail about what you're looking at. In a Documents panel, for instance, you can toggle file size on or off.
Upload a file
Firstly navigate to the area where you plan to upload a document or photo:
There is no limit to the number of files you upload, but AroFlo does limit file size to 250mb.
See the tabs below for the available methods when uploading Documents and Photos
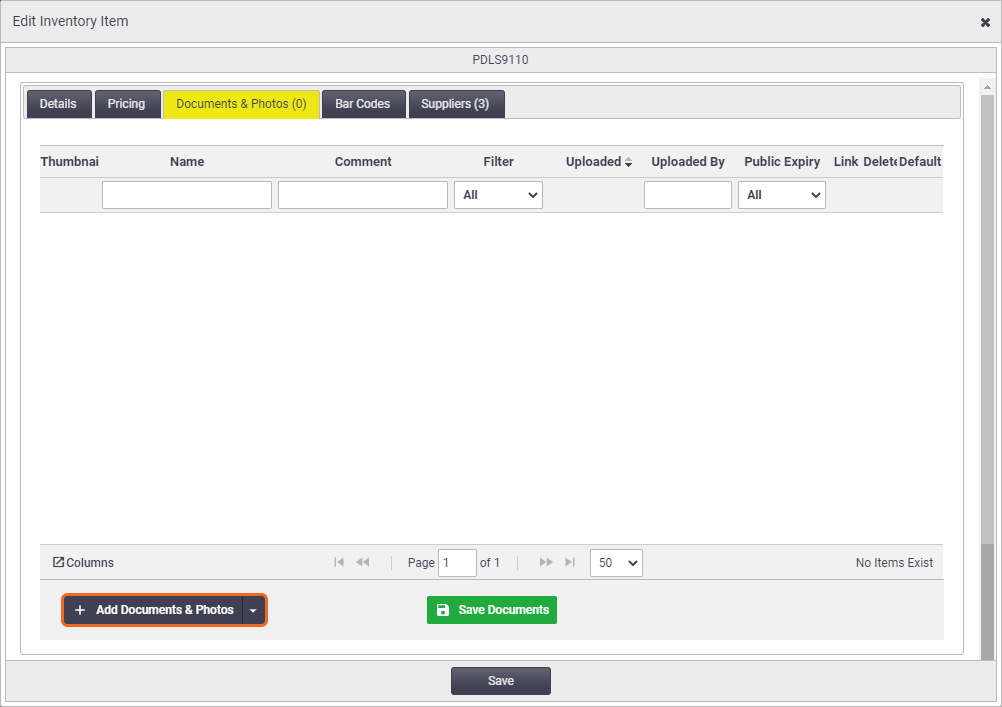
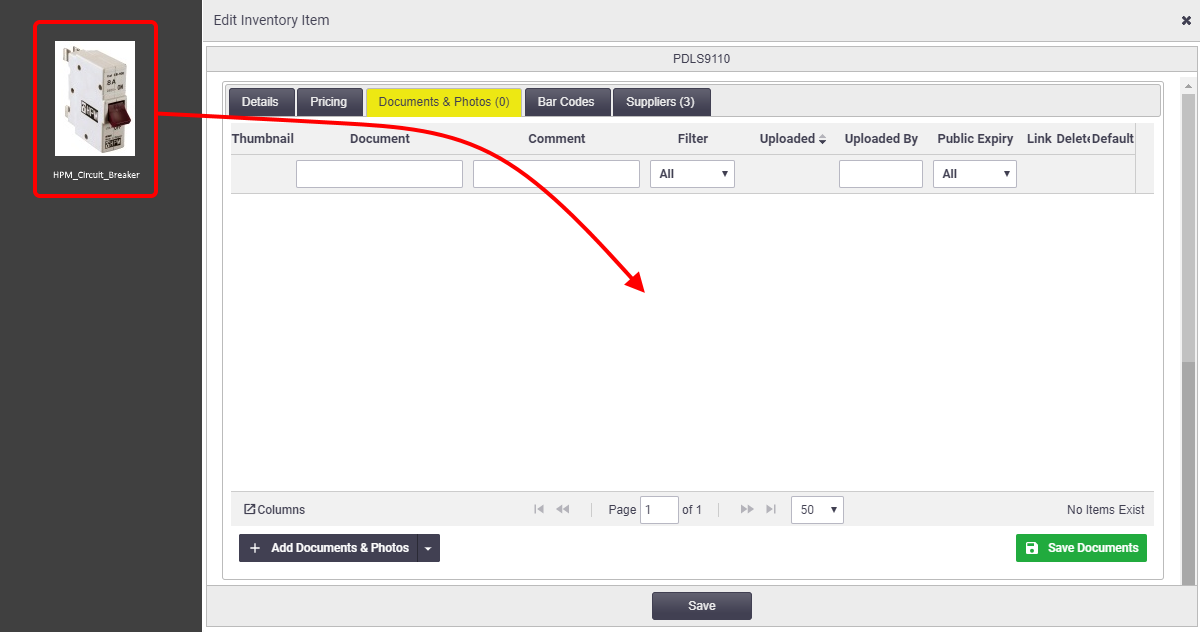
Click Add Documents & Photos
|
Click Add Documents & Photos to add a new document or photo.
|
 |
|
The Add Documents & Photos button may appear slightly different in some areas, e.g. for Documents and Photos custom fields, Expenses, or custom compliance forms.
|
  |
Upload option
|
Upload: Choose one or more files from your computer.
|
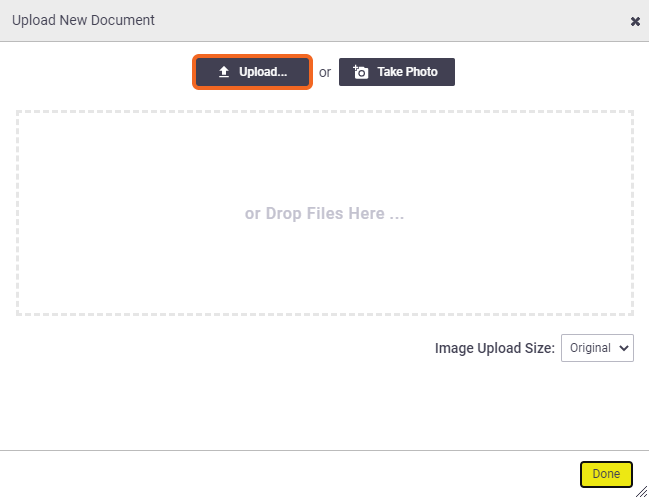 |
Drop Files Here option
|
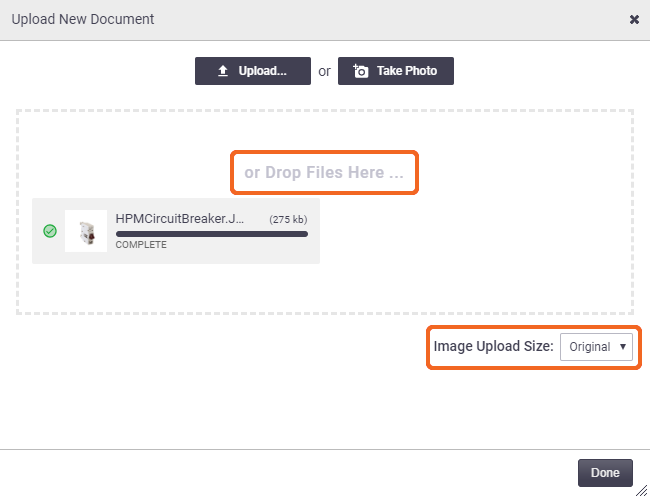
Drop Files Here: Drag one or more files from your computer. Click Done once your file shows as 'Complete'. Copy and Paste You can even copy and paste images here, e.g. images from a website. If doing this, the filename will say 'image', so you may want to rename the file. See Renaming a document or photo, below. Each upload will show a preview and a progress bar so you can easily see how long the upload will take. You can also resize images by changing the Image Upload Size located in the bottom right of the Upload New Document window. |
 |
Take Photo option
|
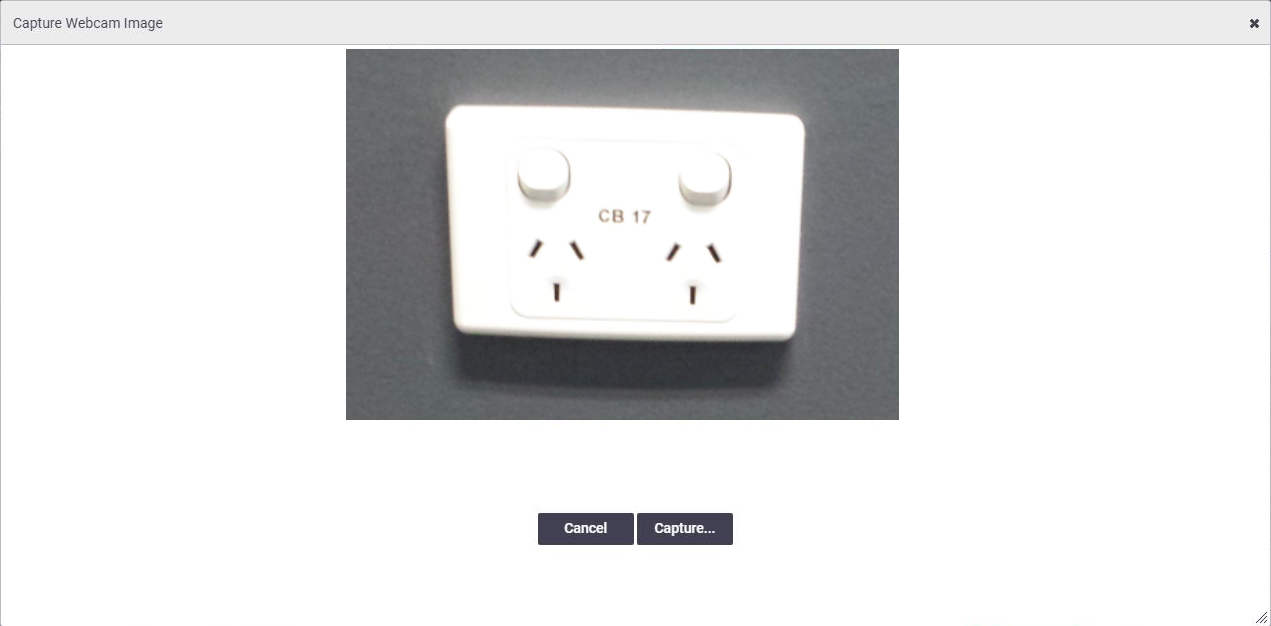
Take Photo: Take a photo or video directly from a webcam attached to your desktop computer or built into your laptop*. * The Take Photo functionality is browser dependent. If the browser you are using does not support this feature or there is no webcam found, then the button will not work.
|
 |
|
 |
Drag and drop
|
You can even drag and drop files from your file system without clicking Add Documents & Photos.
|
 |
Document Directory
|
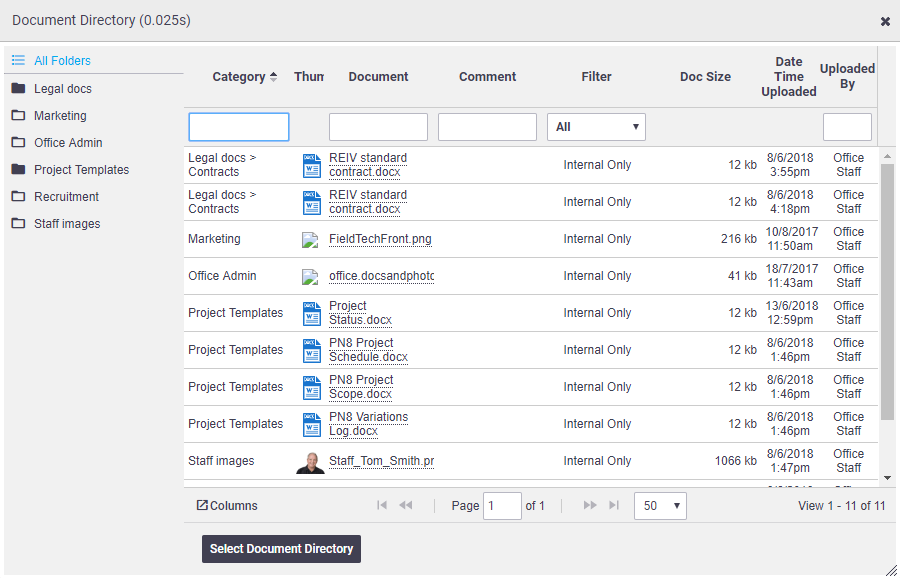
Document Directory (available on Tasks, Assets, Inventory and Expenses) allows you to add existing files located in your document directory. Accessed via the dropdown menu on the Add Documents & Photos button, it may be useful for adding existing files or internal company documentation such as marketing material.
See Document Directory for more info. 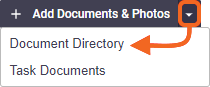 |
 |
Task Documents
|
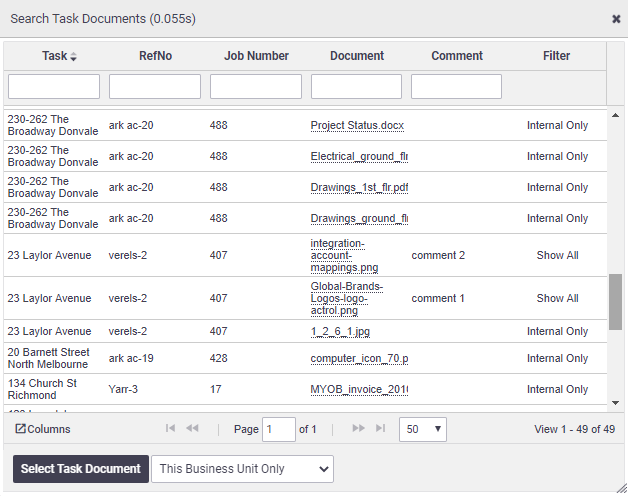
Task Documents (available from Tasks, Task Types, Task Invoices, and Work Orders), is accessed via the dropdown menu on the Add Documents & Photos button and allows you to:
 |
 |
Business Units filter
For Tasks and Task Types, if you have access to multiple Business Units, you will have an additional filter at the bottom of the search window to search for documents found on tasks in other business units (see image).
Filter option |
Description |
|---|---|
|
This Business Unit Only
|
Only displays tasks that are part of the selected business unit.
|
|
Include Child Business Units
|
Displays tasks that are part of the selected business unit, as well as child business units. |
|
Include All Business Units
|
Displays tasks for all business units. |
Viewing documents
|
To view a document such as Word, Excel or PDF, click the thumbnail or name of the document. When images are uploaded to the Documents & Photos tab, the top section will also display a thumbnail preview of all images. Viewing Thumbnails The thumbnail preview bar is hidden if there are no images. If you've uploaded an image to an asset, inventory item, or client card and you don't see the thumbnail, click Thumbnail previews are not available for documents such as Word, Excel and PDFs. Supported file types which will show a thumbnail are .pdf, .jpg, .jpeg, .gif, .png, .bmp. |
 |
 (columns) and select Thumbnail.
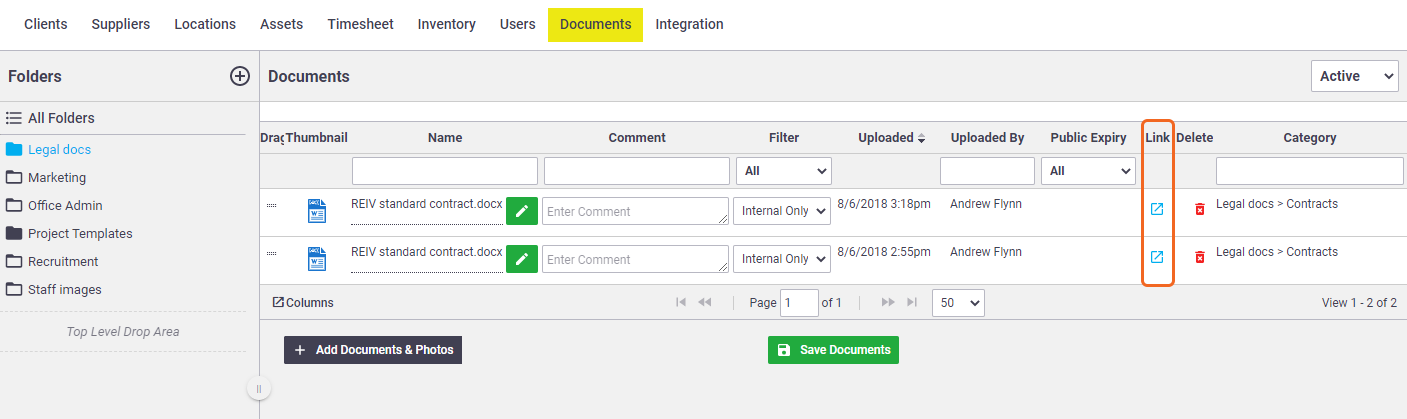
Search, filter and sort
The search tool located at the top of the document list allows you to search and filter by document name, comment, filter, uploaded by and category. Simply enter a keyword into one of these fields and the documents list will automatically display the documents that match your criteria. The list can also be sorted by clicking the column header. |
 |
Renaming a document or photo
To rename a document or photo, click the edit button File extension The file extension (e.g. jpg) will be shown but is read only and cannot be edited. |
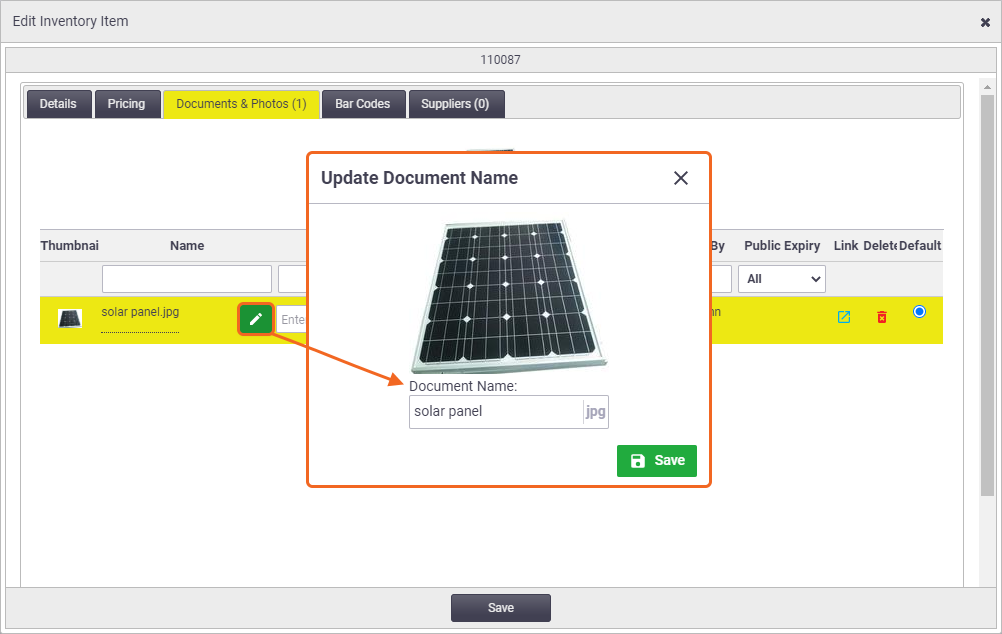 |
 (pencil icon) in the Name column. Update the Document Name and Save.
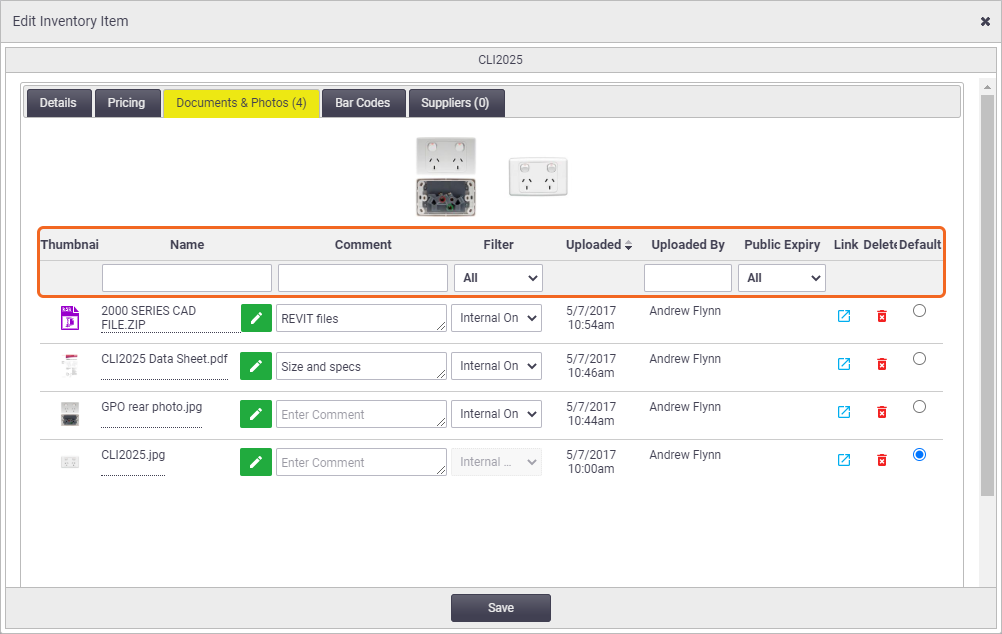
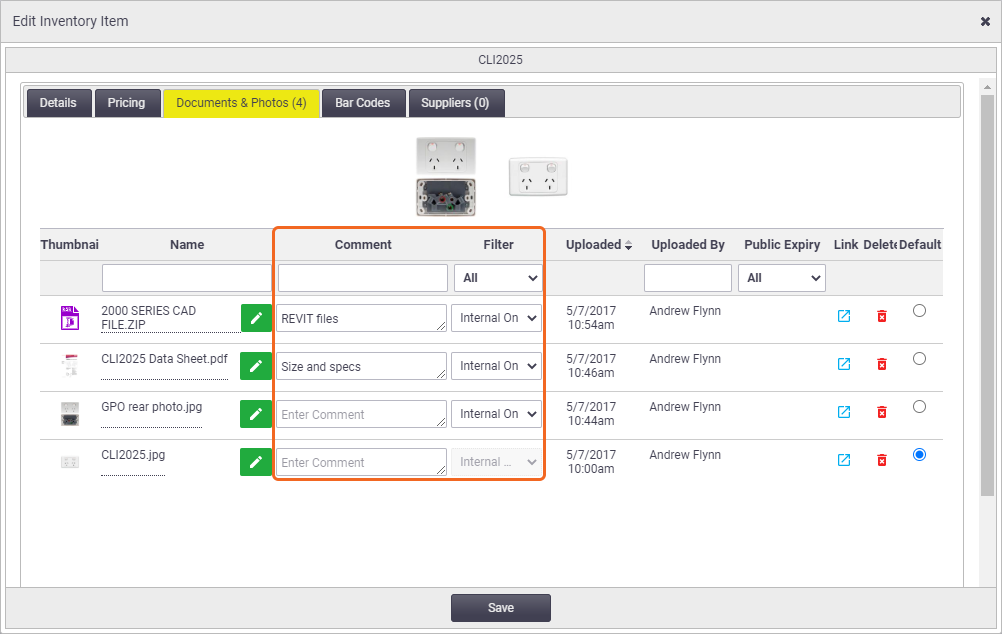
Add comments
Comments can be added for each file using the Comment field. These comments can also be referenced if photos are added to layouts including quotes and invoices.
Set document visibilityOnce the file has been uploaded you can set the access visibility from the Filter options. Access visibility restricts who can view the document. The available options are:
Permission Groups
Custom permissionsIf using a custom permission group, you can define which performer to represent via Settings > General > Permission Groups > Documents and Photos > Filters. If you want to include a specific document or photo on a print layout or email, you will need to set the filter to 'Show Client' or 'Show All'. A document or photo set as 'default' will appear on layouts and emails if chosen (regardless of filter setting). |
 |
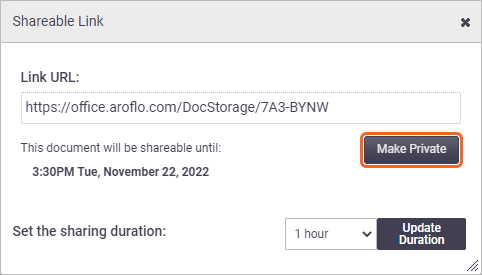
Sharing a document or photo
Documents and photos can be shared with external contacts using shareable links. Shareable links can be included in an email or a document. You can enable or disable a link at any time. Alternatively, you can set a sharing duration which will automatically disable the link when the duration has ended. |
 |
Create a shareable link
|
 |
 (Get Shareable Link)
Disable a shareable link
|
 |
 (Get Shareable Link).
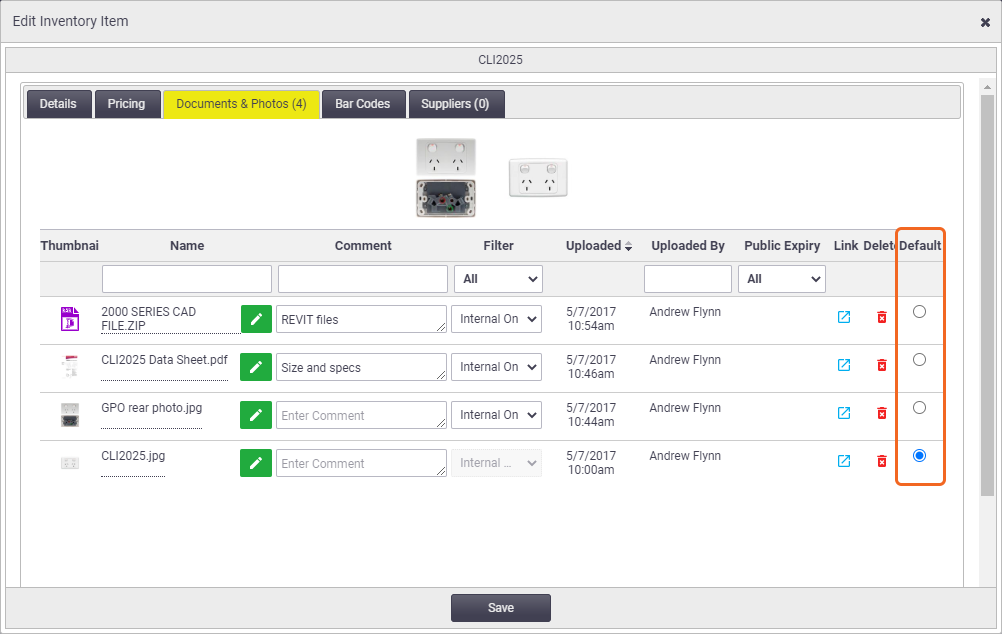
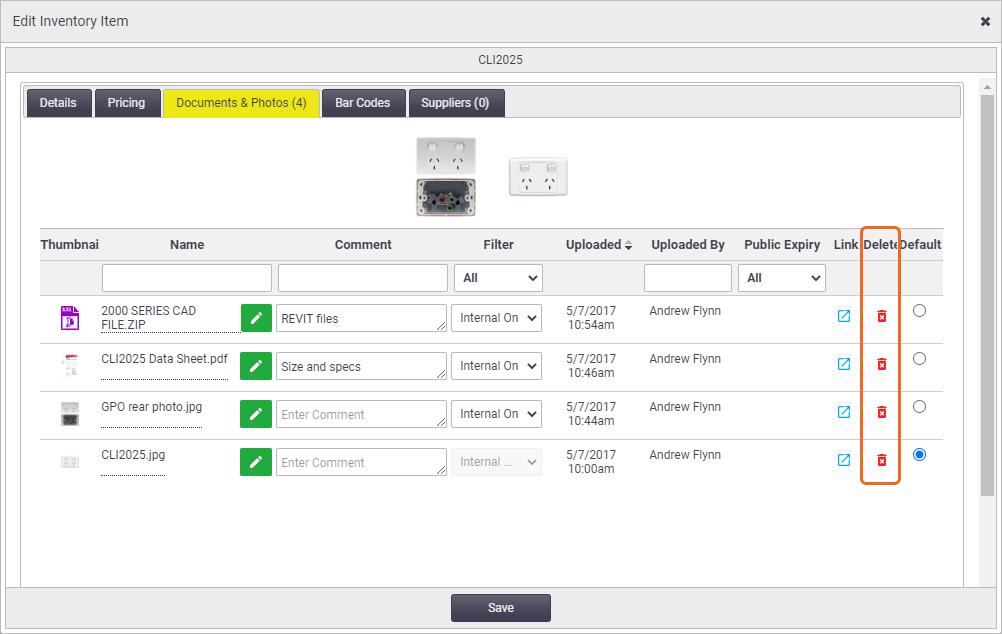
Set a default photo
|
Only applicable to assets, inventory and users Once photos have been uploaded, a default can be set for assets, inventory and users. The default photo is displayed as a thumbnail when it appears in a list.
Where multiple files exist, set a Default. |
 |
Default images
AroFlo allows you to assign default images in different areas of the system. Click each tab for examples:
Inventory list default photo
An example of the default photo on an inventory item.
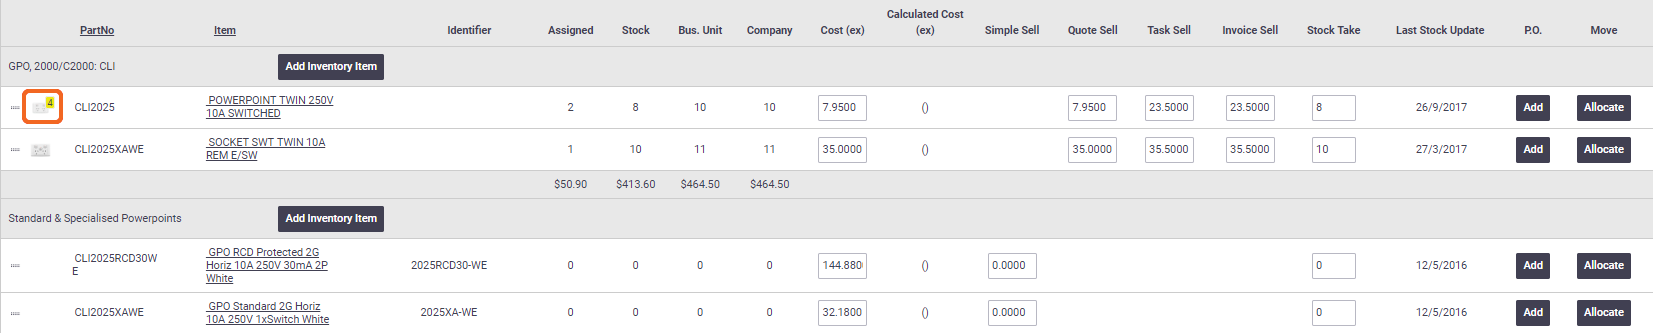
|
Items with more than one document or photo will also show a counter on the preview.
|
 |
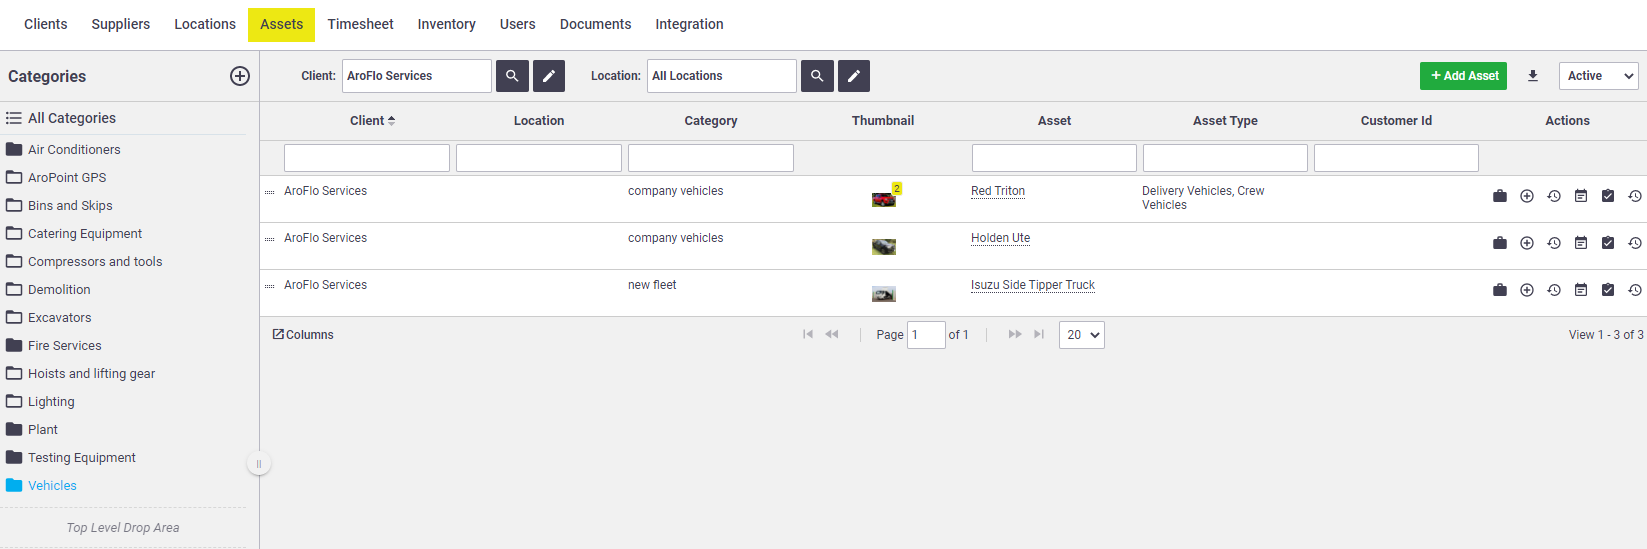
Asset list default photo
An example of the default photo in an asset list:
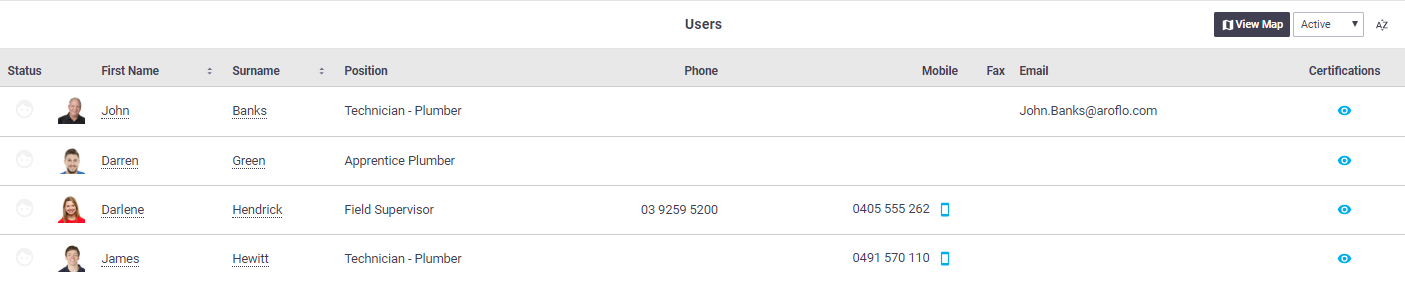
User list default photo
An example of the default photo in a user list:
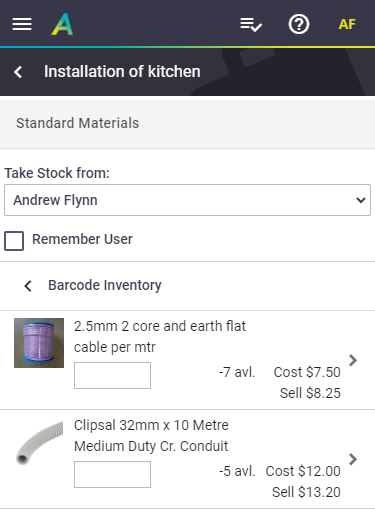
AroFlo Field default photo
|
An example of the default photo in AroFlo Field:
|
 |
Delete a Document or Photo
You can delete a file from Documents & Photos areas using the |
 |
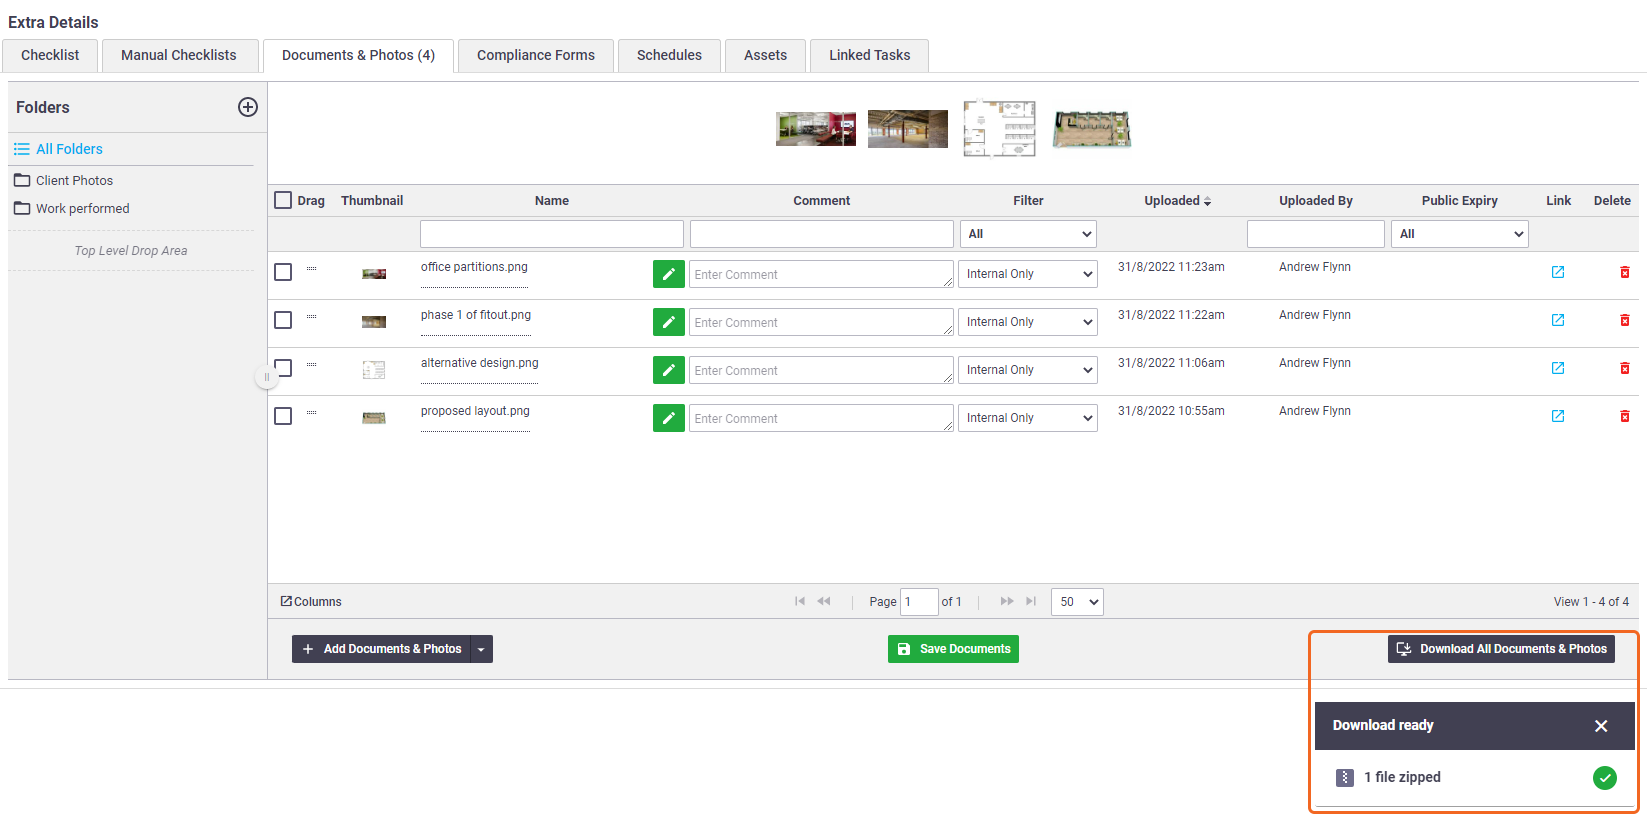
Download files
Any documents or photos you have stored in your AroFlo site can be downloaded as zip files. The option to download is available in most areas of AroFlo, e.g. Tasks, Quotes, and Invoices, and you can choose which files to download, or download all.
|
 |